Installing item 8601 thermostat, Warning, Figure 2 – Robertshaw 8601-1 User Manual
Page 3
WARNING:
In heat pump applications, do not connect anything to the W1
terminal. When switched to HP mode, W1 is connected internally
to Y1 on the thermostat.
1. Turn off power to heating and cooling system.
2. Remove cover of old thermostat to expose wires. Do not
disconnect wires. (See Figure 1)
3. Label wires per the Wiring Table.
4. After labeling wires, remove wires from terminals.
5. Remove existing thermostat base from wall.
6. Refer to the following section for instructions on how to
install thermostat.
Figure 1
Installing Item 8601 Thermostat
NOTE: F
OR NEW INSTALLATIONS
,
MOUNT THERMOSTAT ON AN INSIDE WALL
, 4-5
FEET
ABOVE THE FLOOR
. D
O NOT INSTALL BEHIND A DOOR
,
IN A CORNER
,
NEAR AIR VENTS
,
IN DIRECT SUNLIGHT
,
OR NEAR ANY HEAT OR STEAM GENERATING FIXTURES
. I
NSTALLATION
AT THESE PLACES WILL AFFECT THERMOSTAT OPERATION
.
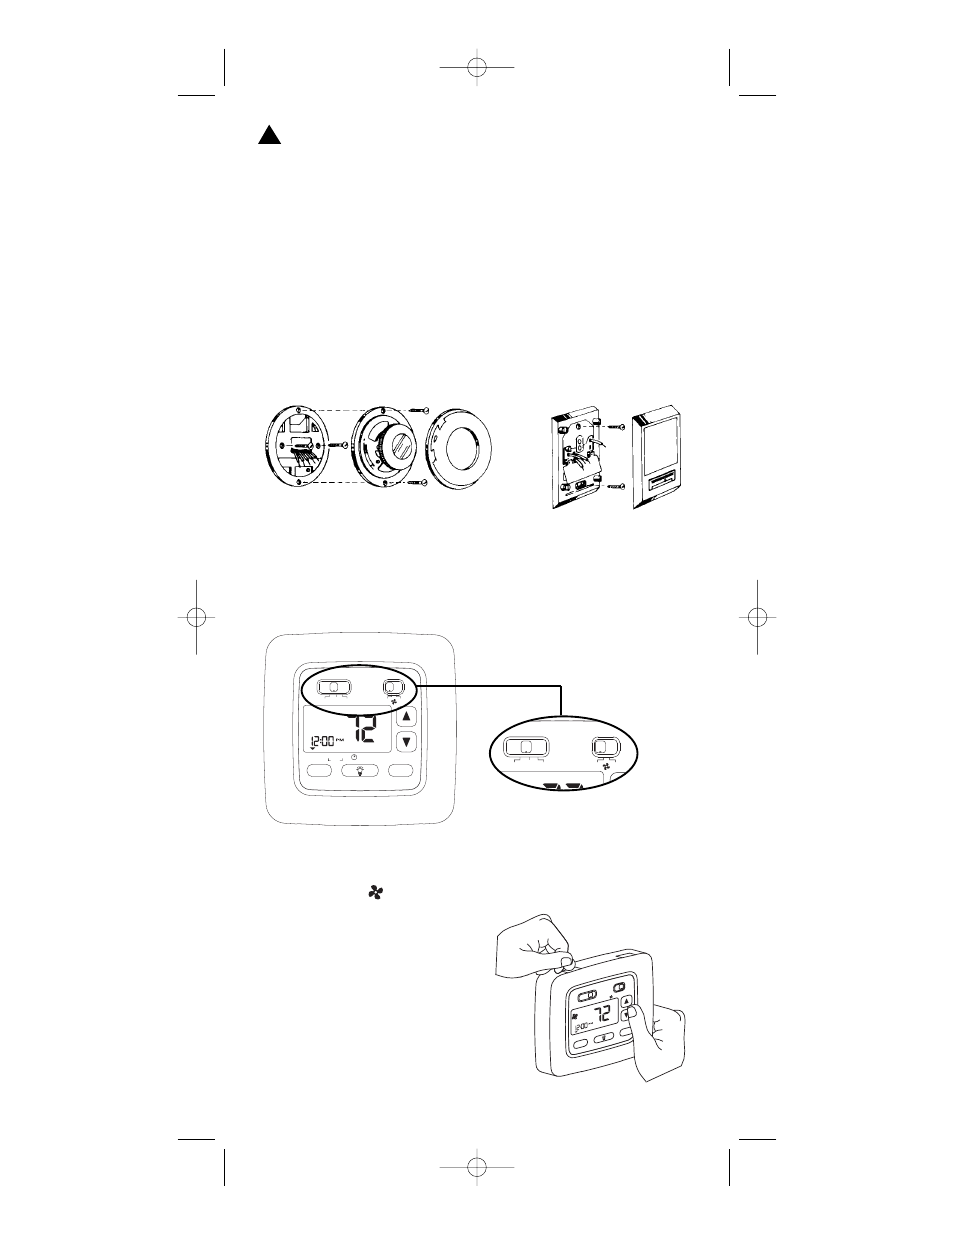
1. Turn power off to the heating and cooling systems.
2. Place HEAT-OFF-A/C in OFF position.
3. Place AUTO
ON switch
into AUTO position.
4. Remove the cover using a coin
or screwdriver (see Figure 2).
5. Place thermostat against the
wall at desired location. Make
sure wires will feed through
opening on base of thermostat.
3
heat o
ff co
ol
hold
vac
prog
run/s
et
hold
temp
cloc
k
set
auto
on
MON
°
F
select
set
select
set
hold
vac
prog temp
MON
°
F
a/c
off
heat
on
auto
°
F
a/c
off
heat
on
auto
Figure 2
!
110-1165 6/8/05 11:51 AM Page 3