Installing the load cells – Fairbanks Aegis Coil Scales User Manual
Page 21
Section 3: Scale Installation
04/10
21
51205 Rev. 2
3.2.9. Installing the Load Cells
1. Unpack the Load Cells.
2. Mark each Calibration Certificate with the Load Cell location/position.
3. Starting at one end of the assembled platform, place a hydraulic jack at the corner
so the platform can be lifted off the locating tool.
4. Lift the platform and remove the Load Cell Locating Tool from the upper and lower
bearing cups.
5. Fill both cups with grease.
6. Install the Load Cell by aligning the two flat sides of the Lower Cup on the bottom
of the Load Cell.
7. Carefully lower the scale (hydraulic jacks) while seating the bottom of the cell into
the lower cup.
─ Verify that all of the load cells are plumb, square and level.
─ Use the load cell shims provided to adjust load cell cups for correct height, and
to ensure that all cells share an equal amount of the load.
8. Route the Load Cell Cables to the conduit that goes through the scale.
9. Pull excess cable into the Junction Box area to store.
10. Recheck to be certain that all Check Bracket Anchors are securely tightened.
11. Check the gap on all check brackets for proper tolerance. and the jam nuts are
tightened.
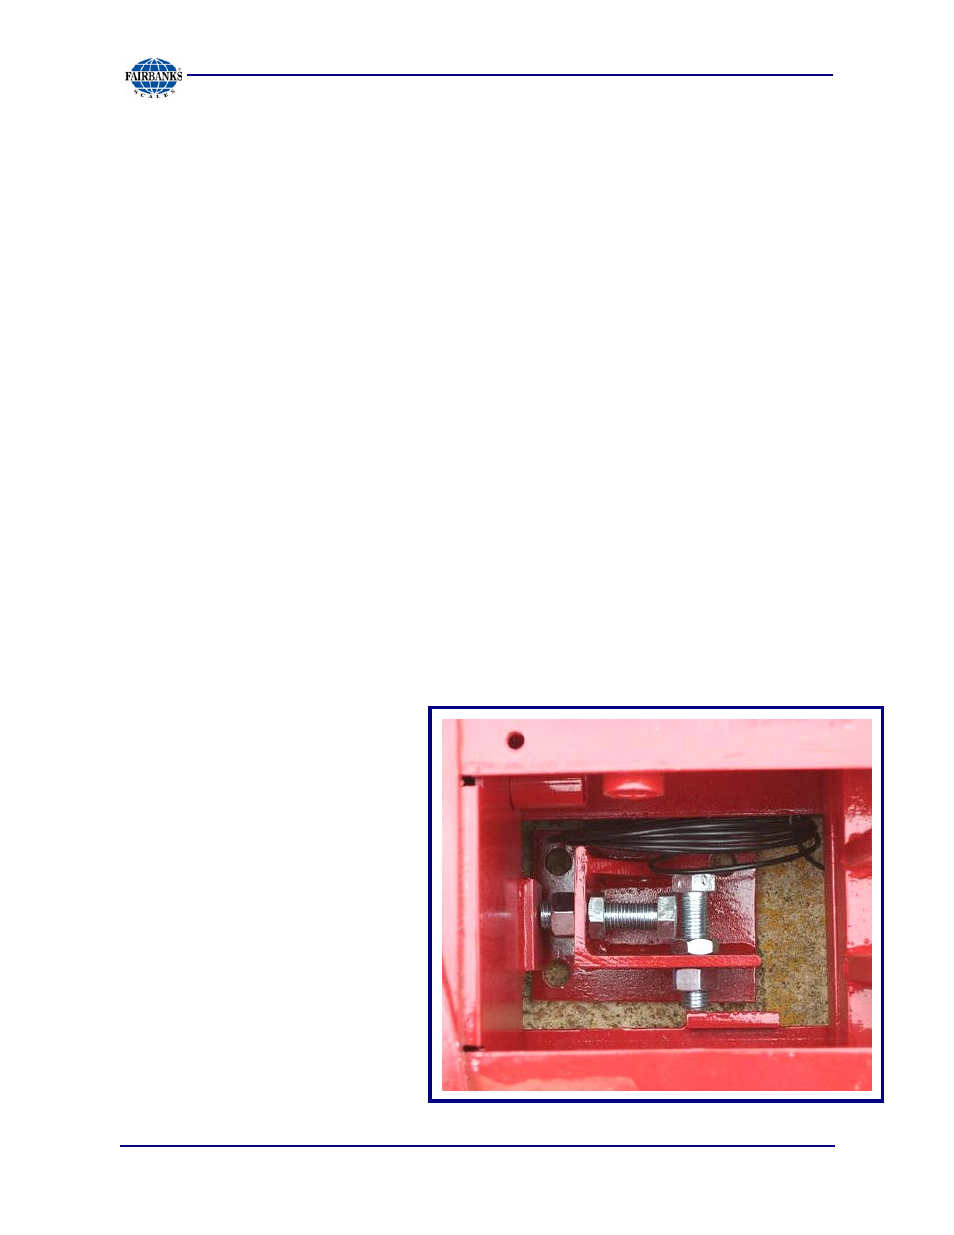
12. Make sure underside of scale is
free from debris and load cell
cables are routed correctly and
not touching the foundation.
13. After waiting the minimum of
two (2) hours for the epoxy to
cure, tighten the nuts on the
anchors for the load cell base
plates.