Mounting, Mounting the dms – Liquid Controls DMS Installation User Manual
Page 9
9
Mounting the dMs
The DMS is shipped mounted to the support brackets.
There are four B⁄zn" holes drilled into the base of the
support brackets for mounting the DMS to the floor of the
cab. Mounting bolts and washers must be provided by
the installer.
Before mounting the DMS in the truck cab, find a
suitable place in the cab that takes into account
the following considerations:
•
Leave space around front and rear panels for data/power
connections and the USB flash memory device.
•
Position the DMS where the lap pad will be convenient for
driver operation.
•
Position the DMS where slip tickets can be easily inserted
and removed from the printer (if mounting the printer atop
the DMS).
•
Do not obstruct air bags or other cab components.
MounTInG ePson PrInTers
The printer is typically mounted on the top of the DMS
Module, but it can also be mounted on the dash, the
passenger seat, or other locations in the cab.
before mounting the printer in the cab, ensure that
it is:
• Positioned away from heavy traffic spots to avoid physical
abuse.
•
Within easy reach of the driver.
• Within the reach of printer data and power cables.
A rectangular section of industrial grade Velcro
®
is
included with the printer.
fasten the printer to the top of the dMs:
1. Remove the adhesive from one piece of the Velcro
®,
and
stick it to the bottom of the printer.
2. Remove the adhesive from the other piece of the
Velcro®.
3. Align the printer over the top of the DMS, and lower it
into position. Press down on the printer to secure the
adhesive side of the Velcro® to the DMS.
Velcro
®
is a registered trademark of Velcro Industries B.V.
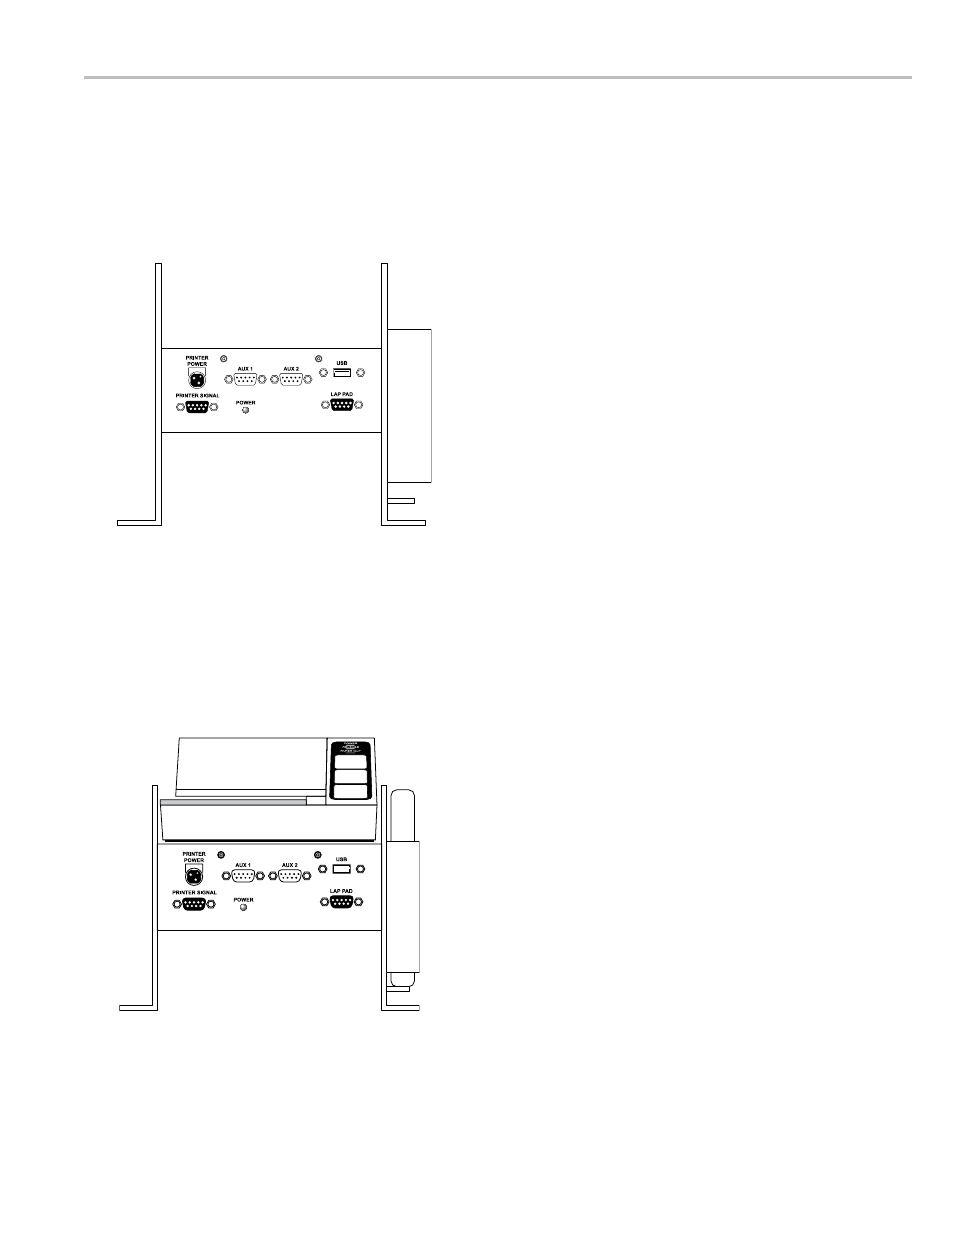
MounTInG
DMS with Epson Slip Printer
DMS as shipped