Grounding, Grounding the dms – Liquid Controls DMS Installation User Manual
Page 10
10
Grounding the dMs
After the DMS is mounted, you must ensure that the
DMS is properly grounded. Without a proper ground,
the DMS is susceptible to damage in the event of static
discharges and voltage spikes.
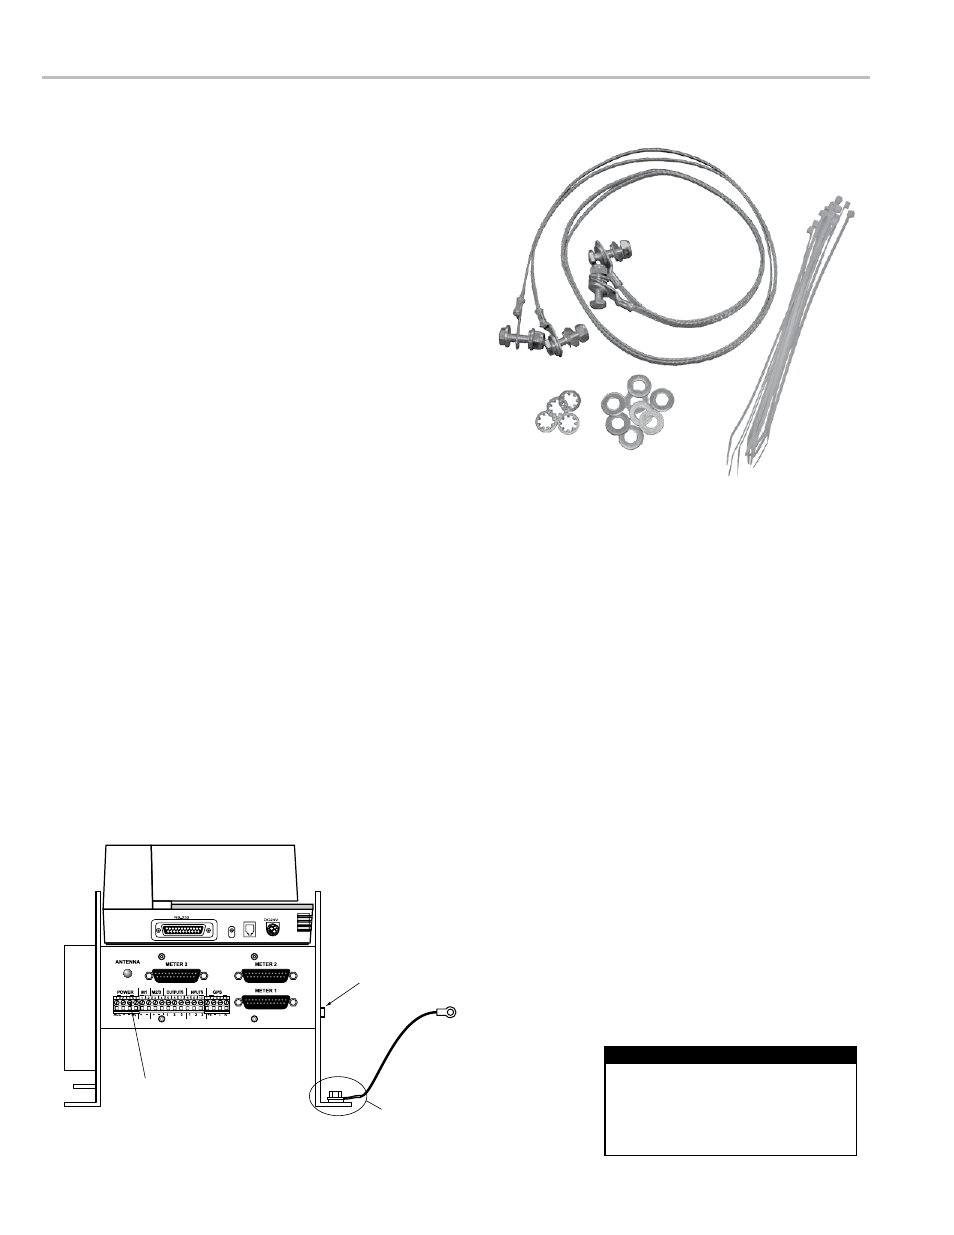
To protect the DMS, LC ships each unit with a ground
strap kit (82180). Each kit contains two ground straps.
One strap is for grounding the support brackets to the
chassis. The other strap grounds the seat to the chassis.
If the truck has two seats, both seats must be grounded.
An additional ground strap kit can be ordered from Liquid
Controls.
GroundInG The suPPorT braCkeTs
The DMS must be grounded to a good chassis ground.
In many cases, a good ground is established when the
support brackets are bolted to the chassis. Check for a
good chassis ground. If the ground is inadequate, attach
a ground strap to the support brackets.
Check for a good ground connection between the
dMs and the chassis:
1. Turn
OFF all accessories, including the dome light, to
prevent other currents from distorting the reading.
2. Take a multimeter and measure the resistance between
one of the silver, hex head screws on the support
brackets and the ground terminal of the DMS, pin 3 on
the power plug (see figure below).
a. If the resistance is less than 3Ω, the system is grounded
adequately.
b. If the resistance is greater than 3Ω, install a ground strap
between a support bracket and a clean ground point on
the cab chassis.
GroundInG
Ground a dMs support bracket to the cab chassis:
1. Find a suitable ground point, and bolt one ring terminal of the
ground strap to the chassis of the cab. An ideal grounding
point is clean, out of the way, and easily drilled and bolted.
2. Remove a mounting bolt from the support bracket.
3. Rebolt the support bracket to the cab chassis with the
ring terminal and a star washer. Place the star washer
directly onto the support bracket, and turn it into the
bracket until it penetrates the coat of paint.
4. Measure the resistance between the silver, hex head
screw and Pin 3 again.
5. If the resistance is still greater than 3Ω, check for proper
metal to metal contact on both ends of the grounding
strap. Clean any paint, dirt, or oxidation that may block
the grounding point. If the resistance remains above
3Ω, attach the ground strap to a different ground point.
Repeat the process until the ground resistance is below
3Ω.
Pin 3, Ground
Attach too
a good chassis
ground
Place a bolt and washer
on top of the ring terminal
and a star washer between
the ring terminal and the support bracket
Silver Hex
Head Screw
Ground Strap Kit
PN 82180
Check the ground connection
periodically. Connections can become
become susceptible to electrostatic
discharge over time due to corrosion
and gunk.
Check the Ground