Burkert Type 2051 User Manual
Page 18
18
Maintenance, Troubleshooting
removal procedure
10.3.1.
If the actuator has to be removed for maintenance, first
remove the actuator from the fitting.
noTe!
Before removal, ensure that:
The actuator is not under pressure and that the springs are in
•
the end position,
The connections 2 and 4 are not under pressure and are free
•
from any accessories or devices.
if the actuator is single-acting, ensure that:
The actuator is in the home position and that the pistons are all
•
the way in.
removing position indicator and graduated ring (pos. 19, 19.0,
19.1):
39
19
Removing position indicator
Fig. 7:
Remove screw (Pos. 39) if fitted
→
,
Remove position indicator (Pos. 19
→
or 19.1) from shaft end. If
required, use a screwdriver as a lever,
Remove graduated ring (Pos. 19.0) from housing.
→
If required, use
a screwdriver as a lever.
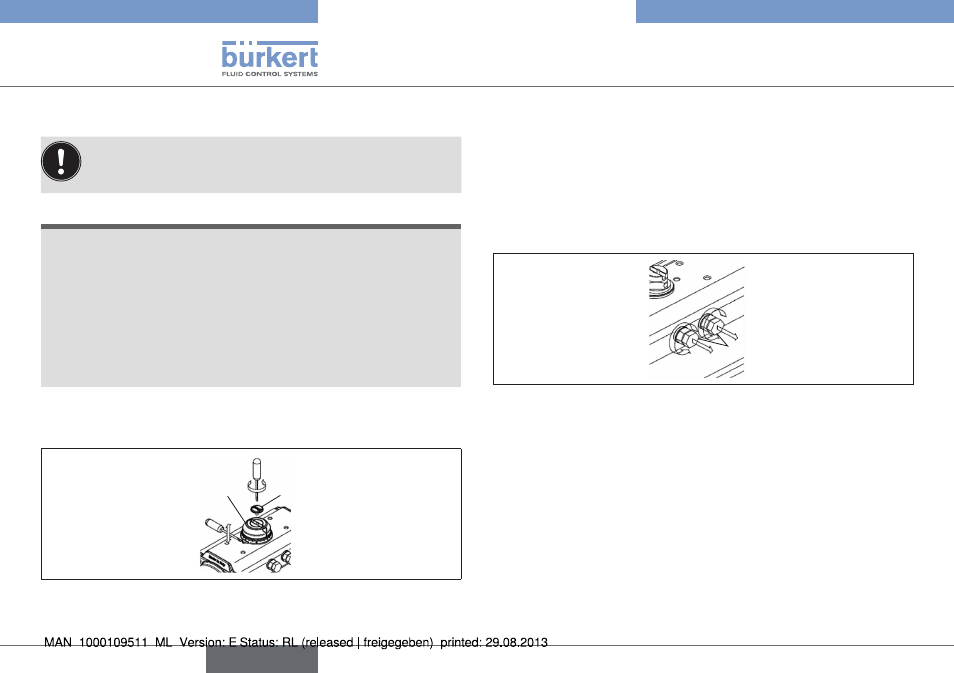
removing the adjusting screws (pos. 02):
02
Removing the adjusting screws
Fig. 8:
Remove adjusting screws together with nuts (Pos. 04) and washers
→
(Pos. 03),
Remove seals (Pos. 11) from the adjusting screws and dispose of
→
(if all sealing rings are replaced).
english
Type 2051