Franklin Fueling Systems TS-LLD Changing the Miniature Fuse in the TS-LLD Control Unit User Manual
Replacement parts instructions
I N T E L L I G E N T C O N T R O L S I N C
h t t p : / / w w w . i n t e l c o n . c o m
7 4 I N D U S T R I A L P A R K R D S A C O M E 0 4 0 7 2
U
S
A
Replacement Parts Instructions
0000233A.DOC
E - m a i l :
t e c h @ i n t e l c o n . c o m
F A X 1 - 2 0 7 - 2 8 2 - 9 0 0 2
T E L 1 - 8 0 0 - 9 8 4 - 6 2 6 6
P A G E
1 o f 1
s a l e s @ i n t e l c o n . c o m
F A X 1 - 2 0 7 - 2 8 3 - 0 1 5 8 T E L 1 - 8 0 0 - 8 7 2 - 3 4 5 5
1 110V
4 P-IN
3 P-OUT
2 NEU
1 485A
2 485B
3 DSY1
4 DSY2
5 ALARM
TB1
TB2
SIG RTN
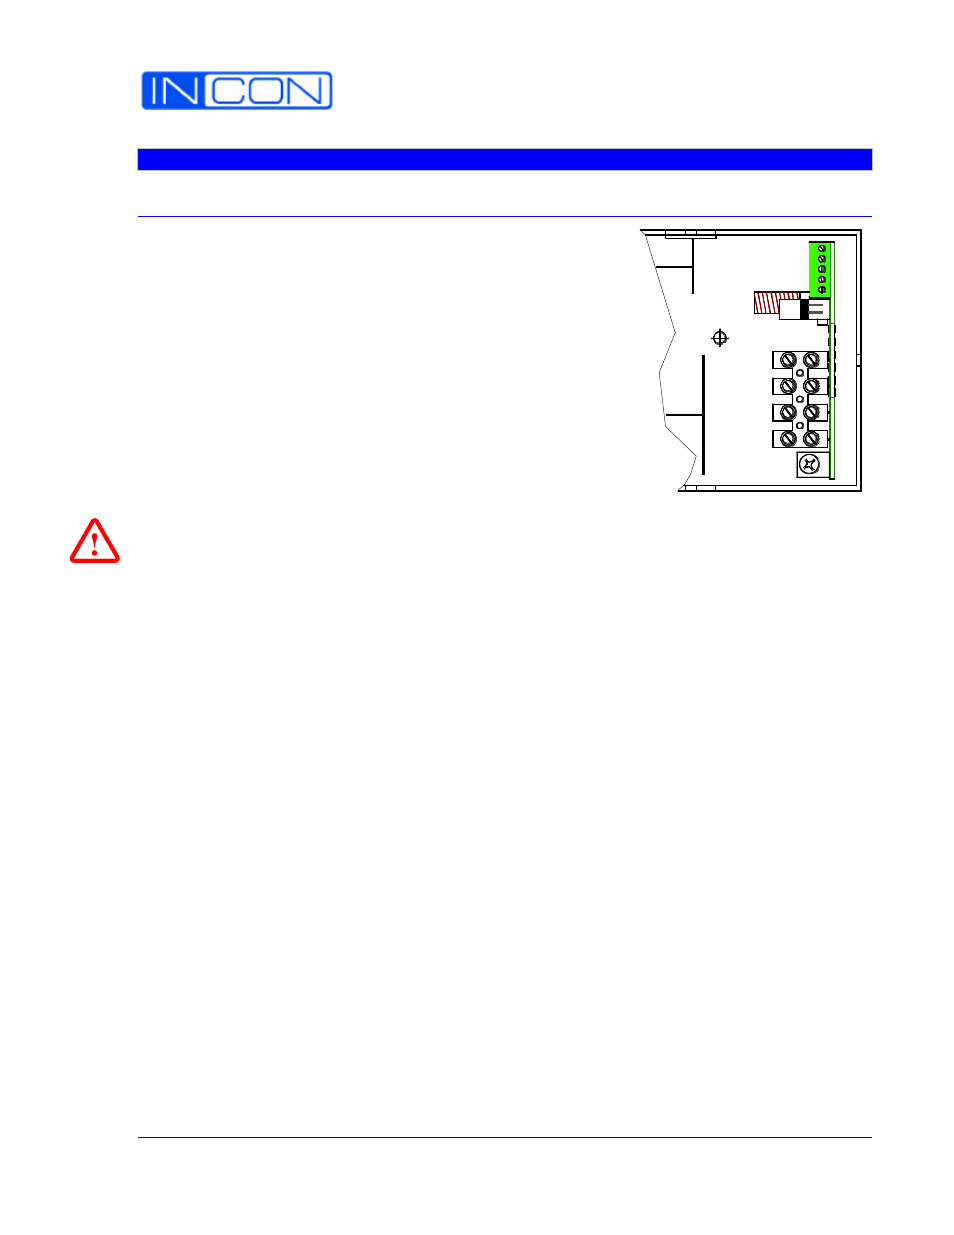
F1
Changing the miniature Fuse in the TS-LLD Control Unit
Parts Required:
1.
TS-LLD Installation Manual (INCON P/N 000-1359)
2.
Control Unit plug-in, miniature fuse (LSSP-FUSE)
Tools Required:
Flat-bladed screwdrivers (assorted sizes)
Old TS-LLD Fuse F1 – Removal Steps:
1.
DANGER
disconnect
electrical power as described in the TS-LLD CU
Installation & Wiring and in the Safety section of that manual.
2.
Remove the 4 hold-down screws and remove the existing faceplate.
3.
Remove the old fuse ( F1 ) on the small, upright terminal board (see the chapter
about TS-LLD CU Installation and Wiring).
New TS-LLD Fuse F1 – Installation:
1.
Follow the
Safety Instructions
(as detailed in the TS-LLD Installation Manual).
2.
Insert the new fuse into its socket on the upright terminal board,
3.
Reinstall the
CU faceplate
, and
4.
Follow the
After Installation Steps / Testing
Need Help:
Contact INCON Technical Service Department toll free at 1-800-984-6266 for
troubleshooting help if F1 blows again.
—
❖ —