EVS IPDirector Version 5.8 - July 2010 Part 5 User's Manual User Manual
Page 69
Issue 5.8.B
IPDirector Version 5.8 – User Manual – Part 5: Playout – Player Control Panel
EVS Broadcast Equipment – July 2010
60
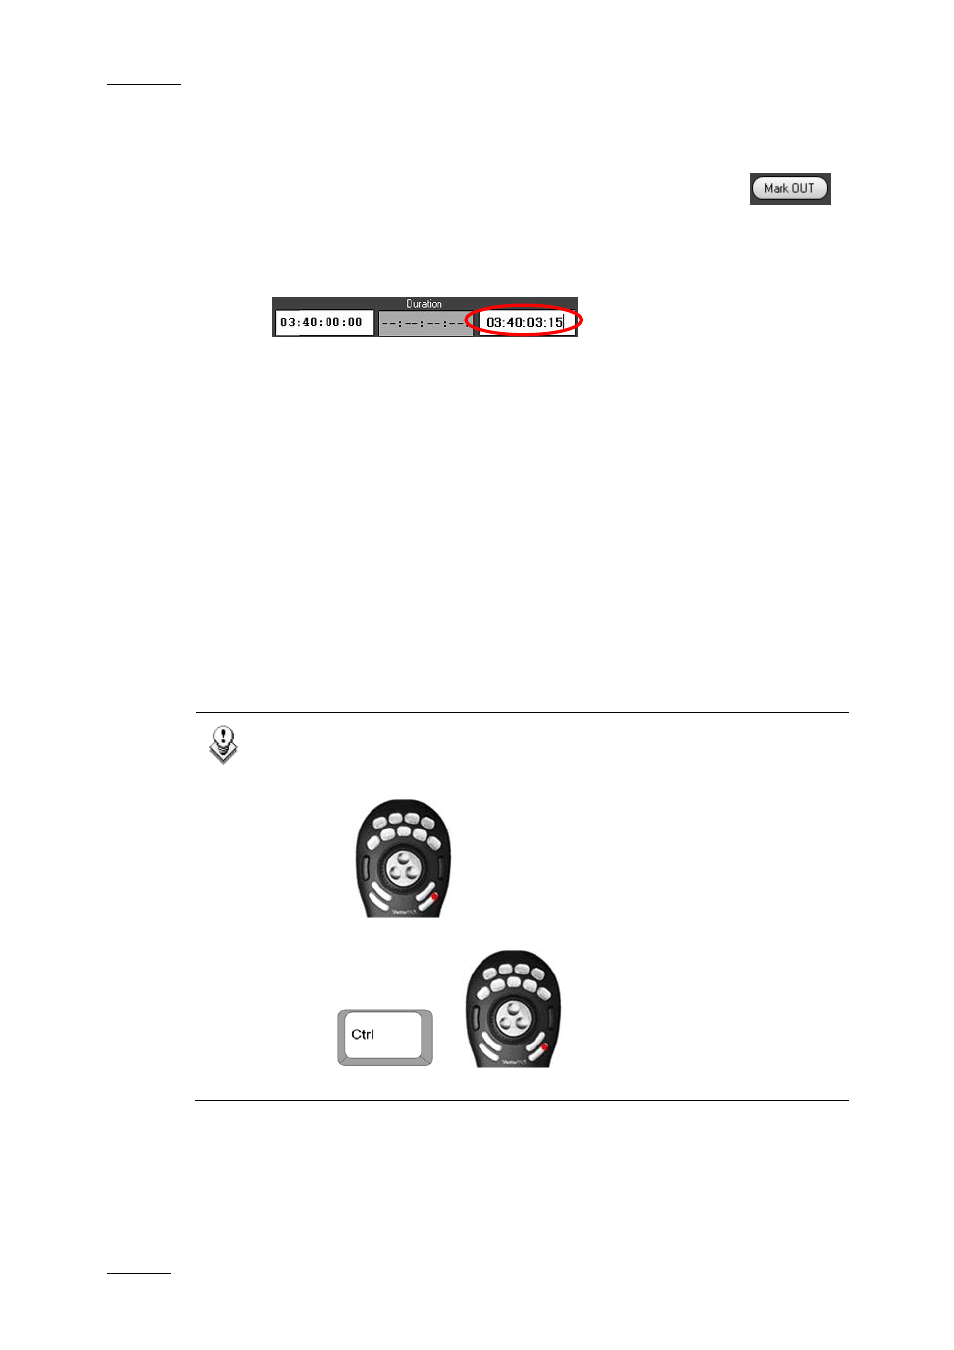
3.
Create an OUT point with one of the following actions:
•
Place the position indicator on the jog bar or cue to the place where you
want to create the OUT point and select the Mark OUT button
.
•
Enter the timecode of the requested OUT point in the OUT field and press
ENTER.
The OUT point is set:
The clip duration is displayed in the Duration field.
4.
To save the clip, do one of the following:
•
Click the NEW CLIP button.
•
Press the ShuttlePRO dedicated button to save the clip (see note below).
5.
Depending on what is defined in Tools > Settings > Clips > Clips/General
category, the Save Clip window will open. Then, fill in a clip name and any
desired information and click the Save button.
For more information on the Save Clip window, refer to section 1.6.2 ‘Save
Clip Window’, on page 61.
A green message will appear on the main window to inform you that the clip has
been created if this setting has been activated in the Settings.
Note
To save a clip from the ShuttlePRO, perform one of the following
actions :
•
Use
to save a clip without displaying the Save Clip
window.
•
Use
+
to save a clip and display the Save
Clip window.