Fpc 6120 – Acnodes FPC 6120 User Manual
Page 43
661 Brea Canyon Rd., Suite 3
Walnut, CA 91789
tel: 909.598.7388, fax: 909.598.0218
© Copyright 2011 Acnodes, Inc.
All rights reserved. Product description and product specifications
are subject to change without notice. For latest product information,
please visit Acnodes’ web site at www.acnodes.com.
FPC 6120
12.1” Industrial fanless Panel PC
NOTE:
When purchasing the arm please ensure that it is VESA compliant and that the arm has
a 100 mm interface pad. If the mounting arm is not VESA compliant it cannot be used to
support the flat panel PC.
Step 2: Once the mounting arm has been firmly attached to the surface, lift the flat
panel PC onto the interface pad of the mounting arm.
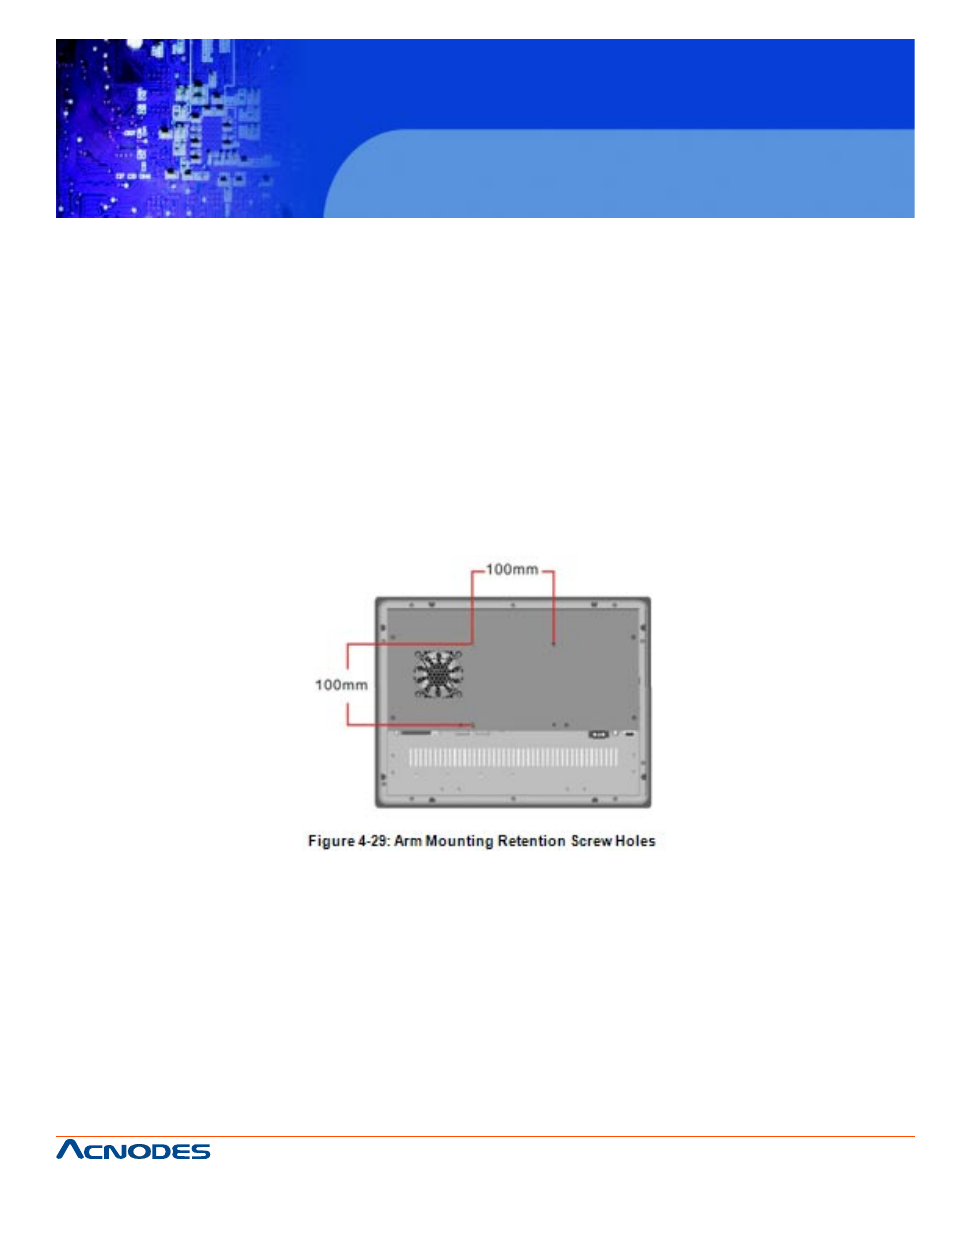
Step 3: Align the retention screw holes on the mounting arm interface with those in the
flat panel PC. The flat panel PC arm mount retention screw holes are shown in Figure 4-
29.
Step 4: Secure the flat panel PC to the interface pad by inserting four retention screws
through the bottom of the mounting arm interface pad and into the
flat panel PC.
4.10.4 Cabinet and Rack Installation
The FPC6120 flat panel PC can be installed into a cabinet or rack. To do this, please
follow the steps below.