Adjusting projected images – Toshiba TDP-MT500 User Manual
Page 29
29
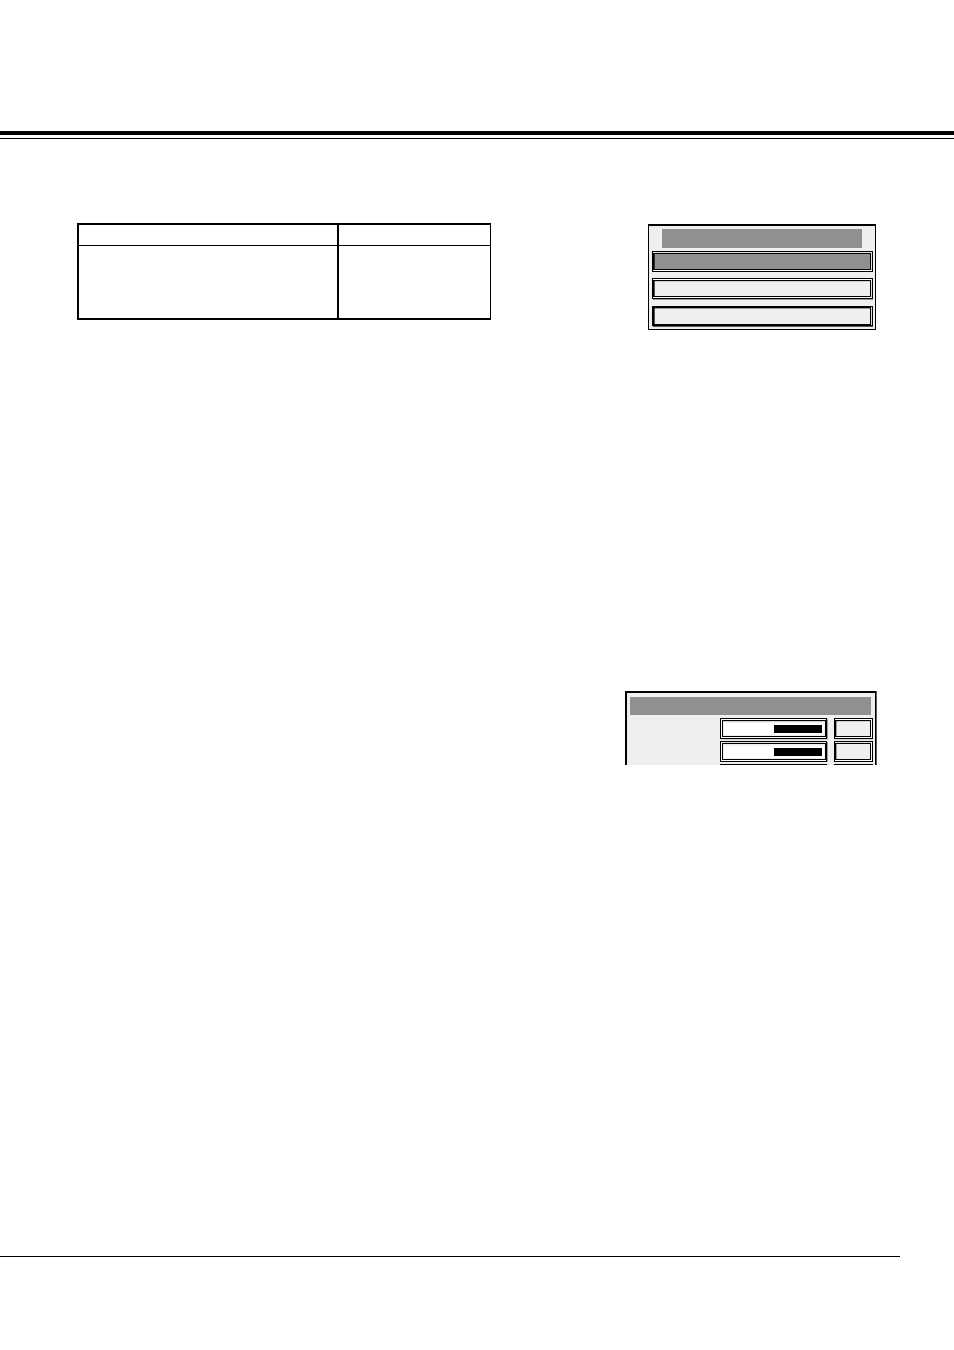
PICTURE...
CONTRAST
BRIGHTNESS
0
0
On the memory for projected image quality
This projector allows each item in the PICTURE menu and the PROFESSIONAL-PICTURE menu (except for
SET USER COLOR TEMP) to be adjusted to up to three kinds of favorable picture quality for each input signal.
Input that allows the setting
Number of settings
VIDEO
3
S-VIDEO
3
COMPONENT 1, 2
3
DVI-ANALOG/DIGITAL
3
To store the settings:
(Refer to Page 26 for how to set menus.)
1 Set an item in the PICTURE menu and the PRO-PICTURE menu.
2 Bring up the DISPLAY menu.
3 Select “SAVE” by pressing the
{
,
}
buttons.
4 Press the ENTER button.
The setting storage menu appears.
5 Select the memory where the setting is to be stored by pressing the
{
,
}
buttons.
6 Press the ENTER button.
The setting is stored in the memory.
To cancel the menus:
7 Press the MENU button.
To apply the set picture quality:
1. Press the MEMORY 1, 2, or 3 button.
The picture quality of the projected image comes to the set quality.
Adjusting projected images
To adjust brightness (CONTRAST and BRIGHTNESS):
1 Bring up the PICTURE menu.
2 Select “CONTRAST” or “BRIGHTNESS” by pressing the
{
,
}
buttons.
3 Adjust the selected item by pressing the
$
,
%
buttons.
To cancel the menus:
4 Press the MENU button.
CONTRAST ................... Adjusts the vividness of a projected picture image. Every time the
%
button is pressed,
the images are made brighter and more vivid. Every time the
$
button is pressed, the
images are made darker and less vivid.
BRIGHTNESS ................ Every time the
%
button is pressed, the images are made brighter. Every time the
$
button is pressed, the images are made darker.
USING THE MENUS
MEMORY 2
MEMORY 3
MEMORY 1
SAVE