Chapter 6: using the tv’s advanced features, Using the advanced picture settings features, Using dynamic contrast – Toshiba 50HM66 User Manual
Page 41: Using cableclear, Dnr (digital noise reduction), Using mpeg noise reduction
41
HM66 (E/F) Web 213:276
Chapter 6: Using the TV’s advanced features
Using the advanced picture settings
features
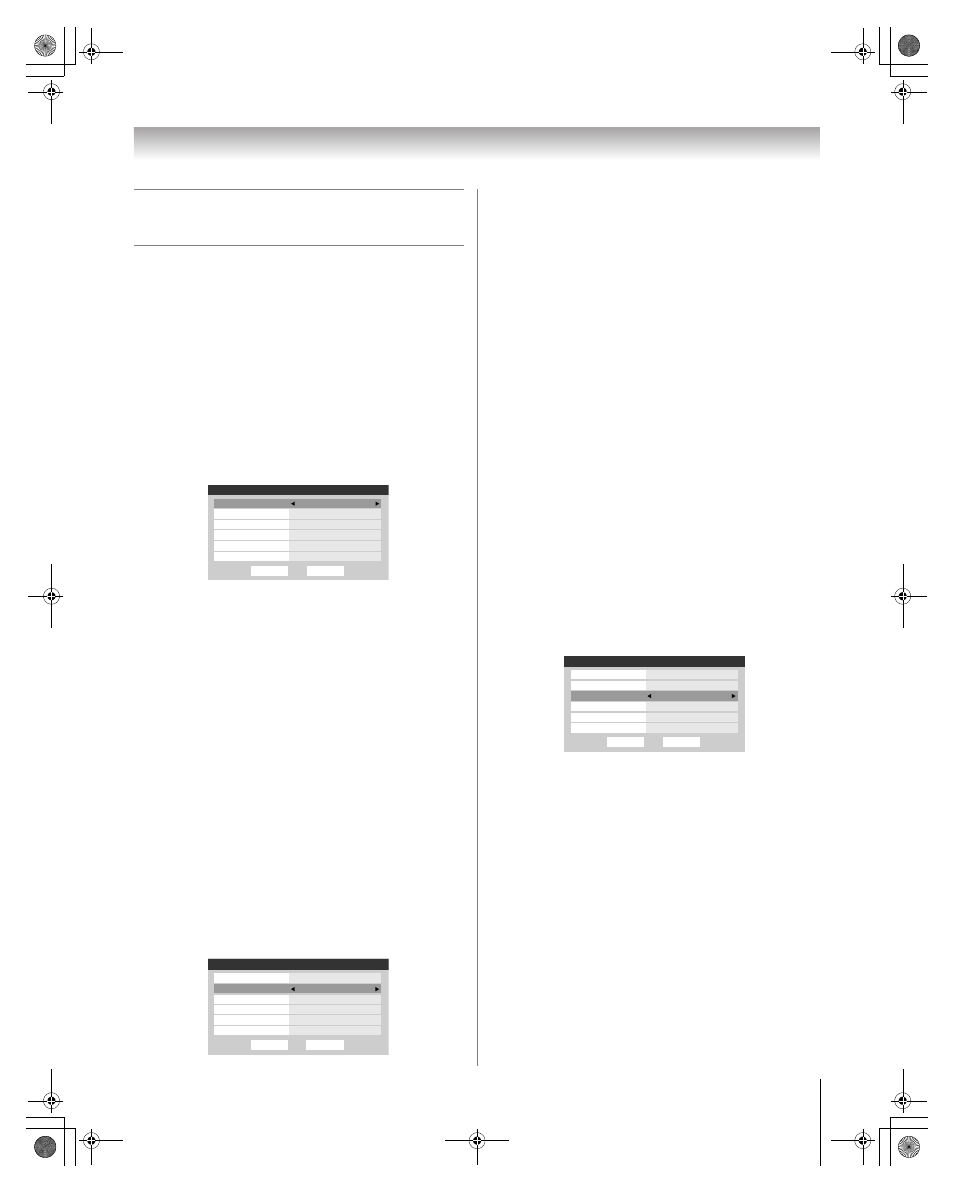
Using dynamic contrast
When dynamic contrast is set to
On
, the TV will detect
changes in the picture quality that affect the appearance of your
contrast settings and then automatically adjust the video.
When dynamic contrast is set to
Off
, the settings selected in the
Contrast
field in
Picture Settings
will be used.
To select dynamic contrast preferences:
1
Press Y and open the
Video
menu.
2
Highlight
Advanced Picture Settings
and press T.
3
In the
Dynamic Contrast
field, select either
On
or
Off
.
\
4
To save the new settings, highlight
Done
and press T. To
revert to the factory defaults, highlight
Reset
and press
T.
Note: If you select the Movie picture mode and then set
the dynamic contrast to On, the picture mode will
automatically change to Preference in the Picture
Settings menu.
Using CableClear
®
/DNR (digital noise
reduction)
The CableClear
®
digital noise reduction feature allows you to
reduce visible interference in your TV picture. This may be
useful when receiving a broadcast with a weak signal
(especially a Cable channel) or playing a noisy video cassette
or disc.
To change the CableClear/DNR settings:
1
Press Y and open the Video menu.
2
Highlight Advanced Picture Settings and press T.
3
In the CableClear/DNR field, select your desired
setting.
Notes:
• If the current input is ANT 1, ANT 2, VIDEO 1, or VIDEO
2, the menu will display the text “CableClear.” The
available selections are Off, Low, Middle, High, and
Auto.
• If the current input is ColorStream HD1, ColorStream
HD2, or HDMI, the menu will display the text DNR. The
available selections are Off, Low, Middle, High and
Auto. Auto will react proportionally to the strength of
the noise. Low, Middle, and High will reduce the noise
in varying degrees, from lowest to highest, respectively.
4
To save the new settings, highlight Done and press T.
To revert to the factory defaults, highlight Reset and
press T.
Using MPEG noise reduction
The MPEG noise reduction feature allows you to reduce
visible interference caused by MPEG compression. Choices
for MPEG noise reduction are
Off
,
Low
,
Middle
, and
High
.
Off
is automatically selected when this feature is disabled (“grayed
out”).
To select the MPEG noise reduction level:
1
Press Y and open the
Video
menu.
2
Highlight
Advanced Picture Settings
and press T.
3
Press B or b to highlight the MPEG Noise Reduction
field, and then press C or c to select either Off, Low,
Middle or High.
4
To save the new settings, highlight Done and press T.
To revert to the factory defaults, highlight Reset and
press T.
Done
Game Mode
Off
Lamp Mode
Low Power
Reset
Low
Dynamic Contrast
On
Color Temperature
Cool
Auto
ANT 1
Advanced Picture Settings
CableClear
MPEG Noise Reduction
Done
Cool
Game Mode
Off
Lamp Mode
Low Power
Reset
Color Temperature
Dynamic Contrast
On
ANT 1
Advanced Picture Settings
MPEG Noise Reduction
Low
CableClear
Auto
Done
Game Mode
Off
Lamp Mode
Low Power
Reset
MPEG Noise Reduction
Low
Dynamic Contrast
On
Color Temperature
Cool
Auto
ANT 1
Advanced Picture Settings
CableClear
(continued)
HM66_EN.book Page 41 Thursday, February 23, 2006 2:49 PM