Assembly – RIDGID SP6263 User Manual
Page 12
12
Introduction
In order to get the most enjoyment out of your radial saw it is important that the machine be prop-
erly assembled, adjusted, and aligned. This procedure, although not difficult, takes time; perhaps
eight hours or longer for the inexperienced user. However, after this initial set-up a weekly tune-up
can be completed in approximately ten minutes by checking the alignment and only adjusting those
settings which are incorrect.
Assembly
Identify Parts
The following parts are included:
Note:
Before beginning assembly, check that all
parts are included If you are missing any part, do not
assemble the saw. Contact 1-800-4-
RIDGID
to get
the missing part. Sometimes small parts can get lost
in packaging material. Do not throw away any packag-
ing until saw is put together. Check packaging for
missing parts before contacting
RIDGID
. A complete
parts list (Repair Parts) is at the end of the manual.
Use the list to identify the number of the missing part.
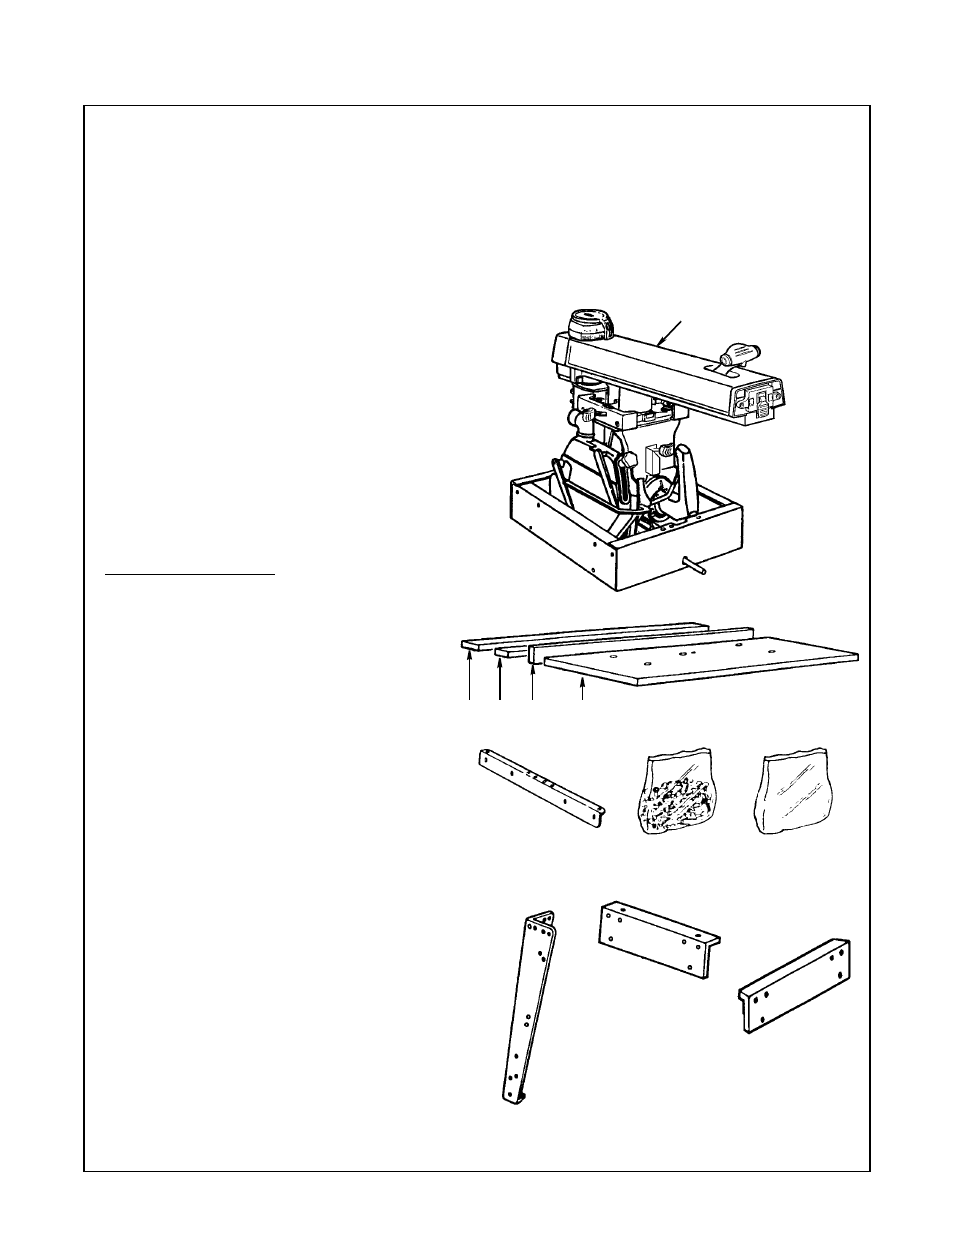
This model includes:
A. Basic Saw Assembly ........................... 1
B. Rear Table ........................................... 1
C. Spacer Table ........................................ 1
D. Fence (wooden) ................................... 1
E. Front Table ........................................... 1
F. Table Support ...................................... 2
G. Loose Parts Bag(s)
............................ *
H. Bag Containing
Accessory Guard .................................. 1
J. Leg ....................................................... 4
K. Stiffener, Side ...................................... 2
L. Stiffener, Front/Rear ............................ 2
* Number varies; bags can contain other
smaller bags. Note:
To make assembly easier
keep contents of each bag together and separate from
contents of other bags.
Remove protective
covering from arm trim
A
B
C
D
E
F
G
H
J
K
L