Slip sheets – Ricoh IS 2075 User Manual
Page 90
Copying
78
2
Reference
For how to set the paper when us-
ing the interposer, see
⇒“Loading
Paper in the Interposer” in the
General Settings Guide.
AAAA
Press the [Cover/Slip Sheet] key.
BBBB
Press the [Desig./Chapter] key.
CCCC
Press the key to select the chapter
number.
DDDD
Press the [Insert Sheet] key.
EEEE
Select the paper tray for slip
sheets.
FFFF
Select [Before] to insert slip sheets
before the page you specify. Se-
lect [After] to insert slip sheets af-
ter the page you specify. Enter the
page number with the number
keys.
GGGG
Press the [Insert Quantity] key, and
enter the number of sheets you
wish to insert with the number
keys.
HHHH
Press the [Next Chapter] key.
IIII
To specify another location where
to insert sheets, repeat steps
DDDD
to
HHHH
.
JJJJ
When you have finished specify-
ing all settings, press the [OK] key.
KKKK
Press the [OK] key.
LLLL
Select the paper tray which con-
tains the sheet paper to copy orig-
inals.
MMMM
Place your originals, and then
press the
{
{
{
{
Start
}
}
}
}
key.
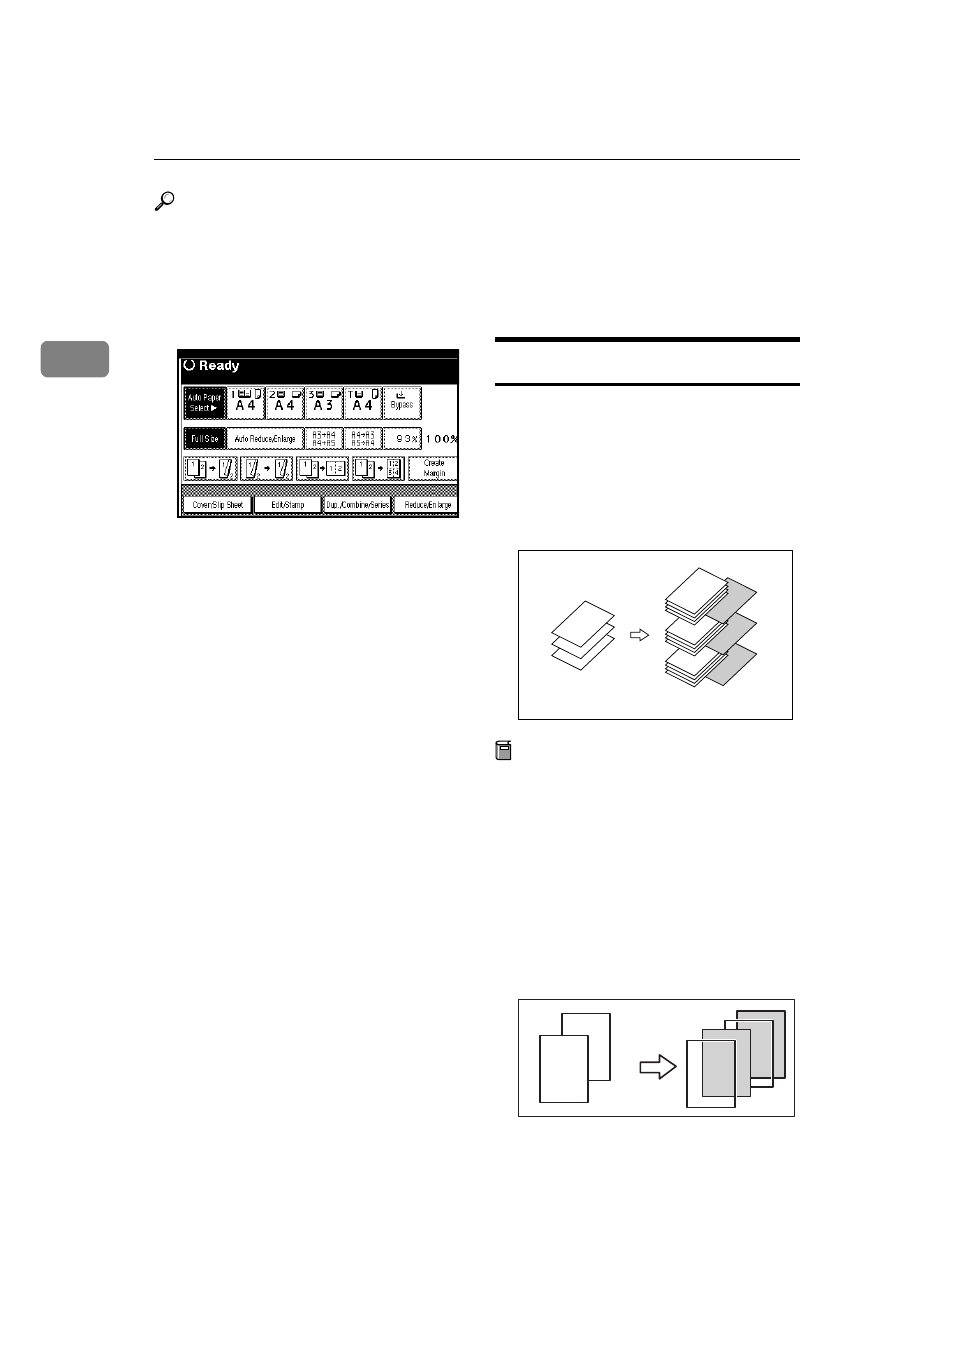
Slip Sheets
Every time the originals' page chang-
es, a slip sheet is inserted. This func-
tion can be used to insert a slip sheet
automatically between each OHP
transparency copied or used as a
stack function. You can also copy
onto the inserted slip sheets.
Preparation
Before selecting this function,
specify the paper tray for slip
sheets.
⇒ "Slip Sheet Tray" in the
General Settings Guide
If “1 Sided
→ 2 Sided”is selected,
change it to “1 Sided
→ 1 Sided”.
❖
❖
❖
❖ When using OHP transparencies set
on the bypass tray
• Copy
1
2
3
1
2
3
2
2
2
1
2
1
1
1