Scanning position – Ricoh IS 2075 User Manual
Page 69
Copy Functions
57
2
AAAA
Select the paper.
BBBB
Press the [Edit/Stamp] key.
CCCC
Press the [Edit Image] key.
DDDD
Press the [Centring] key.
EEEE
Press the [OK] key.
FFFF
Press the [OK] key.
GGGG
Place your originals, and then
press the
{
{
{
{
Start
}
}
}
}
key.
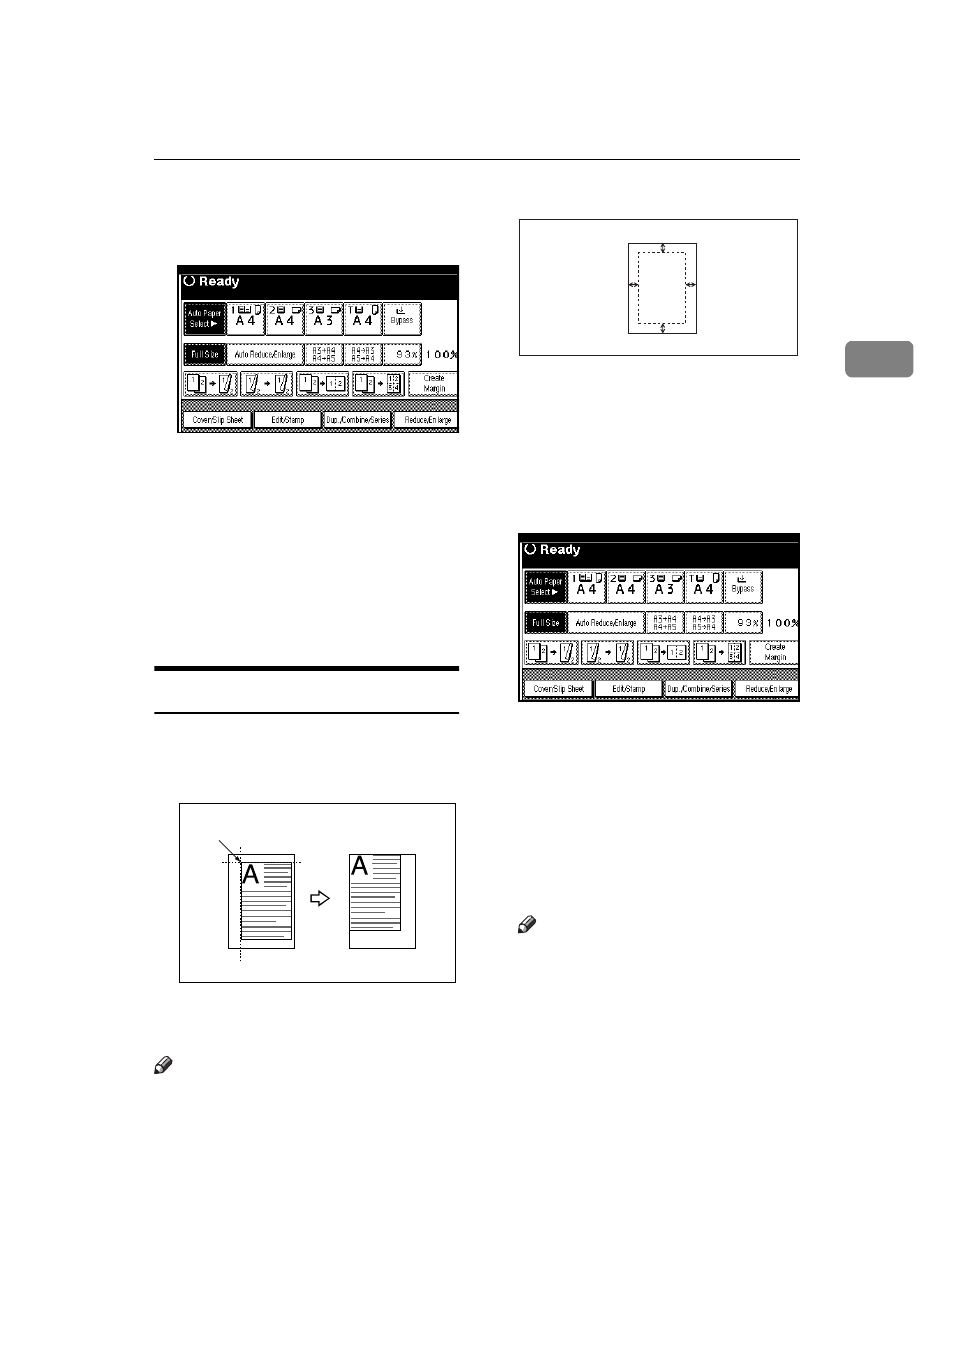
Scanning Position
You can move the scanned position
on the originals.
1.
Point where the machine starts
scanning.
Note
❒ You can move the scanned posi-
tion up to 30mm (in 1mm steps)
upward, downward, to left and to
right.
1.
Top: 0–30mm, 0"–1.2"
2.
Right: 0–30mm, 0"–1.2"
3.
Bottom: 0–30mm, 0"–1.2"
4.
Left: 0–30mm, 0"–1.2"
AAAA
Press the [Edit/Stamp] key.
BBBB
Press the [Edit Image] key.
CCCC
Press the [Scan Position] key.
DDDD
Set the scanned position for the
front of the original. Press the [
↑↑↑↑]
or [
↓↓↓↓] key to set the top or bottom
position. Press the [
←
←
←
←] or [→
→
→
→] key
to set the left or right position.
Note
❒ If you have incorrectly set the
position, readjust the position
with the [
↑↑↑↑], [↓↓↓↓], [←
←
←
←] or [→
→
→
→] key.
❒ If you don't set the scanned po-
sition of the back of the original,
go to step
F
.
1
1
2
3
4