Margin adjustment, P.64 “margin adjustment – Ricoh IS 2075 User Manual
Page 76
Copying
64
2
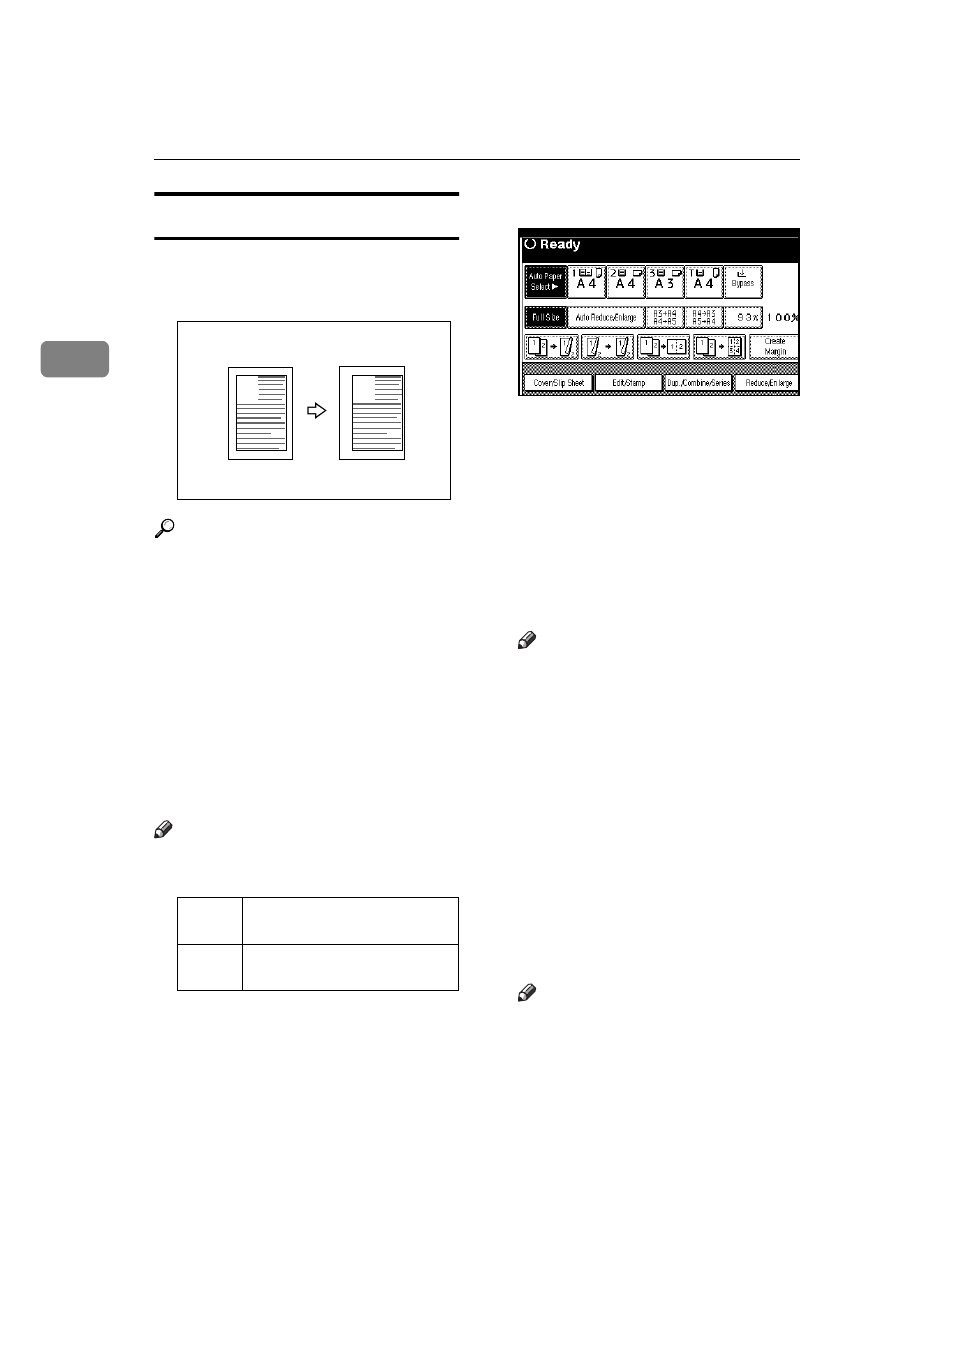
Margin Adjustment
You can shift the image to the left,
right, top or bottom to make a bind-
ing margin.
Reference
Related Initial Settings
⇒ p.1 0 3 “ Fron t M arg in :
Left/Right”
⇒ p.1 0 3 “ Ba c k M ar g in :
Left/Right”
⇒ p.103 “Front Margin: Top/Bot-
tom”
⇒ p.103 “Back Margin: Top/Bot-
tom”
⇒ p.103 “1 sided→2 sided Auto
Margin:T to T”
Note
❒ You can change the width of the
binding margin as follows.
AAAA
Press the [Edit/Stamp] key.
BBBB
Press the [Erase/Margin Adj.] key.
CCCC
Press the [Margin Adjustment] key.
DDDD
Set a binding margin for a front
page. Press the [
←
←
←
←] and [→
→
→
→] keys
when setting the left and right
margins, and the [
↓↓↓↓] and [↑↑↑↑] keys
when setting the top and bottom
margins.
Note
❒ To change the value entered,
press the [
←
←
←
←], [→
→
→
→], [↓↓↓↓], [↑↑↑↑] keys
to set the new value.
❒ If you do not need to specify the
margins for the back side pages,
press the [OK] key and go to step
.
EEEE
Set a binding margin for the back
side pages. Press the [
←
←
←
←] and [→
→
→
→]
keys when setting the left and
right margins, and the [
↓↓↓↓] and [↑↑↑↑]
keys when setting the top and
bottom margins. Then press the
[OK]
key.
Note
❒ Margin on the back side of the
page is valid only when [Duplex]
or [Duplex] of Combine is select-
ed.
FFFF
Press the [OK] key.
GGGG
Press the [OK] key.
Metric
version
0 – 30mm (in 1mm steps)
Inch
version
0" – 1.2" (in 0.1" steps)
A
A