Ricoh Camera CX6 User Manual
Page 61
1
Shooting Mode T
ypes
3
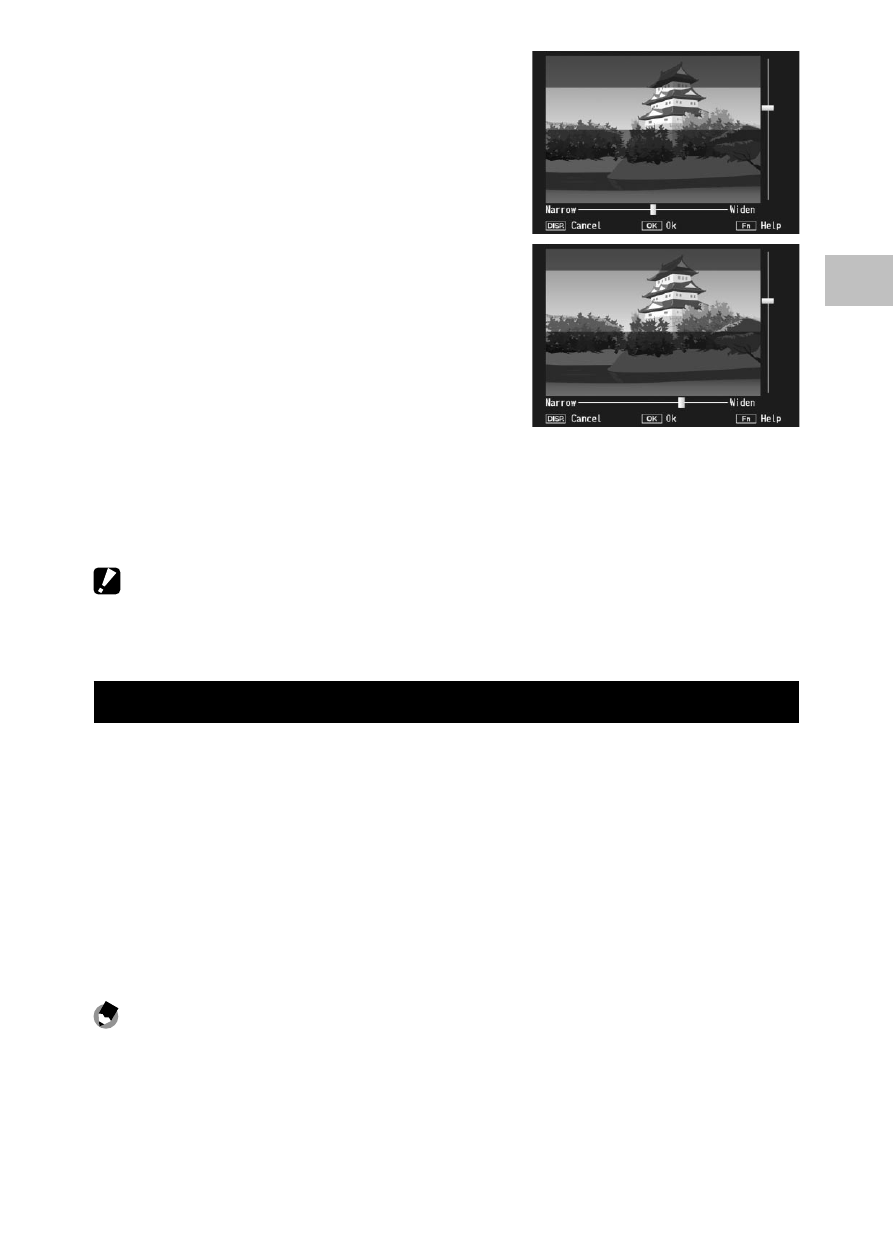
Push the ADJ./OK button !" to
reposition the area that will be in
focus.
• For help, press the Fn button. Press
the Fn button again to clear help from
the display.
4
Push the ADJ./OK button NF to
choose the width of the area that
will be in focus.
5
Press the ADJ./OK button.
6
Frame a picture and press the shutter release button
halfway to focus, then press the shutter release button the
rest of the way down to take the picture.
Caution ---------------------------------------------------------------------------------
The focus of the final image differs slightly from that in the image displayed
immediately after shooting.
Plus Normal Shooting
When [On] is selected for [Plus Normal Shooting] in the shooting
menu, the camera will record two copies of each photo taken in
creative shooting mode: one processed according to options selected
for creative shooting mode and a second, unprocessed copy. The
two copies are shown in the picture display after shooting, with the
unprocessed image on the right and the modified copy on the left.
To turn this option on or off, turn the mode dial to X and then select
an option for [Plus Normal Shooting] in the shooting menu.
Note -------------------------------------------------------------------------------------
In the case of photographs taken with dynamic range double shot, histograms
are included for both images when the pictures are displayed after shooting.
When [LCD Confirmation Time] is set to [Hold] (GP.117), the confirmation
screen remains displayed so you can confirm the histograms and easily compare
the images.