Installing the e1 dual coaxial cables, Rear panel of sn4830 t1/e1 -/k model, Ee section – Patton electronic SmartNode 4830 Series User Manual
Page 40
Installing the VoIP IAD
40
SmartNode 4830 Getting Started Guide
3 • Hardware installation
Note
Pins not listed are not used.
Installing the E1 dual coaxial cables. If the PBX or switch connection provides dual coaxial cables for the E1
connection, the transmit cable from the PBX/switch connects to the RX coaxial connector. Similarly, the
receive cable from the PBX/switch connects to the TX coaxial connector.
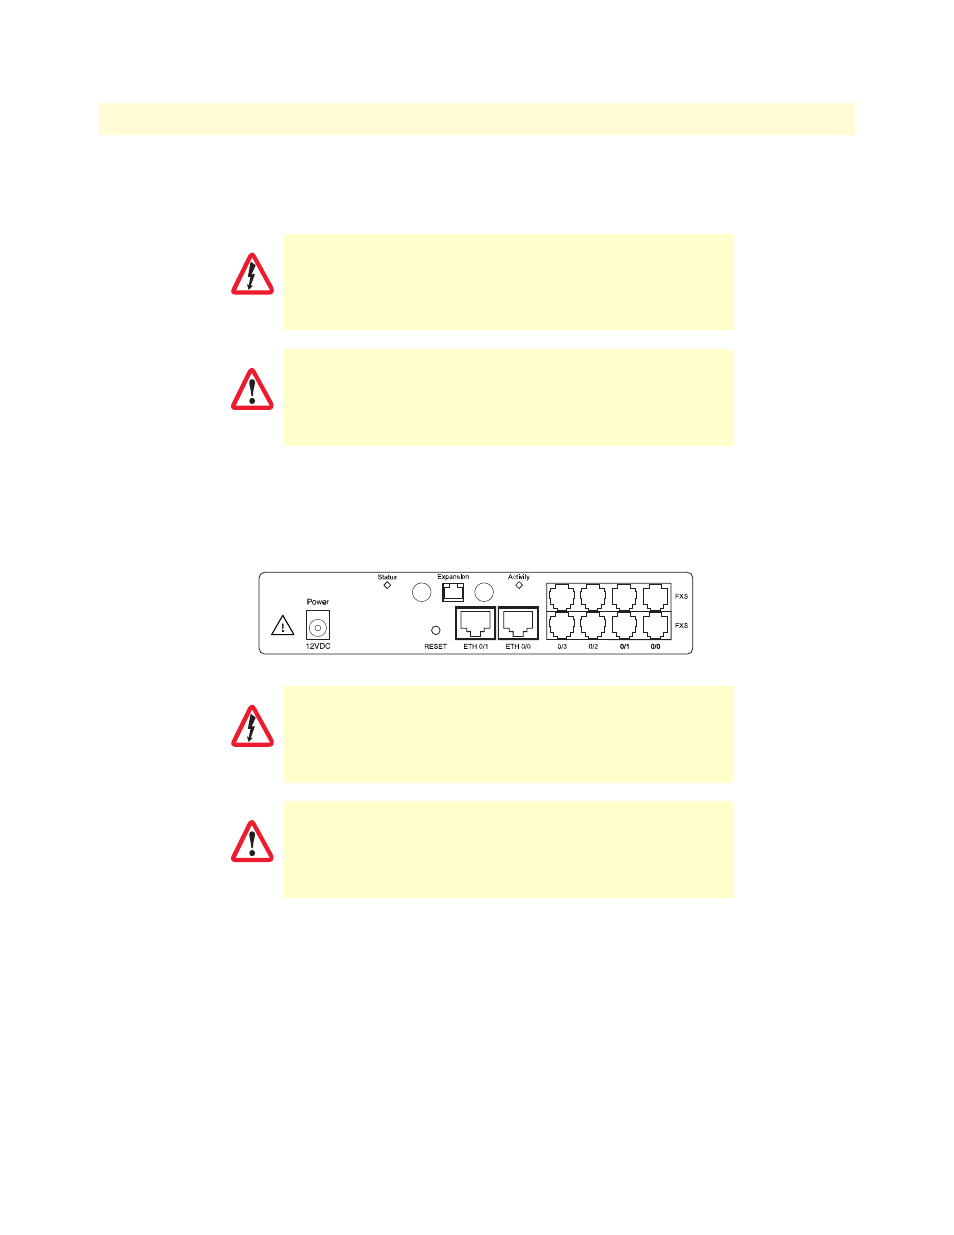
Figure 20. Rear panel of SN4830 T1/E1 -/K Model
Hazardous network voltages are present in the T1/E1 cables. If you detach
the cable, detach the end away from the IPLink first to avoid possible electric
shock. Network hazardous voltages may be present on the device in the area
of the T1/E1 port, regardless of power being on or off.
To prevent damage to the system, make certain you connect the
T1/E1 cable to the T1/E1 port only and not to any other RJ type
receptacle.
WARNING
CAUTION
0/4
0/5
0/6
0/7
RX
TX
WARNING
CAUTION