18 initial setup, Helpful hints, Instructions continue on the next page – Philips DVDR80/99 User Manual
Page 18
18 Initial Setup
Initial Setup menus will appear on the TV the first time you turn on the
Recorder. These help you set up TV channels, the GUIDE Plus+
®
System, and
other features for the first time.
During Initial Setup,“IS TV ON?” will appear on the Recorder’s dis-
play panel. Turn on your TV and set it to channel 3 or 4 OR the cor-
rect Video In channel.Your TV must be on the correct Video In
channel to see the Initial Setup menus. See pages 9-17 to find the Video
In channel for your hookup. Or, check your TV manual for details.
You cannot open the Disc tray while “IS TV ON?” appears.“INSTALL
RECORDER FIRST” will show on the display panel.
You cannot turn off the Recorder until you finish the Initial Setup.
The only way to quit the Initial Setup is to disconnect the power
cord. If you quit, the Initial Setup screens will appear again the next
time you turn on the Recorder.The screens will not go away until
you finish the Initial Setup.
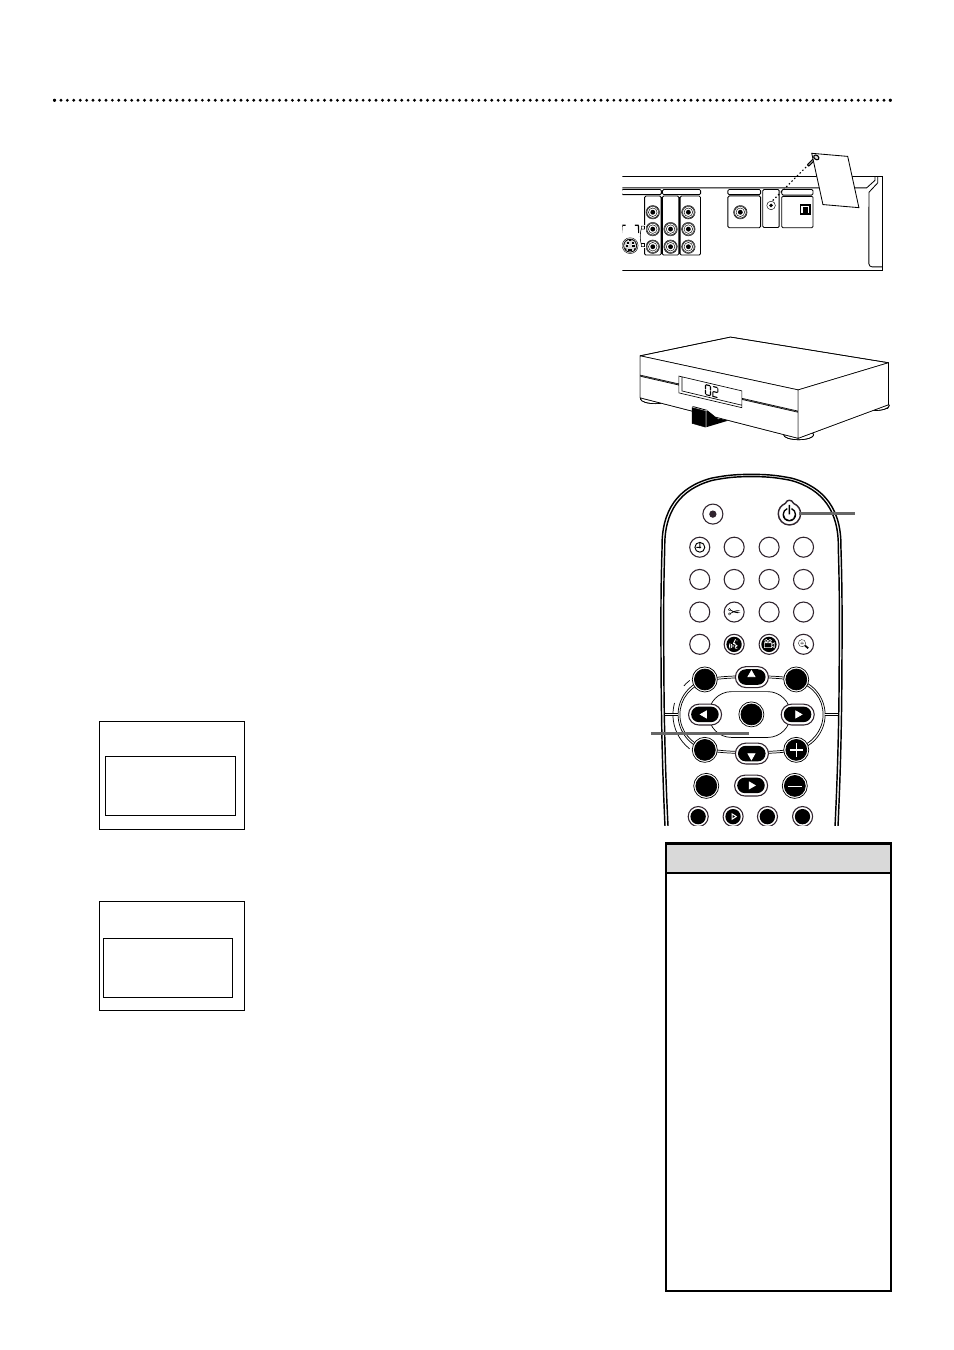
1
Remove the Demo Pin from the G-LINK jack on the rear of
the Recorder. Otherwise, a GUIDE Plus+
®
System demonstration
will run after you finish Initial Setup.
2
If you are using a Cable Box, connect the G-Link cable to
the Recorder’s G-LINK jack. See page 11. Place the G-Link
sensor in front of your Cable Box. Turn on the Cable Box and
set it to channel 2.
3
Press STANDBYy
y
to turn on the Recorder. PHILIPS will show
on the display panel. It will take the Recorder several seconds to
turn on.
4
The Menu Language screen will appear first. Press 8CH+ or
9CH- to choose English, Espanol, or Francais. Press OK.
The Recorder’s menus will be in the language you selected.
To change the Menu Language later, see page 60.
5
The Audio Language menu appears next. Press 8CH+ or 9CH-
to choose the language you prefer, then press OK.
To change the Audio Language later, see pages 48 and 60.
~
Initial Setup
Menu Language
English
K
L
Español
Français
Press OK to continue
~
Initial Setup
Audio Language
English
K
L
Español
Français
Português
Italiano
Press OK to continue
• The Recorder’s features will scroll
across the display panel when
you first connect the power cord.
This is a demonstration that can-
not be cancelled.
• The Initial Setup screens will dis-
appear after about 20 minutes
of inactivity.The Recorder will
turn off. The Initial Setup menus
will reappear when you turn on
the Recorder again.
• If the Initial Setup menus don’t
appear, your Recorder is set
already.To change items later, see
the pages for each feature.
• You can use channel 3 or 4 at
your TV. While “IS TV ON? C04”
is on the Recorder’s display, press
and hold the remote’s Number 3
button until the display shows “IS
TV ON? C03.” Set your TV to
channel 3.To change to channel
4, press and hold Number 4
instead during this process.
Helpful Hints
STANDBY
REC/OTR
TIMER
REC MODE PLAY MODE TV/DVD
MONITOR
•TV
DIM
RETURN
T/C
DISC MANAGER FSS
SELECT
SUBTITLE
STOP
TV VOLUME
PAUSE
SLOW
PLAY
AUDIO
ANGLE
ZOOM
GUIDE/TV
`
E
CH
CH-
CH
CH+
OK
SYSTEM
DISC
DISC
Ç
H
G
k
MENU
4-5
3
CABLE
BOX
CABLE
BOX
Instructions continue on the next page.
S-VIDEO
(Y/C)
VIDEO
(CVBS)
COMPONENT
VIDEO
AUDIO
Y
P
B
P
R
OUT 2
OUT 1
480p/480i
COAX OUT
G-LINK
DIGITAL AUDIO OUT
OPTICAL OUT
AUDIO
L
R
DEMO PIN
This Demo Pin ac
tivates an
automatic GUIDE Plus+
demo.
RETAILERS
Do not remove this D
emo Pin.
Removal will disable the auto
-
matic demo.
CONSUMERS
Remove this Demo
Pin and
insert the IR extender
here
before using this
TV.
WARNING
Dispose of properly
. KEEP
AWAY FROM CHILD
REN
DIGITAL AUDIO OUT
1
2