Troubleshooting procedure, Running the troubleshooting utility – PC Concepts 500PS User Manual
Page 72
Printer
Troubleshooting Procedure
Working through the Troubleshooting procedure should always be your first action when you encounter image
quality problems. Refer to the
for a description of the sequence of processes used to
complete troubleshooting procedure.
It is important that the paper loaded for this procedure is exactly that used when you encountered image quality
problems, type (for example, glossy paper) and size. If you use a different kind of paper or a different size, you
stand less likelihood of resolving the problem.
Running the Troubleshooting Utility
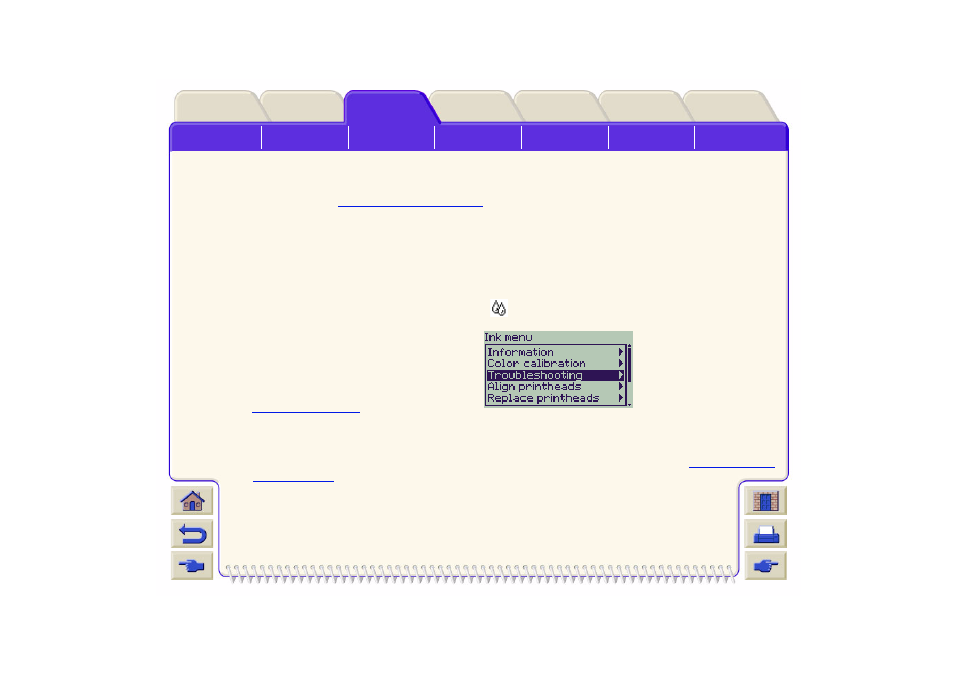
1. From the main front-panel menu, select the Ink menu (
) and press Enter.
2. Select Troubleshooting and press Enter.
3. The printer first checks to see whether the
printheads are aligned. Misalignment of the
printheads is a common cause of image quality
problems. If they are not aligned, you are prompted
to accept
. This procedure
requires a few centimeters of paper loaded and takes several minutes to perform.
NOTE:
Note that you do not have to interpret the patterns printed by the Printhead Alignment routine.
4. If the printheads do not seem to require alignment, the printer prints Diagnostic Print A. See
for full details of how to use this diagnostic print.