Divx® vod, Step 1: applying for a user account, Step 2: registering your dvd recorder – Philips G-CODE 7819901511 User Manual
Page 36: Divx, Step 3: selecting video files, Step 4: playing video files
35
Digital V
ideo Support
If you would like the subtitle to be automatically displayed
when playback starts, please make sure you have:
• Not set the preference of subtitles to be “Off” in Setup
menu
• Given a correct file name.
Give the same file names to video title and subtitle file, so
that the DVD recorder can match one file with the other.
For example, name ‘XXX.avi’ for the video title, and
‘XXX.txt’ for the accompanied subtitle file.
• Placed the file in the same folder as the video
title, or under an appropriate sub-directory.
Save the subtitle file either in the same folder as the
video title, or in a sub-directory which is given one of
the following names: SRT, SUB, SUBS, SUBTITLE or
SUBTITLES.
DivX
®
VOD
DivX
®
VOD (video-on-demand) allows you to download
video files to your PC, which you can watch either on
your computer or on your TV. To protect copyrights of
these digital videos, the service features an Internet-based
copyright protection system called DRM (digital rights
management). DRM safeguards copyrights through an on-
line authorization process. To watch DRM-protected video
files, you need to complete the registration procedure.
To complete the procedure of registration, you would
need to burn data on a disc.
Step 1: Applying for a User
Account
Register a user account on the DivX
®
website: http://
www.divx.com.
Step 2: Registering Your DVD
Recorder
1. Press SETUP to display the Setup menu.
2. Go through PlaybackDivX(R) VOD to display the
registration code of your DVD recorder.
Playback_07_01
The code seen above serves as an example only
3. When completed, press SETUP to exit the Setup menu.
4. Go to the DivX
®
website: http://www.divx.com, and
enter the recorder’s registration code in your account.
When you finish filling in the required details, you will
then be directed to a film download link. Follow the
instructions given on the website, and burn the short
film to a disc.
5. Follow ‘Playback: Step by Step’ to start playing back
the information disc created in step 4 on your DVD
recorder.
Playback: Step by Step(p.30)
6. Your DVD recorder is then officially registered when
playback stops.
Step 3: Selecting Video Files
Select the video files you would like to watch from various
online rental shops. Normally, users pay to get the viewing
rights of these video files, which are downloaded to users’
PCs. If you would like to watch them on your TV, you
need to transfer these files to the recordable CD or DVD
discs.
Conditions of viewing rights vary depending on the
service providers.
Step 4: Playing Video Files
1. Follow ‘Playback: Step by Step’ to place the disc in
the DVD recorder.
2. A dialogue box offering the file-type options will
appear. Press to select ‘Video’, then press OK.
3. If the file is not protected by the DRM system, play-
back will then begin.
If the file is protected by the DRM system, the system
will check whether the DVD recorder’s registration
code corresponds to the user account which holds
viewing rights of the video file.
4. If you have purchased the file, playback will then start.
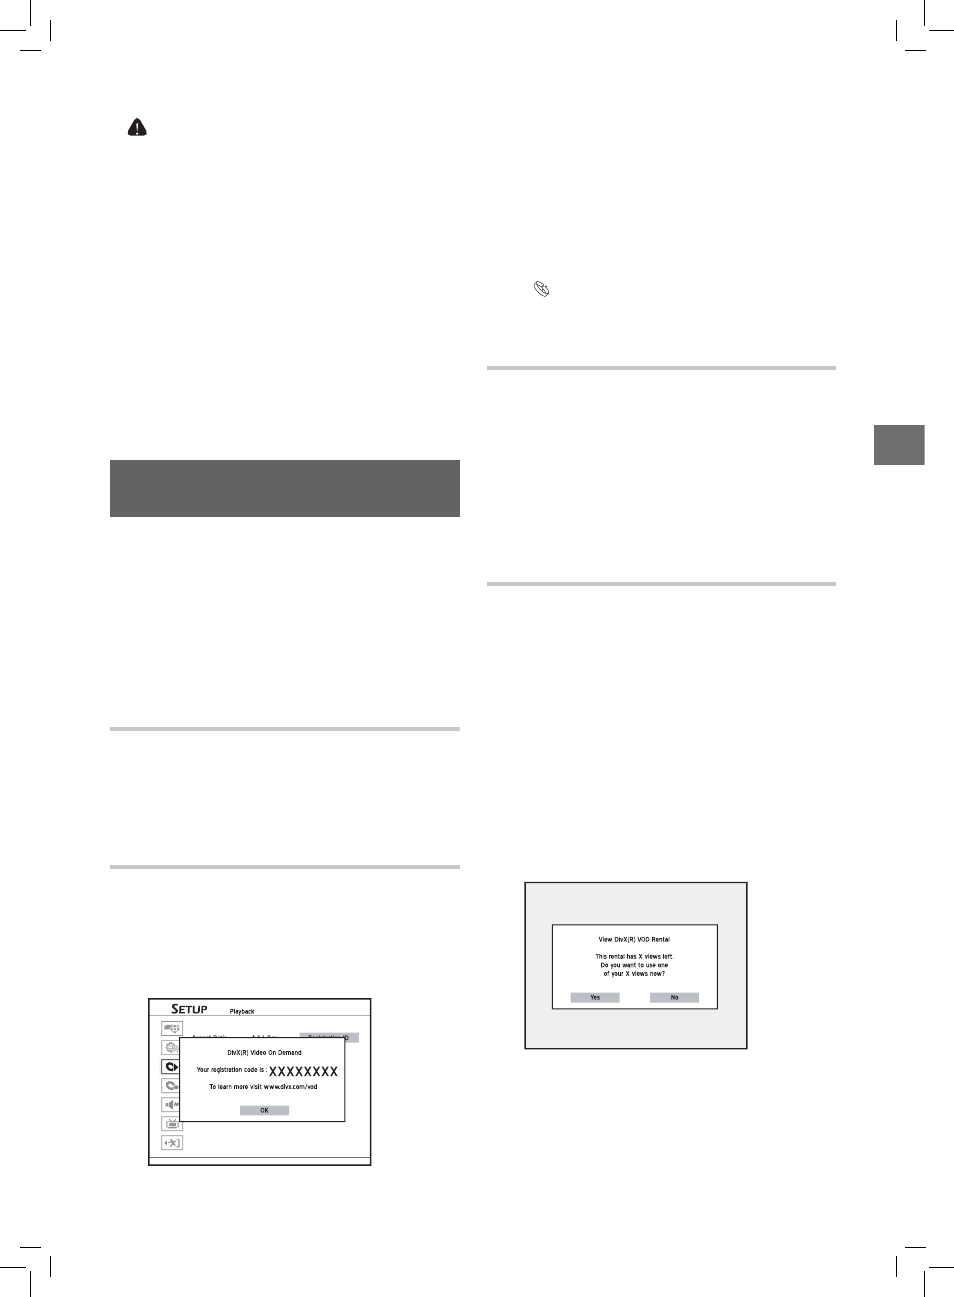
If you have a rental file, a dialogue box showing the
remaining number of viewing rights will appear. Press
to select ‘Yes’ or ‘No’, then press OK.
Playback_07_01