Konica Minolta Q-M200 User Manual
Page 35
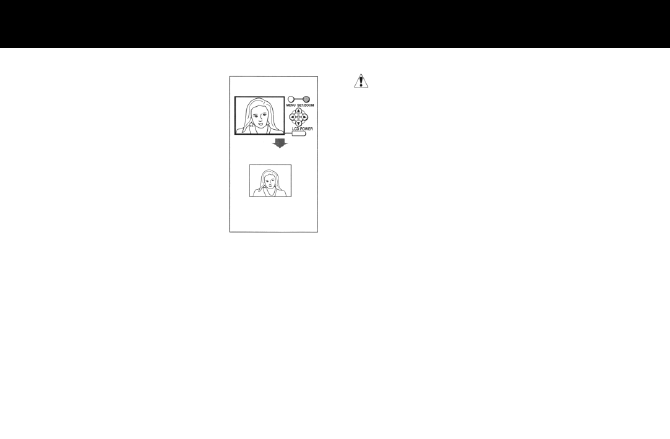
5. Press the Set/Zoom button
once.
The image will be enlarged
two times. Press the
Set/Zoom button again to
return the image to the stan-
dard size. While zoom is set,
the periphery of the monitor
will be displayed in blue.
6. Look through the viewfinder, compose the
scene and lightly press the shutter button half-
way.
The viewfinder LED will light green, and expo-
sure and focus will be locked.
Caution
* Setting zoom while 4-frame continuous shoot-
ing mode is selected will cancel 4-frame con-
tinuous shooting mode and return to normal
photographic status.
7. Gently press the shutter button fully.
When the beep sounds, taking of the photo-
graph has been completed. Then, writing of the
image to the CF card will start. The sandglass
mark in the data display panel will start blinking,
indicating the image photographed has been
written to the CF card and the card access LED
will light amber at the same time.
Note:
The continuous shooting function and digital 2
×
zoom function cannot be used at the same time.
Set/Zoom button
Set/Zoom button
Set/Zoom button
1.0
Ч → 2.0Ч →
1.0
Ч → ...