Konica Minolta Q-M200 User Manual
Page 32
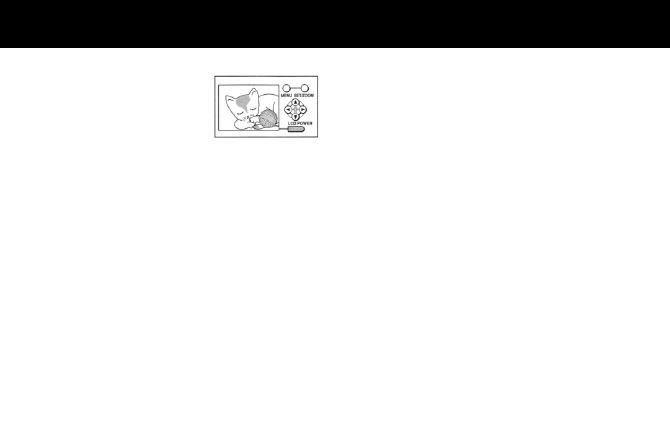
4. Press the LCD monitor
power button (LCD
POWER) to display the
image (through image)
through the lens.
5. Use the LCD monitor to compose the scene and
then lightly press the shutter button halfway.
The viewfinder LED will light green and both
exposure and focus will be locked.
Caution:
In macro (close-up) photography, the shooting
range does not match the field of view visible
through the viewfinder.
You are advised not to look through the view-
finder in macro (close-up) photography.
Tips: Parallax correction
If you look through the viewfinder with the setup
item “eye start” enabled and the LCD monitor
turned off, a parallax warning (*1) will be issued.
(The viewfinder LED will blink green rapidly.)
The warning can be cleared by turning on the
LCD monitor.
*1: A warning alerting you to a difference be-
tween the field of view visible through the
viewfinder and the shooting range.
6. Now fully press the shutter button.
The beep will sound when the photograph has
been taken.
Notes:
* Focusing in macro mode will take more time
than in other modes.
* If the macro mode is selected, the flash mode
is always off. When you want to use the flash
mode, press the flash button. However, the
subject may appear overly bright with lighting
from the flash.