Gk_f]:lkjx]\kp9xi – Woodstock SHOPFOX W1813 User Manual
Page 37
-35-
N(/(*(/Fg\e
J
M
@:<
;\gk_f]:lkJX]\kp9Xi
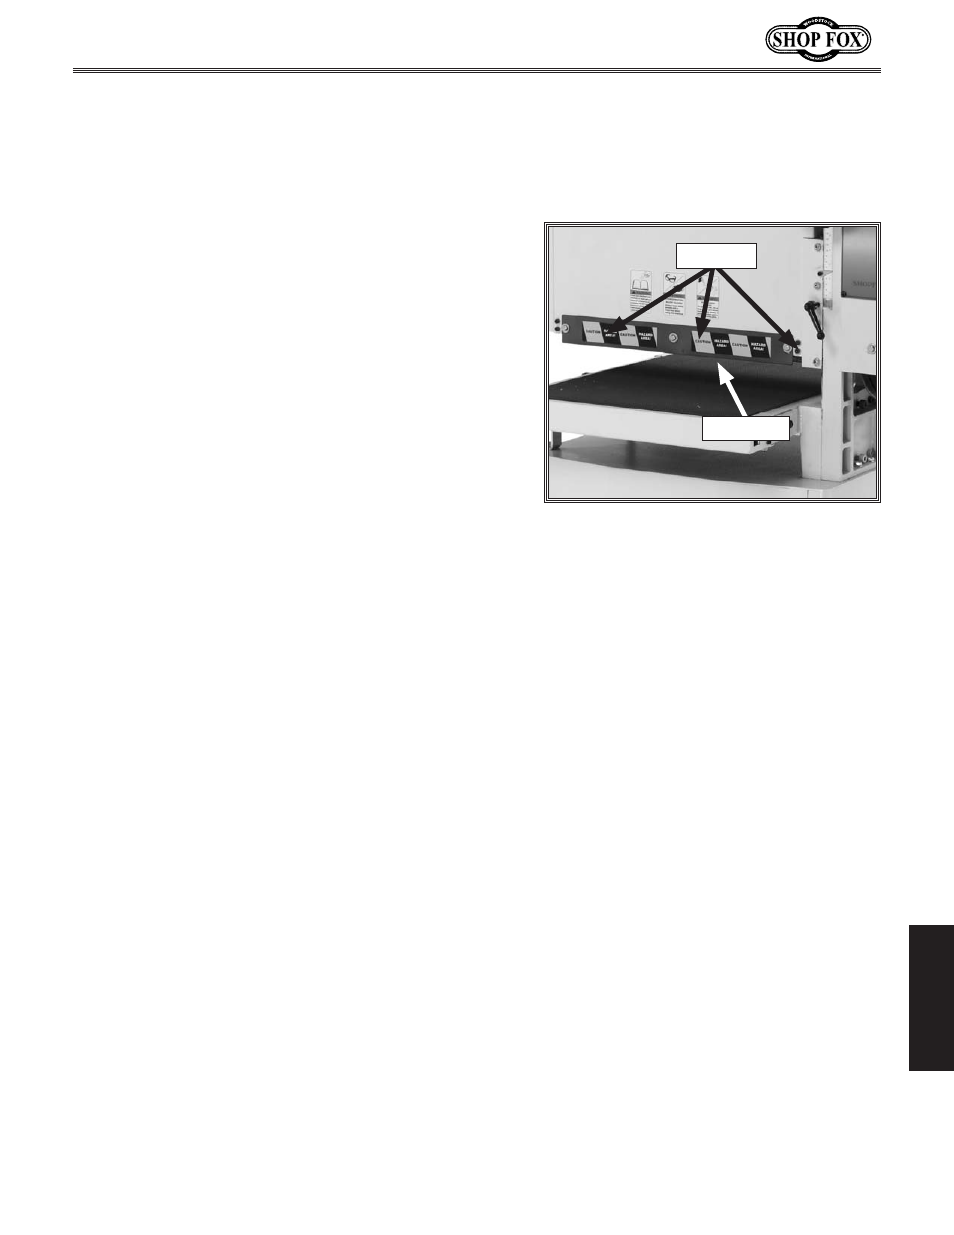
When properly adjusted, the depth of cut safety bar
prevents the operator from sanding a workpiece that is
beyond a safe height and that could become a kickback
hazard.
The position of this safety bar (see
=`^li\**) was set by
the factory at approximately 0.047" (
3
⁄
64
") above the low-
est point of the sanding drum. For safe operation, make
sure that this safety bar remains at this setting.
KffcjE\\[\[
Hkp
Wrench 10mm ...................................................1
Feeler Gauge 0.047" (
3
⁄
64
") ....................................1
KfX[aljkk_\[\gk_f]ZlkjX]\kpYXikfk_\]XZkfipj\k$
k`e^#[fk_\j\jk\gj1
(% Make sure the sanding drum and conveyor are paral-
lel (refer to
GX^\*) for detailed instructions).
)% Surface plane and sand an 18" wide piece of stock
until it is flat and the same height from side-to-side.
*% DISCONNECT THE SANDER FROM POWER!
+% Open the sanding belt access door and remove the
sanding belt from the machine.
5. Loosen the three hex bolts securing the safety bar
(see
=`^li\**), raise the bar up slightly, then tight-
en the hex bolts enough to hold it in place.
-% Place the workpiece from Jk\g)under the sanding
drum, then lower the sanding cabinet until the sand-
ing drum is just touching the workpiece.
.% Remove the workpiece from under the sanding drum
and position it directly under the depth of cut safety
bar.
/% Loosen the three hex bolts securing the safety bar,
then position the bar so that it is 0.047" (
3
⁄
64
") above
the workpiece from side-to-side, then fully re-tight-
en the hex bolts to secure it.
0% Re-install the sanding belt and secure the access
door.
=`^li\**% Depth of cut safety bar.
Hex Bolts
Safety Bar