JVC DLA-M4000LU User Manual
Page 37
No.51666
DLA-M4000LU
DLA-M4000LE
4
The wire which is coloured green-and-yellow must be connected
to the terminal which is marked
with the letter E or the safety
earth or coloured green or green-and-yellow.
The wire which is coloured blue must be connected to the terminal
which is marked with the letter N or coloured black.
The wire which is coloured brown must be connected to the
terminal which is marked with the letter L or coloured red.
When replacing the fuse, be sure to use only a correctly rated
approved type, re-fit the fuse cover.
IF IN DOUBT —— CONSULT A COMPETENT
ELECTRICIAN.
POWER CONNECTION
(United Kingdom only)
WARNING
Do not cut off the main plug from this equipment.
If the plug fitted is not suitable for the power points in your home
or the cable is too short to reach a power point, then obtain an
appropriate safety approved extension lead or adapter or consult
your dealer.
If nonetheless the mains plug is cut off, remove the fuse and
dispose of the plug immediately, to avoid a possible shock hazard
by inadvertent connection to the main supply.
If a new main plug has to be fitted, then follow the instruction
given below:
WARNING:
THIS APPARATUS MUST BE EARTHED.
IMPORTANT:
The wires in the mains lead on this product are coloured in
accordance with the following cord:
Green and Yellow
: Earth
Blue
: Neutral
Brown
: Live
As these colours may not correspond with the coloured making
identifying the terminals in your plug, proceed as follows:
SAFETY PRECAUTIONS (Cont.)
Information on the power cord plug
The power cord of this projector does not have a wall outlet
plug attached. We recomend you to select and attach a plug
which matches your wall outlet.
Use a plug rated 250V/20A.
The wires ends of the power cord are covered for protection.
Remove the covers before attaching the plug to the power
cord.
5
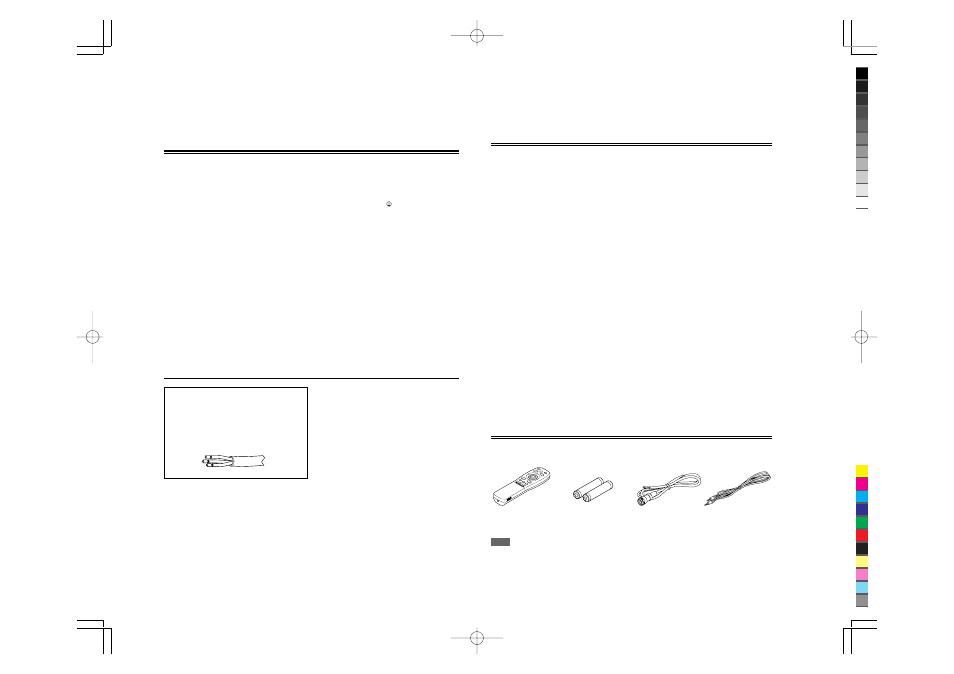
Remote control unit
(RM-M4000G)
AA/R6-size dry cell battery (
×
2)
(for checking operation)
Power code
[approx. 3.35 m]
Remote control cable
(approx. 15 m)
Accessories
The following accessories are included with this projector. Check for them; if any item is missing, please contact your
dealer.
Memo
In addition to the above accessories, an operator manual (this book) and warrantee sheet are included. If any is missing, also
contact your dealer.
Contents
SAFETY PRECAUTIONS ........................... 2
Accessories ............................................... 5
Controls and Features .............................. 6
Front Side / Top Surface / Right Side .................... 6
Left-hand side ....................................................... 7
Control Panel ........................................................ 8
Connector Panel ................................................. 10
Remote Control Unit ........................................... 11
MENU / ENTER (Menu Operation) Button .......... 13
Installing Batteries ............................................... 13
Installing the Projector ........................... 14
Precautions for installation .................................. 14
Relationship relative to Glass Surface ................ 15
Lens Shift Function ............................................. 16
Projection Distance and Screen Size .................. 18
Connecting to Various Devices ............. 19
Signals that Can Be Input to the Projector .......... 19
Examples of System Configuration ..................... 20
Connecting to Computer Devices ....................... 21
Connecting to Devices which Control the
Projector ......................................................... 22
Connecting the Power Cord (Supplied) .............. 23
When Turning On the Devices Connected to the
Projector ......................................................... 24
Basic Operations ..................................... 26
1. Turning on the Power ...................................... 26
2. Select the video input to be projected ............. 27
3. Adjust the screen size ..................................... 27
4. Adjust focus ..................................................... 28
• For Operating Other Functions ......................... 27
Operating the Setting Menu ................... 30
Making Basic Settings ......................................... 30
Operating the Main Menu ....................... 31
Configuration of the Main Menu .......................... 31
Operating the Main Menu (Basic Operation of the
Main Menu) .................................................... 33
Changing the Color System ................................ 34
Changing the Language Display ......................... 35
Adjusting the Pixel Clock .................................... 36
Adjusting the Screen Position ............................. 37
Adjusting Picture Quality ..................................... 38
Setting and Adjusting Other Functions
(OPTIONS) .................................................... 41
Setting Up Channels ........................................... 47
Setting Up Channels (LINE setup) ...................... 48
Setting Up Channels (SOURCE setup) .............. 49
Changing Channels (CH change) ....................... 52
Setting Up (or Changing) User Source ............... 54
Setting Up (or Changing) the Display Size ......... 57
Filter Maintenance and Light-Source
Lamp Replacement ............................. 59
Cleaning and Replacing the Filter ....................... 50
About Light-Source Lamp Replacement ............. 60
Cleaning and Replacing the Filter ......... 51
Troubleshooting ...................................... 52
Specifications .......................................... 54