Troubleshooting – JVC DLA-M4000LU User Manual
Page 31
No.51666
DLA-M4000LU
DLA-M4000LE
60
4
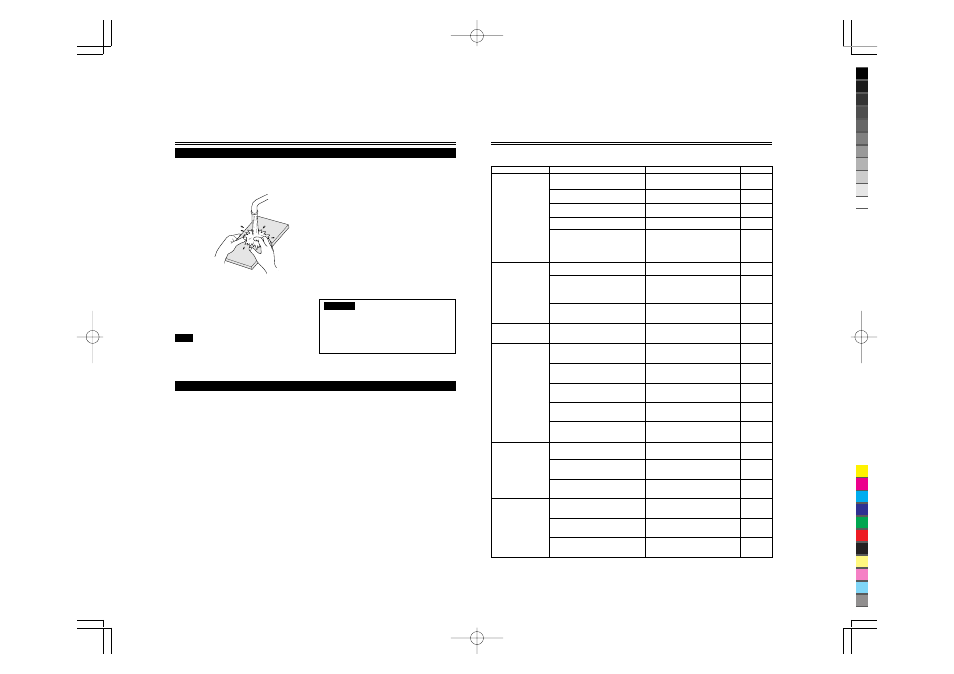
Clean the filters.
Wash the filter in water with neutral detergent, and dry it in the shade.
Filter Maintenance and Light-Source Lamp Replacement (Cont.)
Cleaning and Replacing the Filter (Cont.)
Notes
• Install the filters correctly; otherwise the projector will not operate
normally.
• If the filters and/or filter holders are damaged, the projector may fail
to operate. Then, replace with new parts.
5
Reinstall the filters.
To reinstall the filters to the projector, reverse the procedure
for removing . Finally, be sure to reinstall the filter covers.
About Light-Source Lamp Replacement
CAUTIONS
• Put on rubber gloves when using neutral detergent.
• After you have washed the filter in water, make sure the
filter is completely dry before reinstalling it. Otherwise,
electric shock or malfunction could occur.
• Do not clean the filter using a vacuum cleaner. Since the
filter is soft, it may be sucked into the vacuum cleaner or
damaged.
The light-source lamp has its service life. It is approximately 1000 hours.
When the light-source lamp approaches the end of its service life, its degradation progresses rapidly. When the lamp’s used
hours exceed 900 hours, the projector’s LAMP indicator comes on. Also, at the start of projection (lamp energized), the message
“REPL.-LAMP” appears on the projection screen for about two minutes. Then, the light-source lamp needs to be replaced.
When lamp’s service has reached 1000 hours, the projector’s LAMP indicator starts blinking. The specified lamp replacement
period is 1000 hours, but depending on use conditions, the replacement period may vary. If video image is dark and its color tint
is extraordinary even after you have adjusted color tint and brightness, replace the light-source lamp a little earlier.
For replacing the light-source lamp, consult the dealer where you purchased your projector or a local service center.
61
Troubleshooting
Solutions to common problems related to your projector are described here. If none of the solutions presented here solves the
problem, unplug the projector and consult a authorized dealer or service center.
Symptom
Probable cause
Corrective action
Page
Power is not supplied.
Light is not emitted,
or light level is low.
Video image does not
appear.
With power on,
operation starts but
stops in a few minutes.
Video image dims.
Color is poor or
unstable.
• Is the power cord disconnected?
• Check that AC220V is supplied.
• Is the main power switch turned on?
• Is the correct power voltage used?
• Has the breakertripped open?
• Is the lens cap removed?
• Is the lamp life near its end?
• Check that the breaker is closed.
• Is the correct input selected?
• Are connected devices connected
correctly?
• Are signals being supplied from the
connected devices?
• Is the source setting correctly selected?
Isn’t a wrong source (forced mode)
selected?
• Is brightness adjusted correctly?
• Is focus adjusted correctly?
• Is distance too short or too long?
• Are TRACKING and PHASE adjusted
correctly?
• Is picture quality (color density, etc.)
adjusted correctly?
• Has the lamp protective function
activated? (This can occur if the power
is shut down due to a power failure,
etc.)
• Insert the power cord (plug) firmly.
• Remove the lens cap.
• Has the projector been moved from its
installed place?
• Wait until the lamp has cooled down.
(Turn on the main power sand let the
fans cool the lamp.)
About 10 minutes later, press
OPERATE on the remote control.
• Turn on the MAIN POWER switch.
• Check the lamp use time on the menu,
and if the lamp life is near its end,
arrange for a replacement lamp, or
replace a little earlier.
• Turn off the MAIN POWER switch,
remove any blocking objects, and turn
on the MAIN POWER switch again.
• Set connected devices correctly.
• Check if the signal is correct as input
(scanning frequency, etc.).
Input the appropriate signal.
• Connect connected devices correctly.
• Select the correct inputs with the AV
and RGB buttons.
• Set the source setting to AUTO or to
the correct dedicated source (forced
mode).
• Adjust brightness on the menu.
• Adjust focus with the remote control’s
FOCUS (+/–) buttons.
• Set the projector at the correct
distance.
• Adjust TRACKING and PHASE on the
menu.
• Adjust picture quality on the menu.
• Is the air intake or exhaust area
blocked?
• Check the installed position.
• Are input signals (scanning frequency,
etc.) appropriate?
23
25
3, 65
––––
41, 59
––––
8, 9, 16
26
18
20, 21
––––
19
44, 46
38, 40
27, 30
30, 36
38, 40
––––
23
(To be continued on the next page)
• Is the correct CLAMP selected?
• Select the correct CLAMP on the
OPTION MENU.
41, 42