Auto recording – JVC SR-VD400E User Manual
Page 23
EN
23
Auto
Recording
● Turn on the VCR and the TV, and select the AV mode
on the TV.
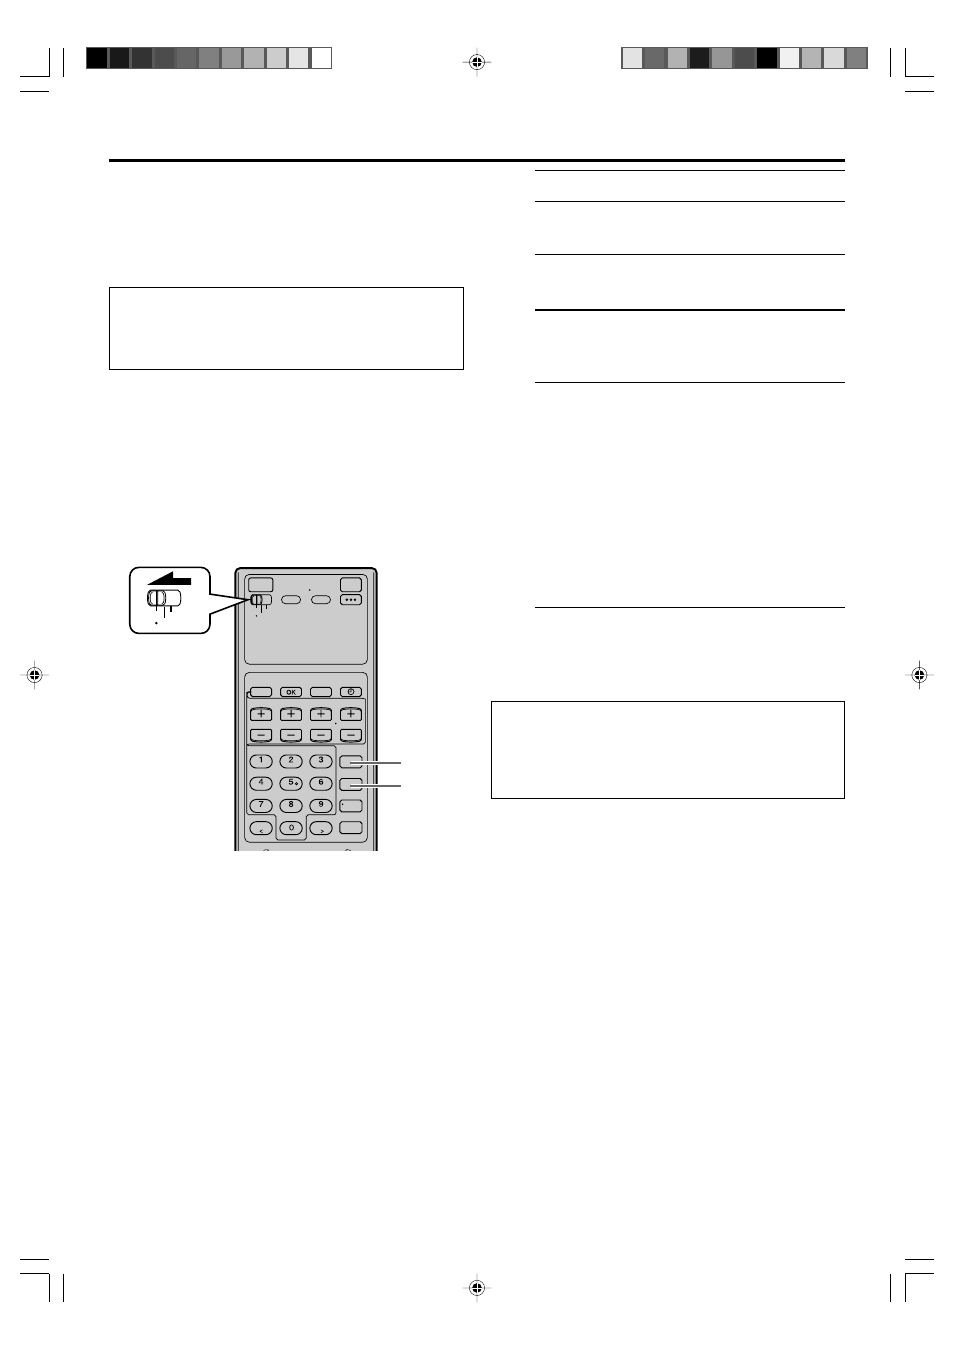
● Set the [VCR/TV/CABLE/DBS] selector on the Remote
to [VCR].
This function allows you to automatically record a program
which is timer-programmed on your NTSC device.
Preparation: Connect a NTSC device to the [AUDIO/
VIDEO IN] or [S VIDEO IN (L-1)] connectors* on the rear;
otherwise, you cannot use this function.
*
To use these connectors, you have to select which one to use
(
੬
page 38).
1
Set timer program on NTSC device
● For timer programming method, refer to the
manual supplied with the NTSC device.
2
Load a cassette
Make sure the record safety tab is intact.
3
Set recording speed
Press [REC SPEED]/[SPEED] to set the recording
speed.
4
Engage Auto Recording standby mode
Turn off the NTSC device.
Press and hold [REC LINK] on the Remote for
more than 2 seconds.
The VCR turns off automatically, [L-1] and [‰]
appear on the front display panel (Auto Recording
standby mode).
When the NTSC device outputs a signal, the VCR
starts recording and [L-1] blinks, the [‰] and
record [Q] indicator light up. The VCR stops
recording and powers off when the NTSC device
stops outputting a signal.
● This VCR will enter into Auto Recording standby
mode after recording is finished.
● To release the Auto Recording standby mode,
press [REC LINK]. [L-1] and [‰] disappear.
IMPORTANT: Be sure not to turn on the NTSC device
before the program starts broadcasting; otherwise, the
VCR will start recording when the NTSC device is
turned on.
NOTES:
●
If you turn off this VCR while Auto Recording is in progress, recording stops.
●
Video Calibration (
੬
page 36) does not work while Auto Recording is in progress.
●
The VCR may not record a short portion at the beginning of the program or may record slightly longer than the actual length of the
program when Auto Recording method is used.
●
If you engage the Auto Recording standby mode while the NTSC device is turned on, the VCR will not start Auto Recording, and [L-1]
and [
‰
] blink on the front display panel. When you turn off the NTSC device, [L-1] and [
‰
] light up and the VCR enters the Auto
Recording standby mode.
●
If you have connected another component other than a NTSC device to the [AUDIO/VIDEO IN] or [S VIDEO IN (L-1)] connectors, be
sure not to engage the Auto Recording standby mode; otherwise, the VCR will start recording when the connected component is
turned on.
●
If the [L-1] blinks quickly on the front display panel in the Auto Recording standby mode (even though your NTSC device is turned off),
Auto Recording will not work properly.
VCR
TV
CABLE
/DBS
4
3
TIMER RECORDING