Motorola PR400 User Manual
Page 65
6881096C24-A July, 2004
Full Keypad Model Disassembly and Re-assembly: Disassembling and Re-assembling the Radio — General
6-15
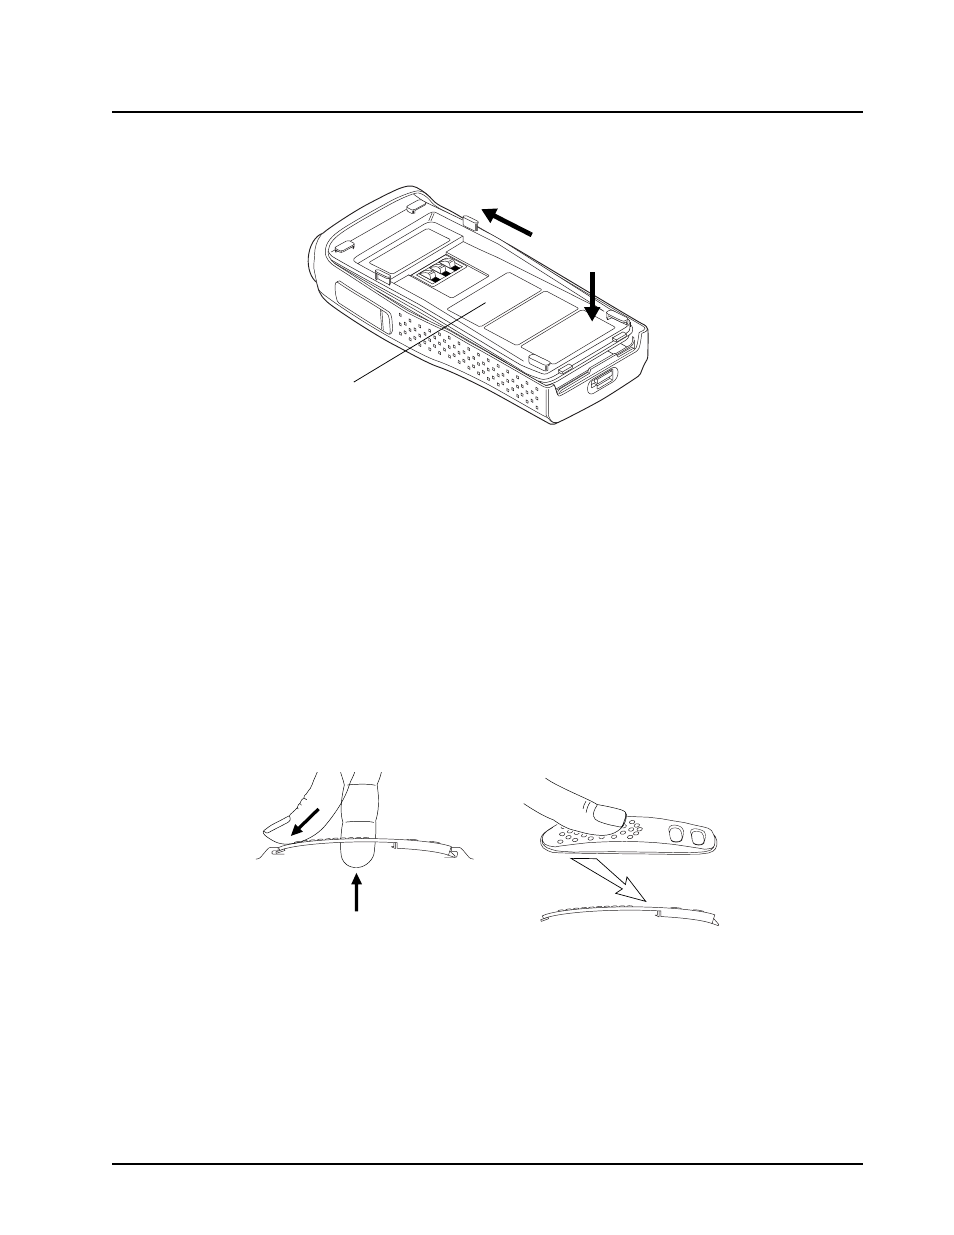
5.
Snap chassis assembly completely into the top of the front cover (
) until it settles in
place.
6.
Make sure the 0-ring is properly seated. If the O-ring seal is pinched, separate the chassis from
the housing using the knob removal/chassis opener and dress O-ring properly.
7.
Snap the bottom of the chassis into the front cover.
8.
Check that O-ring is visible at the corners.
9.
Re-assemble the knobs, antenna, and battery.
6.4.2.7 PTT Re-assembly
1.
Place the PTT seal over the ridge around the top hole. Press down to seat the seal around the
ridge.
2.
Place the bottom tab in the slot inside the front housing PTT opening. Slightly slide down the PTT
and bow it by placing one finger under the middle of the PTT, so that the top tab can be aligned
and inserted into the top slot (
a).
3.
Press the PTT assembly against the front cover opening (
b).
Figure 6-20. Fastening the Chassis
Figure 6-21. PTT Re-assembly
Radio Chassis
a. Place bottom tab into bottom slot.
Place top tab into top slot.
b. Push down on PTT toward bottom
of radio so hooks do not get crushed.