Test run – Grizzly G1095/G1096 User Manual
Page 21
Model g1095/g1096 1-hp power Feeder
-19-
test Run
once the assembly is complete, test run your
power feeder to make sure it runs properly and is
ready for regular operation. the test run consists
of verifying that the motor powers up and runs
correctly, and that the rollers operate.
if, during the test run, you cannot easily locate
the source of an unusual noise or vibration, stop
using the machine immediately, then review
troubleshooting on Page 23.
if you still cannot remedy a problem, contact our
tech support at (570) 546-9663 for assistance.
to test run the power feeder:
1. Make sure you understand the safety instruc-
tions at the beginning of the manual, and
verify that the power feeder is adjusted and
is setup properly.
2. Make sure that the power feeder gearbox oil
level is full. the oil level should be 1" below
the oil fill port. refer to
Lubrication on Page
22 for details.
Note: see Figure 16 on Page 22 for oil fill
port location.
3. ensure that all tools and objects used during
set up are cleared away from the machine.
Loose hair and clothing could get caught
in machinery and cause serious personal
injury. Keep loose clothing rolled up and
long hair tied up and away from machin-
ery.
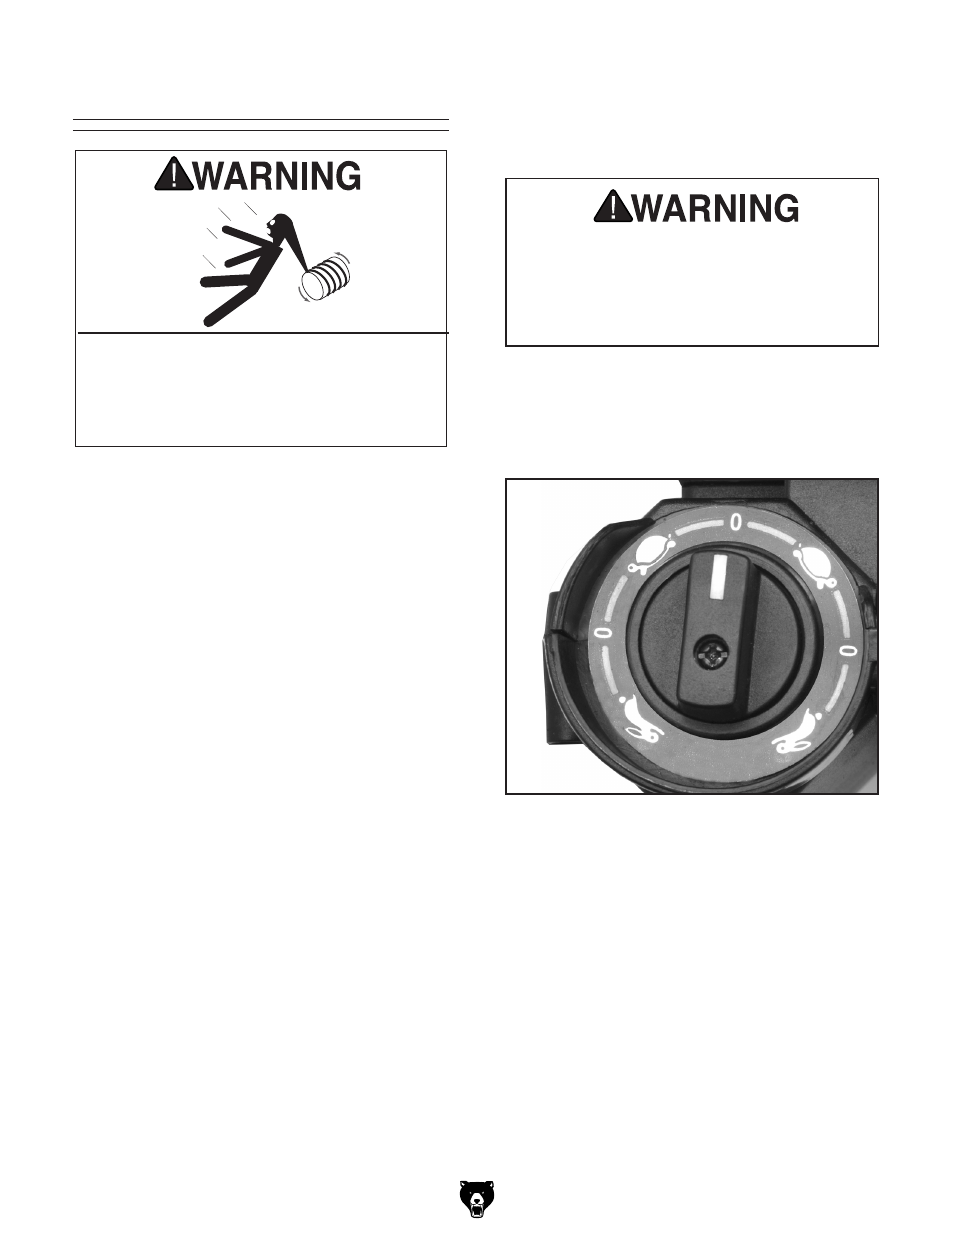
Figure 12. Feed direction and speed dial.
4. Adjust and lock the power feeder so the
wheels are held approximately one inch
above the table and nothing will interfere with
wheel rotation.
—listen and watch for abnormal noises or
vibrations. the power feeder should run
smoothly.
— Correct for any unusual noises or vibra-
tions before operating the power feeder
any further. Always disconnect the power
feeder from power when investigating or
correcting potential problems.
6. turn the feed direction switch to "0" (the OFF
position,
Figure 12).
you MuSt assemble all guards, fences,
and hold-downs before starting your
machine or power feeder. Failure to heed
this warning could result in amputation or
death!
5. Connect the power feeder to the power sup-
ply and use the feed direction and speed dial
(
Figure 12) to test operation in both feed
directions.