Installing wall mount dispensers – Follett C/E12CI400A User Manual
Page 7
7
Installing wall mount dispensers
Notes:
No drain pan is provided since the dispenser is intended to be installed above a sink. (Contact Follett if a drain pan is desired.)
SensorSAFE actuation is standard. (Contact Follett if lever actuation is desired. A deeper cabinet will be needed.)
Recommended minimum counter depth and mounting height shown on Fig. 7 ensures that ice will drop into sink.
See Fig. 6 for model dimensions. The dimensions include the 13mm (.5") mounting bracket supplied with the unit.
1. Cut utility hole in wall as shown (Fig. 10).
2. Mount support bracket to wall using fasteners of sufficient strength (fasteners not included, see Fig. 6).
3. Rough in water and drain lines (Fig. 10).
4. Lift dispenser onto support bracket, positioning unit so that hook on back of dispenser is captured by support
bracket angle (Fig. 7).
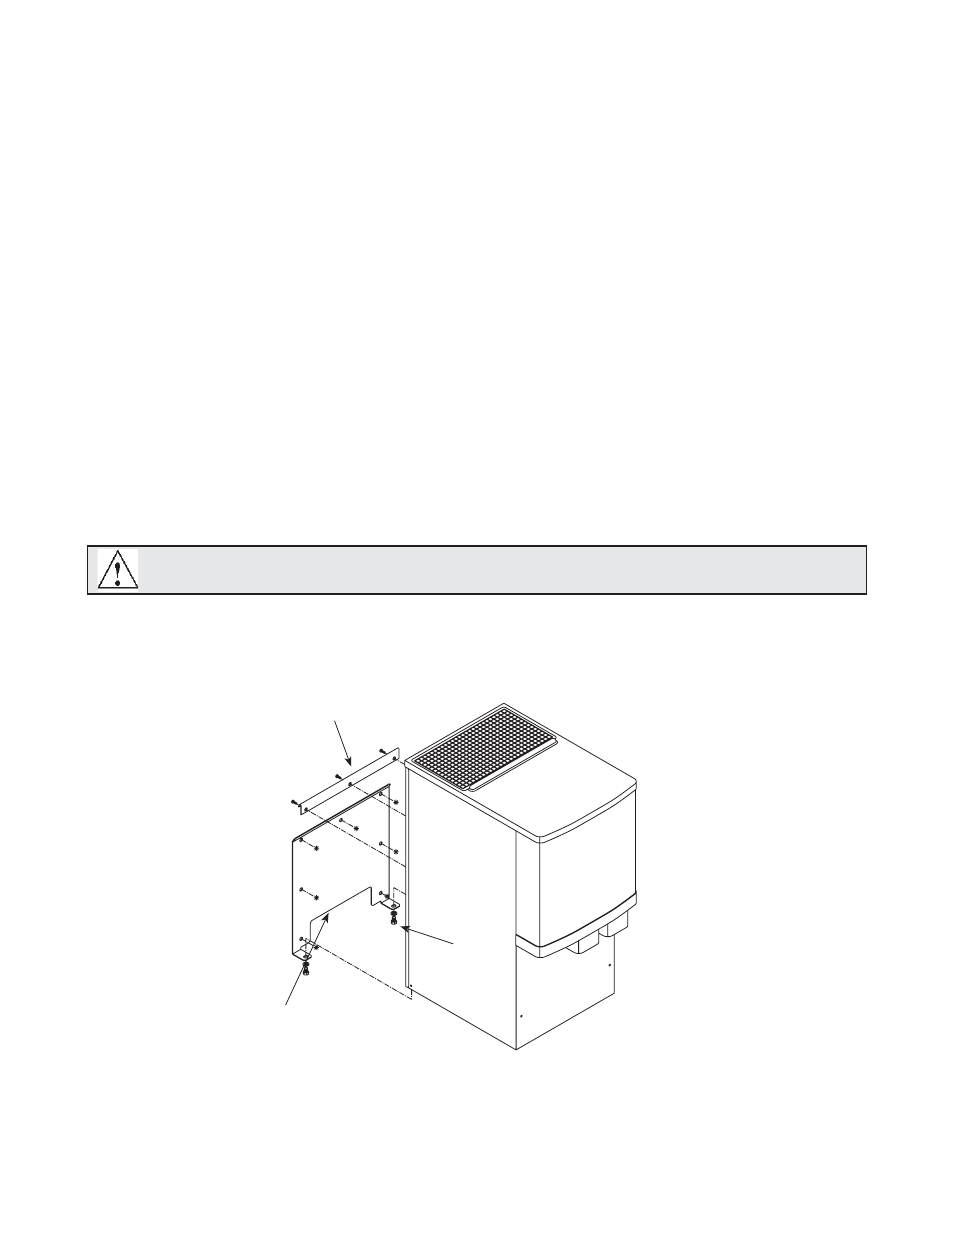
5. Install two (2) supplied 3/8"-16NC screws through bottom of support bracket into bottom of dispenser (Fig. 5).
6. Make final connections.
7. Attach bottom panel and hardware to bottom of dispenser (Fig. 8).
wall mounting
bracket
screw
support
bracket
Fig. 5 – Wall mount bracket and fastener requirements
WALL PREPARATION: Wall and fasteners must be of sufficient strength to carry weight of unit
(185 lbs (83.9kg)). Hardware for this is not included.