Kyocera TASKalfa 2552ci User Manual
Page 168

3-23
Preparation before Use > Preparation for Sending a Document to a Shared Folder in a PC
4
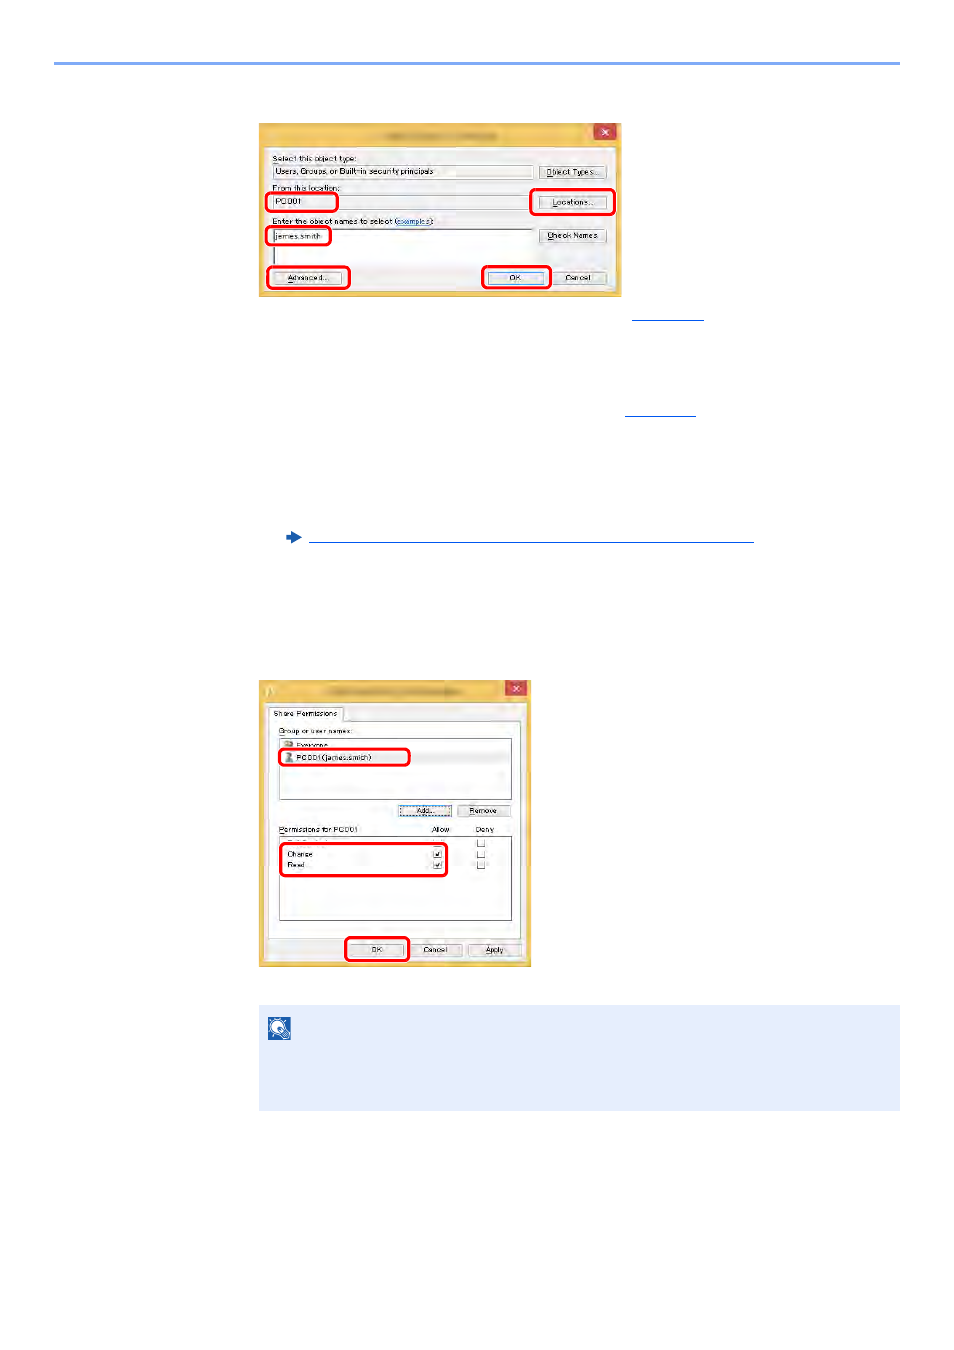
Specify the location.
5
Set the access permission for the user selected.
In Windows XP, go to step 7.
6
Click the [OK] button in the "Advanced Sharing" screen to close the screen.
7
Check the details set in the [Security] tab.
1 If the computer name that you made a note of on
is the same as the domain
name:
If the computer name is not shown in "From this location", click the [Locations] button,
select the computer name, and click the [OK] button.
Example: PC001
If the computer name that you made a note of on
is not the same as the
domain name:
If the text after the first dot (.) in the full computer name that you made a note of does
not appear in "From this location", click the [Locations] button, select the text after the
dot (.), and click the [OK] button.
Example: abcdnet.com
Making a note of the user name and domain name (page 3-20)
2 Enter the user name that you made a note of on page in the text box, and click the [OK]
button.
Also the user name can be made by clicking the [Advanced] button and selecting a
user.
NOTE
"Everyone" gives sharing permission to everyone on the network. To strengthen
security, it is recommended that you select "Everyone" and remove the "Read" [Allow]
checkmark.
2
1
1
1
2
3
1 Select the user you entered.
2 Select the [Allow] checkbox of the
"Change" and "Read" permissions
3 Press [OK].
