ARM Electronics IP540_620MDVANVP User Manual
Page 22
22
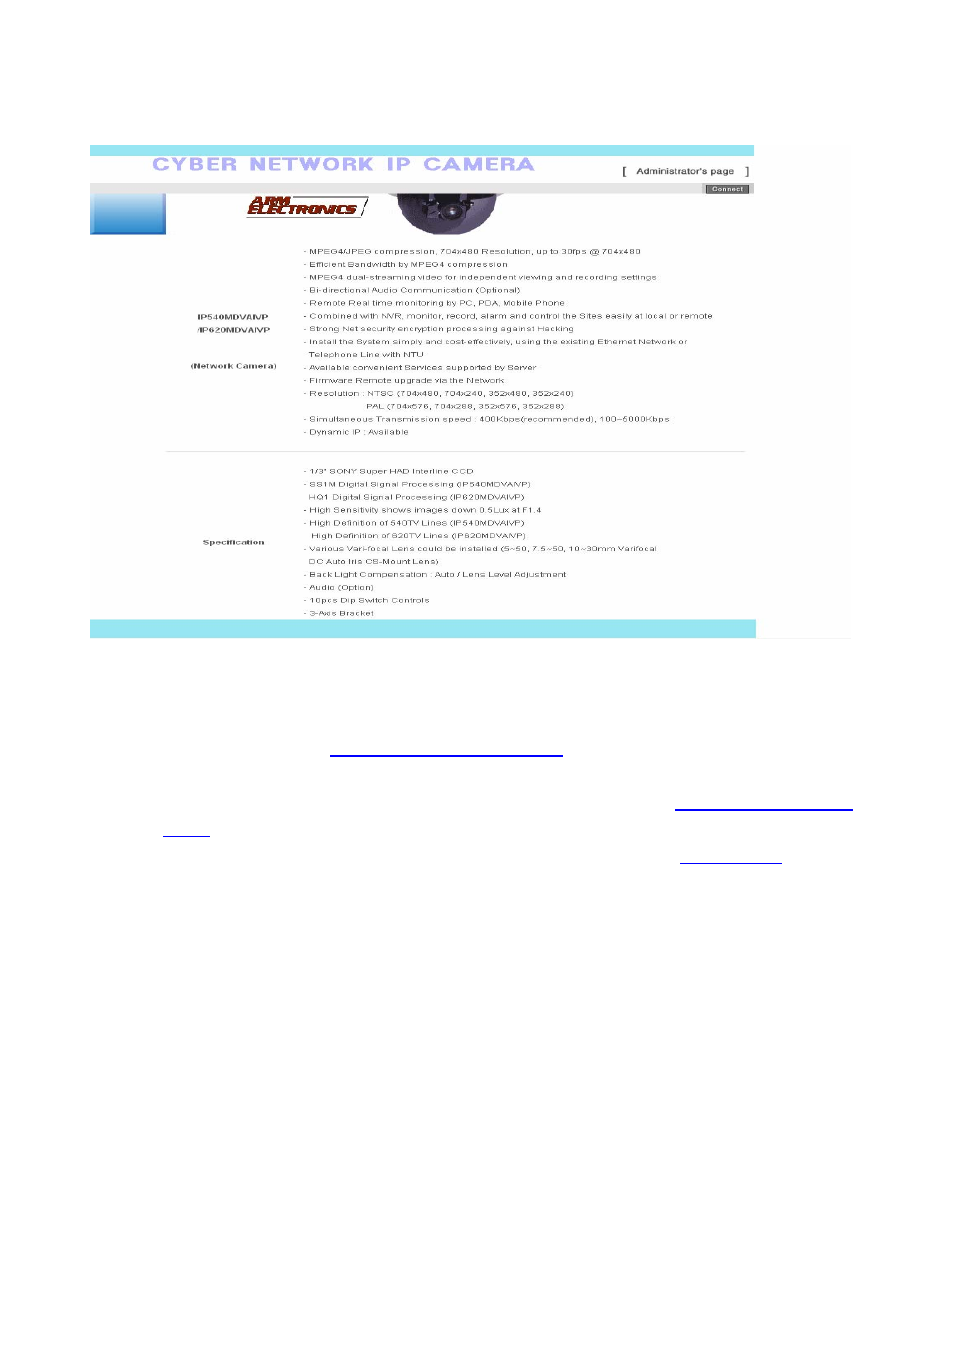
Pic. 3―8 Initial Page of IP540/IP620MDVAIVP
3.3 Installation with IP Sharing Device (Router)
1) After checking Video in ‘
1. Installation and Video Check
’, then go to the next step.
2) Connect IP540/IP620MDVAIVP and PC with LAN Cable (Cross Cable).
3) Cable Connection and Network Setting should be done same as per ‘
1. Installation and Video
Check
’.
4) Go to Network Setting Page of Administrator’s Page as per 4), 5), 6), 7) of ‘
Static IP Setup
’.
5) Click ‘Static IP Address’ in ‘IP Setting’ of [3-9], and input IP Address, Subnet Mask, Default Gateway
according to Network environment to connected IP540/IP620MDVAIVP to.
6) For setting of ‘DNS Server’, input DNS Address to fit with Network Environment to set.
(Default Address of IP540/IP620MDVAIVP is DNS Address of ‘KTF’,’Hanaro Communication’). Use
DNS value normally set in PC.
7) DNS Address should be input surely. In case IP540/IP620MDVAIVP is installed under IP Sharing
Device, input local IP of Router in 2
nd
DNS Server Address.
8) In case of installation without IP sharing device under Static IP, tick on ‘Enable’ of ‘Direct Connect’.
The ‘Direct Connect’ option makes direct connection to IP set on
Video connection through Web Viewer. (
But not tick ‘Enable' in case of installation under IP Sharing
Device.
)
9) Click ‘Save’ Button of [3-9] to save the set value.