Installation and video check – ARM Electronics IP540_620MDVANVP User Manual
Page 12
12
2. Installation and Video Check
2.1 Installation
On the assumption that User PC and IP540/IP620MDVAIVP Sever is used under static IP, and
IP540/IP620MDVAIVP is to be directly connected with User PC or Local Network, the installation procedure is
to be ;
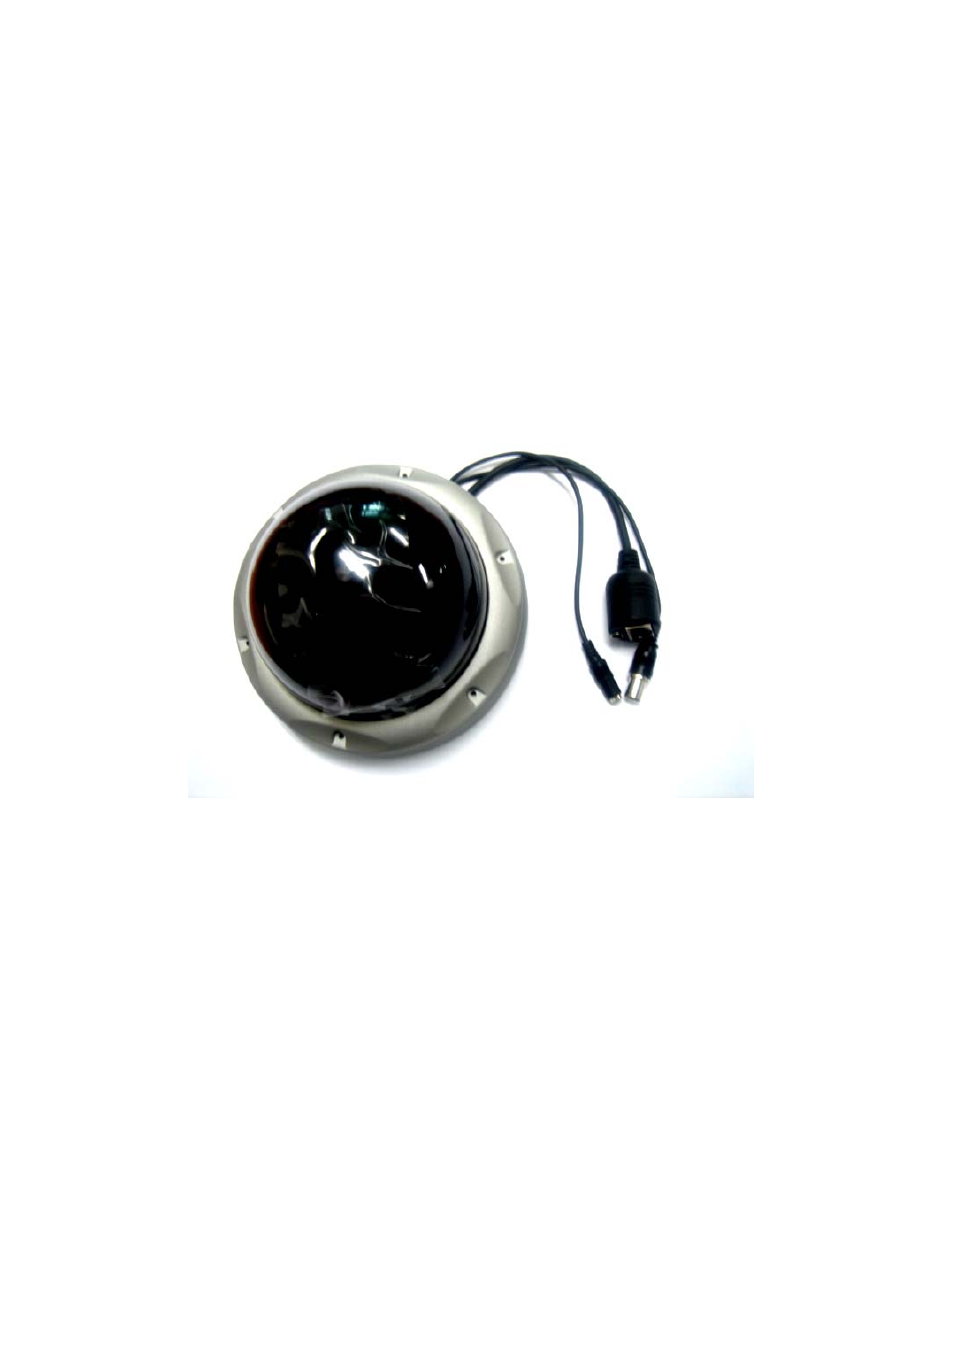
Pic. 2―1 Cable View
1) Connect Camera and IP540/IP620MDVAIVP with Video Cable. (① of [Pic.2-1] )
2) Connect IP540/IP620MDVAIVP and PC with LAN Cable (Cross Cable) (② of [2-1])
3) Power on Camera and IP540/IP620MDVAIVP (
Be sure to use Exclusive Power Adapter)
(③ of [2-1])
4) Wait about 2 minutes after Power on IP540/IP620MDVAIVP, then light-on on LINK LED shows that the
System has been booted normally. (② of [1-1])
2.2 Video Check
Basic network setting value of IP540/IP620MDVAIVP is to be ;
9
IP Address : 192.168.1.8
9
Subnet Mask : 255.255.255.0
9
Gateway : 192.168.1.1
⑪
①
②
③