AVer SecureCenter User Manual
Page 41
36
11. After the Monitor set has created, select the NVR server. Then, the cameras of the NVR server
will display on the Camera Select window. User can combines different cameras from different
NVR servers as a monitor set. And all cameras can be selected by different Monitor set repeat.
12. User can depend on the LCD monitor size to select the screen type
– 4:3 (regular screen monitor)
or 16:10 (wide screen monitor). Then, select the Monitor Layout of screen type.
13. Select the camera that user wants to add, and then click Add button. The selected camera will
be added to Monitor Layout window. User can add up to 64 cameras in 4:3 screen type and 80
cameras in 16:10 screen type. To remove the camera from the Monitor Layout window, select
the camera and click Delete button. To delete all cameras, click Clear All button. User can enter
a description for a channel.
i
User can drag the camera channel to Monitor Layout window directly.
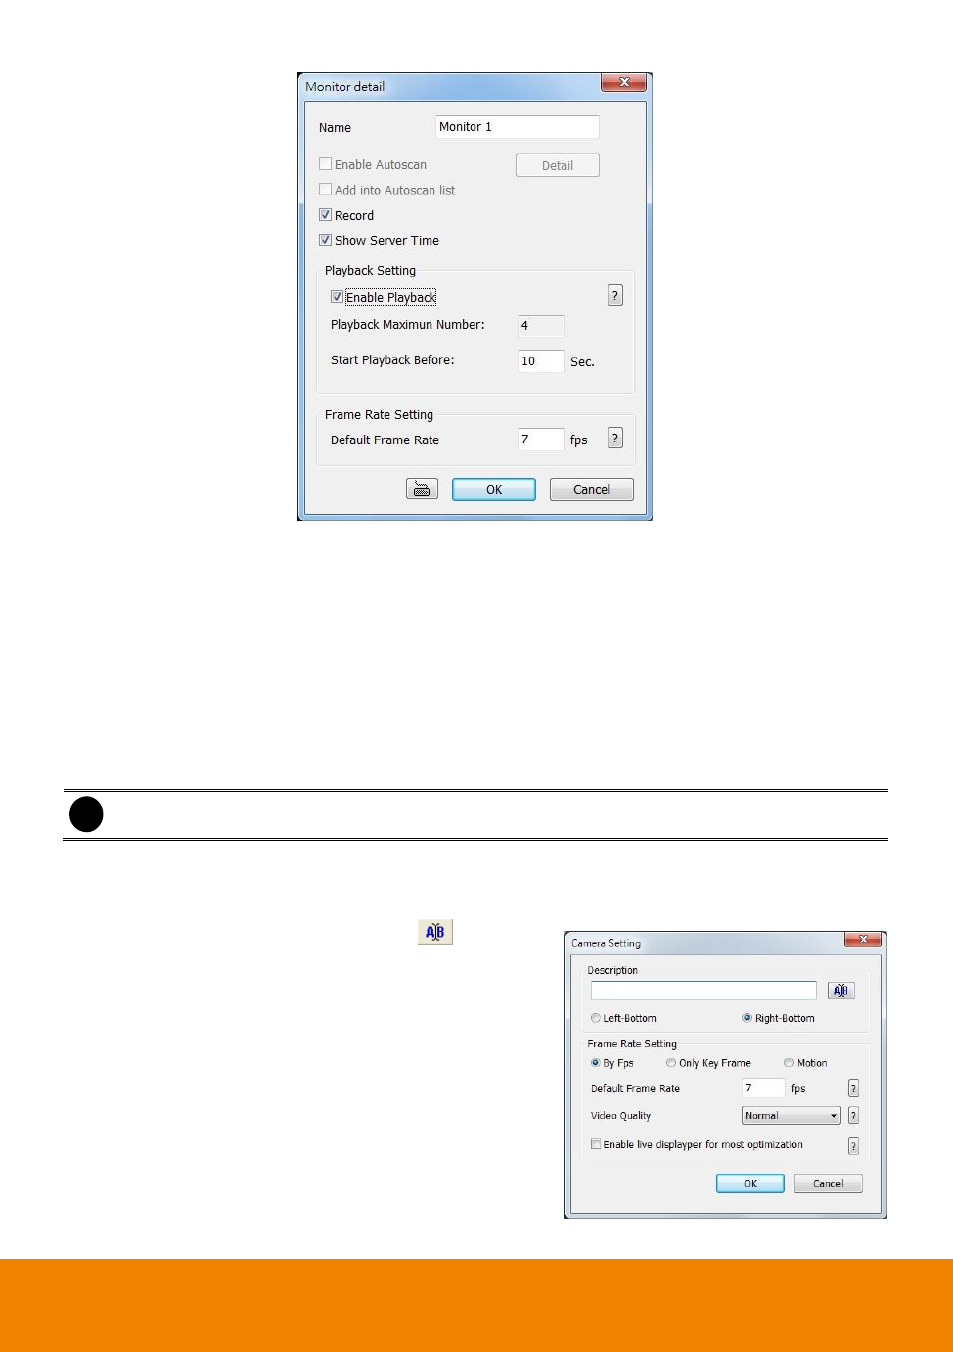
14. In monitor set, each camera can be configured the name, transmitting type, and frame rate.
Select the camera in monitor layout window and click Detail button of Camera Setting. And then,
enter the name for the camera and select display position (Left-bottom or Right-bottom) of the
camera name on monitor screen; click
to change
the font.
15. Select the transmitting type by click the radio button
–
By Fps, Only Key Frame, or Motion. And then, set
the frame rate of the camera in Default Frame Rate
column. The value of frame rate will both apply to live
video and recording.
16. Also, user can select the Video Quality
– High,
Medium, Low, or Auto. Mark the Enable live
displayer for most optimization can improve the live
video frame rate of the IP camera (jpeg megapixel)
when viewing the multiple channels.