Lucent Technologies 6000 User Manual
Page 293
Configuring X.25
Configuring the logical link to an X.25 network
MAX 6000/3000 Network Configuration Guide
6-7
To configure the X.25 profile to comply with the subscription form in this example:
1
Open the X.25 profile, assign the profile a name, and activate it:
Ethernet
X.25...
X.25 profile
Name=ATT
Active=Yes
2
Set Call Type to Nailed and specify the nailed group number:
Call Type=Nailed
Nailed Grp=7
3
Set the LAPB parameters to comply with the settings in the subscription form:
LAPB T1=3
LAPB N2=10
LAPB k=7
4
Set the X.25 Node Type to DTE, as specified in the subscription form:
X.25 Node Type=DTE
5
Configure the profile to support up to eight Switched Virtual Circuits:
X.25 Link Setup Mode=ACTIVE
X.25 lowest PVC=0
X.25 highest PVC=0
X.25 lowest SVC=1
X.25 highest SVC=8
6
Configure packet sizes and flow control:
X.25 window size=2
X.25 pkt size=128
X.25 Min pkt size=64
X.25 Max pkt size=1024
7
Specify the X.121 source address to use on this link:
X.121 src addr=031344159782738
8
Exit the profile and, at the exit prompt, select the exit and accept option.
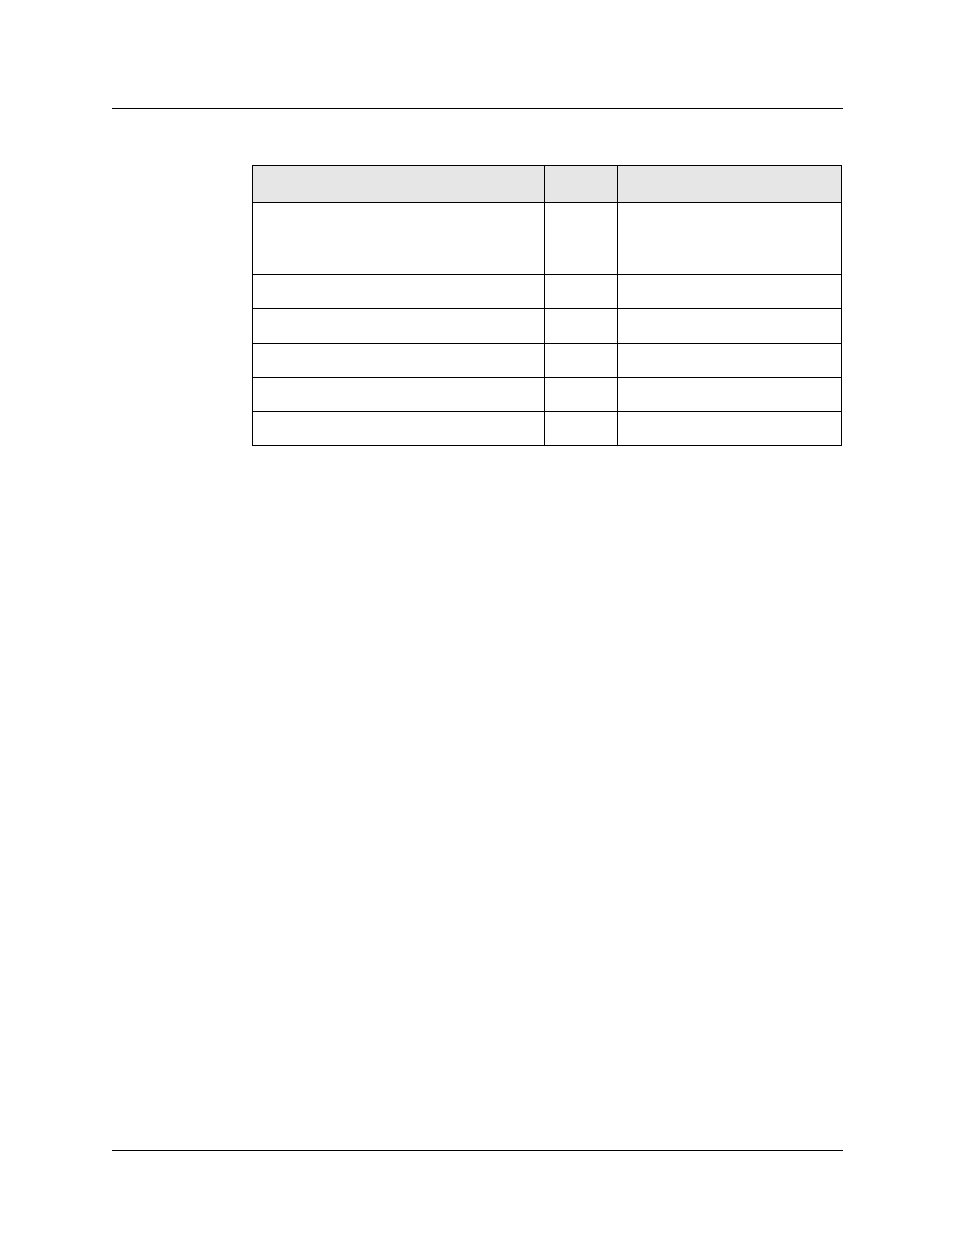
Maximum number of outstanding data
packets allowed between a DTE and a DCE
before acknowledgment is required (W)
2
X.25 Window Size=2
Number of PVCs
0
X.25 Lowest PVC=0
Highest PVC channel number
0
X.25 Highest PVC=0
Default packet size
128
X.25 Pkt Size=128
Minimum packet size
64
X.25 Min Pkt Size=64
Maximum packet size
1024
X.25 Max Pkt Size=1024
Table 6-1. Sample telco subscription form (continued)
Subscription-item
Value
X.25 profile setting