Operating cw, Dconvenient functions for receive – Icom IC-7700 User Manual
Page 56
4-4
■
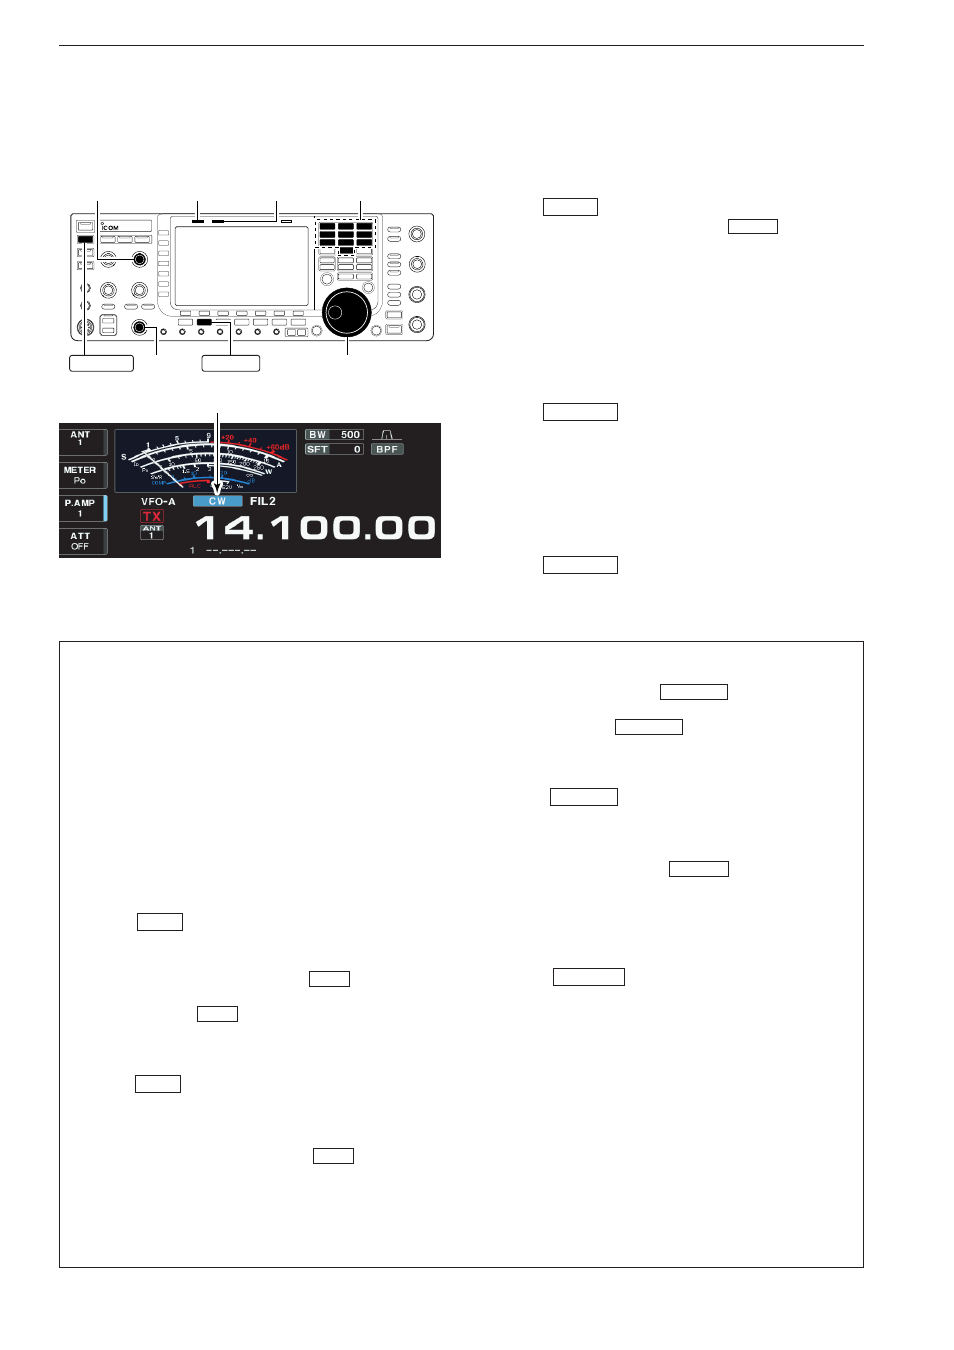
Operating CW
q
Push a band key to select the desired band.
w
Push
to select CW.
• After CW mode is selected, push
to toggle be-
tween CW and CW-R modes.
• “CW” or “CW-R” appears.
e
Rotate the main dial to tune a desired signal.
• Try to match the specified signal’s tone to the side tone
frequency.
• The S-meter indicates received signal strength when
signal is received.
r
Rotate [AF] to set audio to a comfortable listening
level.
t
Push to
transmit.
• [TX] indicator lights red.
y
Use the electric keyer or paddle to key your CW sig-
nals.
• The power meter indicates transmitted CW output
power.
u
Adjust CW speed with [KEY SPEED].
• Adjustable within 6–48 WPM.
i
Push
to return to receive.
TRANSMIT
TRANSMIT
CW
CW
4
RECEIVE AND TRANSMIT
• Preamp (p. 5-9)
➥
Push [P.AMP]
(MF3)
several times to set the pre-
amp OFF, preamp 1 ON or preamp 2 ON.
• “P.AMP1” or “P.AMP2” appears when the preamp 1 or
preamp 2 is ON.
• Attenuator (p. 5-9)
➥
Push [ATT]
(MF4)
several times to set the attenu-
ator in 6 dB steps.
• Push and hold [ATT] (MF4) for 1 sec. to turn the
attenuator function OFF.
• “ATT” and attenuation level appear when the attenu-
ator is ON.
• Noise blanker (p. 5-16)
➥
Push
to turn the noise blanker ON and
OFF, and then rotate [NB] control to adjust the
threshold level.
• Noise blanker indicator (above
switch) lights
when the noise blanker is ON.
• Push and hold
for 1 sec. to enter noise blanker
set mode.
• Noise reduction (p. 5-17)
➥
Push
to turn the noise reduction ON and
OFF.
• Rotate [NR] control to adjust the noise reduction
level.
• Noise reduction indicator (above
switch) lights
when the noise reduction is ON.
• Twin PBT (passband tuning) (p. 5-12)
➥
Rotate [TWIN PBT] controls (inner/outer).
• PBT indicator (above
switch) lights when
PBT is in use.
• Push and hold
for 1 sec. to clear the set-
tings.
• Manual notch filter (p. 5-18)
➥
Push
to turn the manual notch function
ON and OFF.
• Rotate [NOTCH] control to set the attenuating fre-
quency.
• Notch indicator (above
switch) lights when
the manual notch is ON.
• AGC (auto gain control) (p. 5-11)
➥
Push [AGC] switch several times to select
AGC FAST, AGC MID or AGC SLOW.
➥
Push
to turn the AGC time constant
manual setting ON and OFF.
• Rotate [AGC] control to adjust the time constant.
•
1
⁄
4
function (p. 3-6)
➥
Push [1/4] to turn the
1
⁄
4
function ON and OFF.
• Auto tuning function (p. 5-19)
➥
Push [AUTOTUNE] to turn the auto tuning func-
tion ON and OFF.
• The transceiver automatically tunes the desired sig-
nal within a ±500 Hz range.
IMPORTANT!
When receiving a weak signal, or receiving a signal
with interference, the automatic tuning function may
not tune properly, or tune onto an undesired signal.
AGC VR
NOTCH
NOTCH
PBT-CLR
PBT-CLR
NR
NR
NB
NB
NB
D
D
Convenient functions for receive
[KEY SPEED] [TX] indicator [RX] indicator
[AF]
Main dial
Band keys
CW
TRANSMIT
Appears