Cropping or selecting an area for final scan – HP 5400c Series User Manual
Page 42
42
Scanning from HP Precisionscan Pro
Back to TOC
Cropping or selecting an area for final
scan
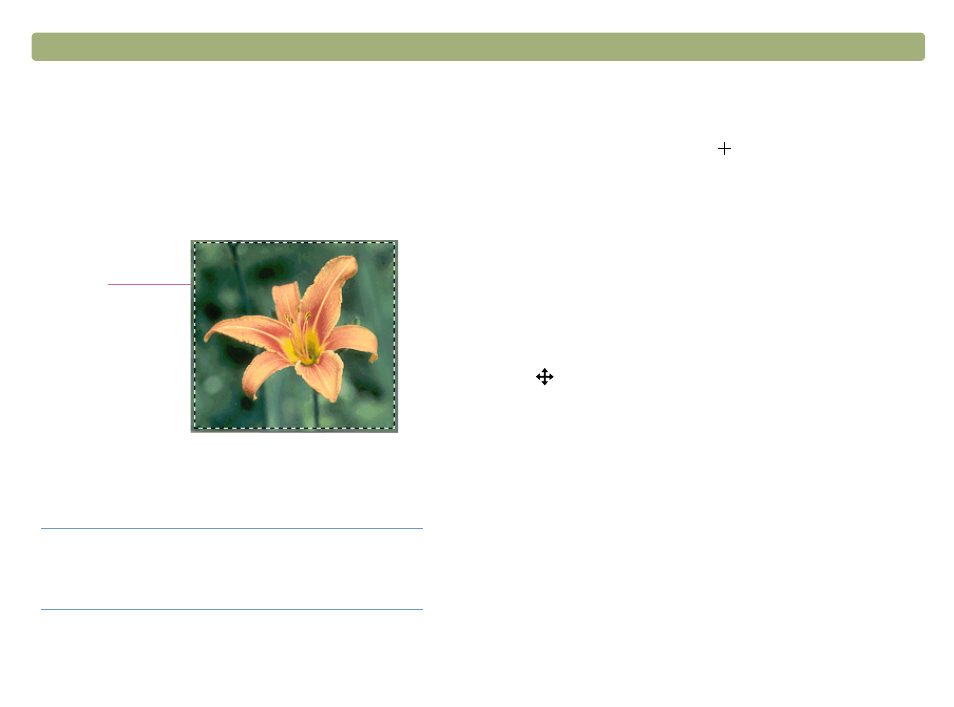
Once a scanned image appears in the HP Precisionscan Pro software,
you must select which area becomes the final scanned image by
creating a selection area. When you create a selection area, a dotted
selection border appears around the area:
For information about the appearance of the cursor when it is over an
area of the selection border, see
"Context-sensitive cursors" on
.
Do one of the following:
l
Move the cursor over the area you want and click.
l
When the cursor looks like this:
, click on one corner of the area
you want and drag the cursor to the opposite corner to draw a
rectangular selection area.
l
On the Edit menu, click Select All. The entire scanner bed,
including blank areas, is selected.
Click the edge of the selection border and drag to change the selection
area.
)
Move the cursor over the selection area. When the cursor looks like
this:
, click and drag the selection border to the new location.
)
Do one of the following:
l
Press
E
SC
.
l
On the Edit menu, click Unselect All.
Tip
If you only want to look more closely at an area
without changing what will be included in the final
scan, see
"Getting a closer look (zooming)" on
selection
border