Creating a watermark, Creating a watermark with text – Epson Multimedia Photo Viewer P-6000 User Manual
Page 68
Printing 68
5
Use the 4-way ring or jog dial to highlight each photo
you want to print, then press the button to select it.
The selected items are displayed with red check
marks.
Note:
To select all files, press Menu and choose Select All JPEG
Files, Select All RAW Files, or Select All Files, then
press
OK
.
6
When you’re finished selecting photos, press
OK
.
7
Follow the steps in “Printing Your Photos” on page 66
to finish printing your photos.
Creating a Watermark
You can add a copyright watermark to your images when
printing them from the viewer. You can store up to three
text or graphic watermarks.
Creating a Watermark with Text
1
Select
Settings
on the Home screen using the 4-way
ring or jog dial, then press
OK
.
2
Select
Watermark Settings
then press
OK
.
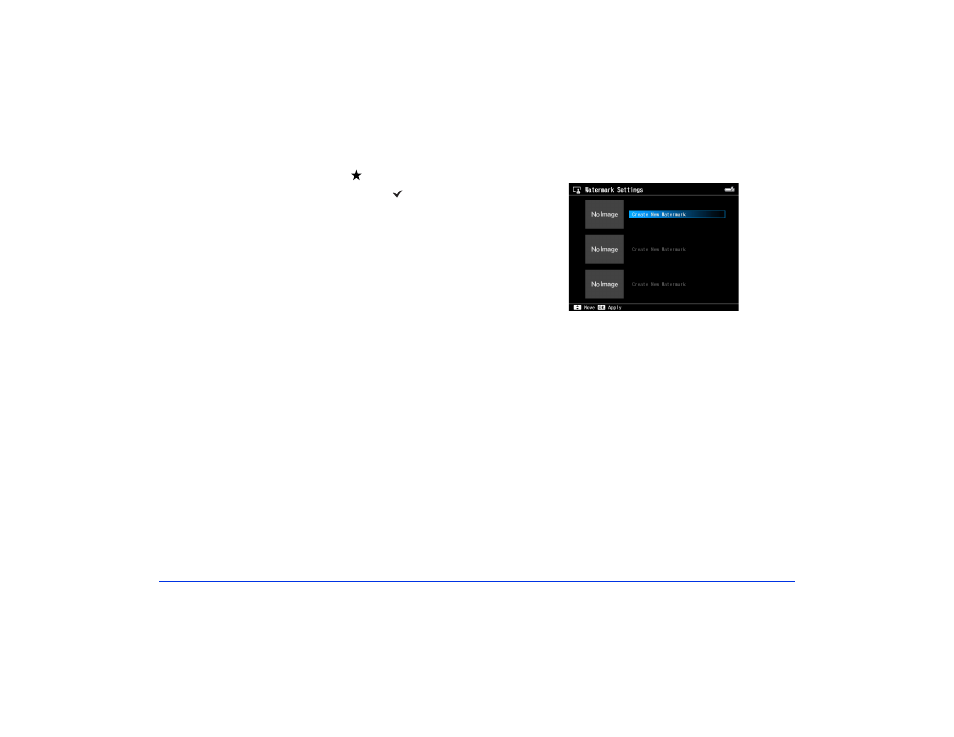
3
Select
Create New Watermark
then press
OK
.
4
Enter the text for your new watermark using the 4-way
ring or jog dial (highlight each character and press
OK
to enter it).
❍
To move the cursor forward or backward, press the
+
(plus) or
–
(minus) buttons.
❍
To delete the last letter input, press
Back.
❍
To enter a space, press
Menu
.
❍
To switch between upper- and lowercase, press
Display
.
❍
To cancel the name, highlight
Cancel
and press
OK
.
5
After entering your text, highlight
Done
and press
OK
.