Epson Multimedia Photo Viewer P-6000 User Manual
Page 64
Printing 64
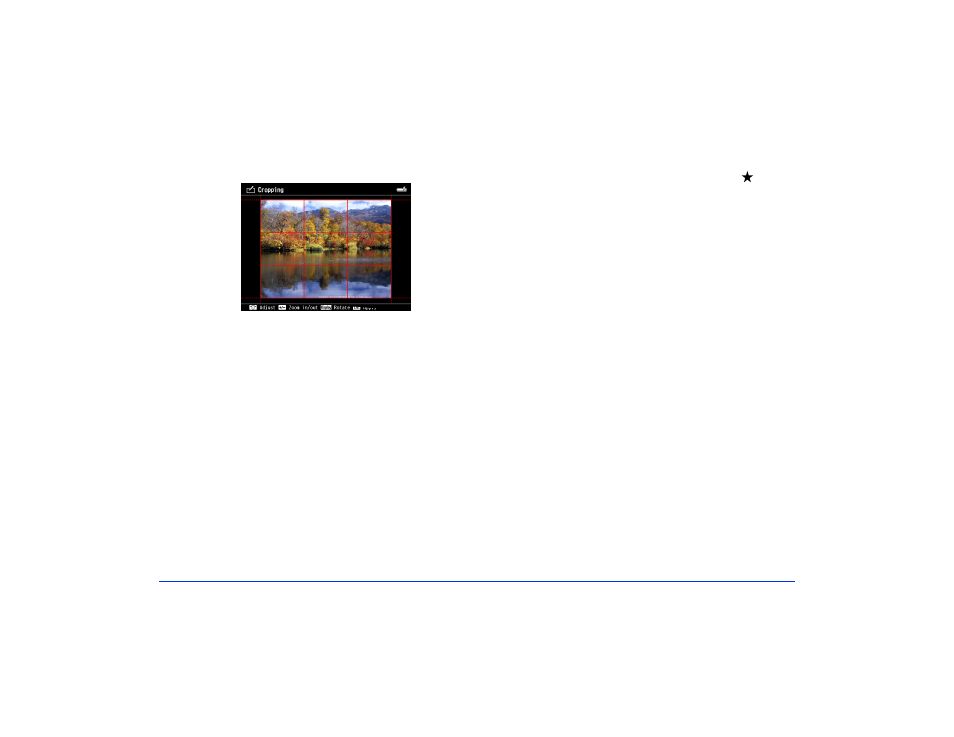
You see a red cropping indicator.
2
Crop your image using the following buttons:
❍
Use the
+
(plus) and
–
(minus) buttons to enlarge
and reduce the cropping area.
❍
Use the jog dial to make fine adjustments to the
crop area. To make vertical adjustments, press up or
down on the 4-way ring, then rotate the jog dial. To
make horizontal adjustments, press left or right on
the 4-way ring, then rotate the jog dial.
❍
Fixed Aspect
: Use the 4-way ring to move the
cropping indicator. To rotate the crop area, press the
Display
button.
❍
Free Aspect
: Use the 4-way ring to adjust the top
and left edges of crop area, then press the button
to adjust the bottom and right edges of the crop
area.
Note:
While cropping a photo, press the Menu button to adjust
the grid display, change the crop area aspect ratio, adjust
the horizontal angle of the photo, or reset the crop area.
3
When you’re finished adjusting the cropping area, press
OK
and do one of the following:
❍
To crop the image, select
OK
, then press
OK
.
❍
To make adjustments to the crop area, select
Additional Adjustments
, then repeat step 2.
The cropped photo is automatically saved in a folder
that is automatically created in the My Photos > PRINT
folder on the viewer. The folder is named according to
the date and the date format you selected, for example,
03292008M.001
.
When you’re finished cropping your photo, you see the
Select Print Layout Size menu. Continue with the steps on
below to select layout settings.