Explore Scientific 7-in-1 Sensor for 7-in-1 Wi-Fi Weather Station User Manual
Page 27
27
EN
NOTE:
-Once the alert is triggered, the alarm will sound for 2 minutes and the related alert icon and
readings will flash.
-
If the alert alarm is automatically off after 2 minutes, the alert icon and readings will still keep
flash until the weather reading is out of the alert range.
-The weather alert will sound again when the weather readings falls into the alert range again.
BACKLIGHT
The main unit backlight can be adjust, using the
[ OFF / HI / LO ]
sliding switch to select the
appropriate brightness:
-Slide to the
[ HI ]
position for the brighter backlight.
-Slide to the
[ LO ]
position for the dimmer backlight.
-Slide to the
[ OFF ]
position turn off the backlight
DISPLAY CONTRAST
Press
[
/
]
key in normal mode to adjust LCD contrast in order to fit table stand or wall
mount angle.
MAINTENANCE
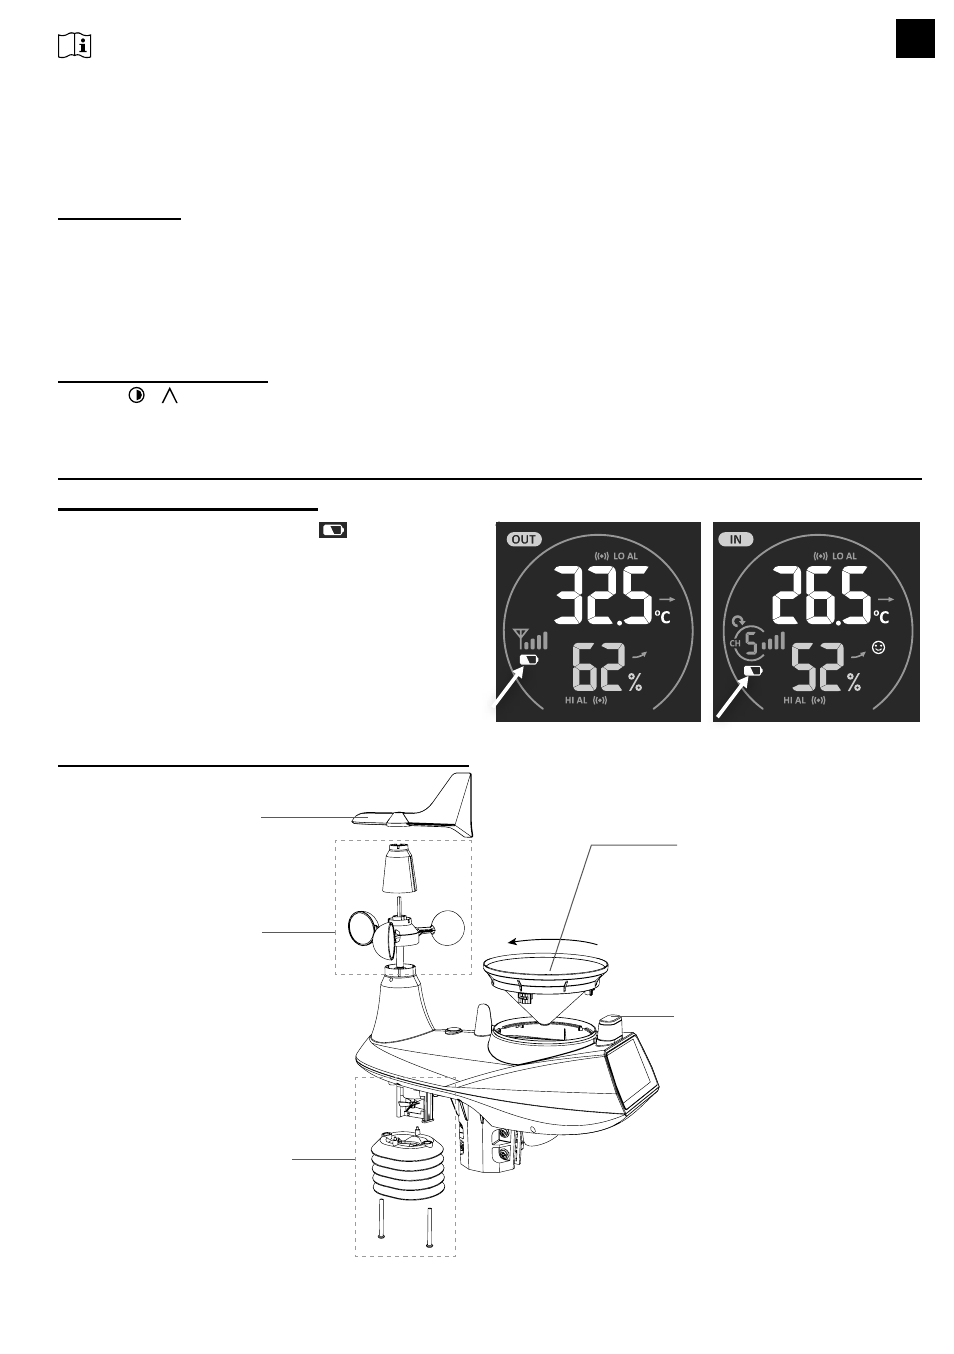
BATTERY REPLACEMENT
When low battery indicator “ ” is displayed
in OUT or IN section, it indicates that the
outdoor 7-IN-1 sensor and current channel
sensor battery power is low respectively.
Please replace with new batteries.
WIRELESS 7-IN-1 SENSOR MAINTNANCE
REPLACE THE WIND VANE
Unscrew and remove the wind
vane for replacement
REPLACE THE WIND CUP
1. Unscrew and remove the
top cap
2. Remove the wind cup for
replacement
CLEANING THE RAIN
COLLECTOR
1. Rotate the rain collector by turning
it 30°anti-clockwise.
2. Gently remove the rain collector.
3. Clean and remove any debris or
insects.
4. Install the collector when it is clean
and fully dried.
CLEANING THE UV SENSOR
AND CALIBRATION
• For precision UV measurement,
gentle clean the UV sensor cover
lens with damp micro-fiber cloth.
• Over time, the UV sensor will
naturally degrade. The UV sensor
can be calibrated with a utility
grade UV meter, please refer to
Calibration section in previous
page for about the UV sensor
cablibration.
CLEANING HYGRO-THERMO
SENSOR
1. Remove the 2 screws at the
bottom of the radiation shield.
2. Gently pull out the shield.
3. Carefully remove any dirt or
insects on the sensor and
ventilation fan (do not let the
sensors inside get wet).
4. Clean the shield with water to
remove any dirt or insects.
5. Install all the parts back when
they are clean and fully dried.