Explore Scientific 7-in-1 Sensor for 7-in-1 Wi-Fi Weather Station User Manual
Page 10
10
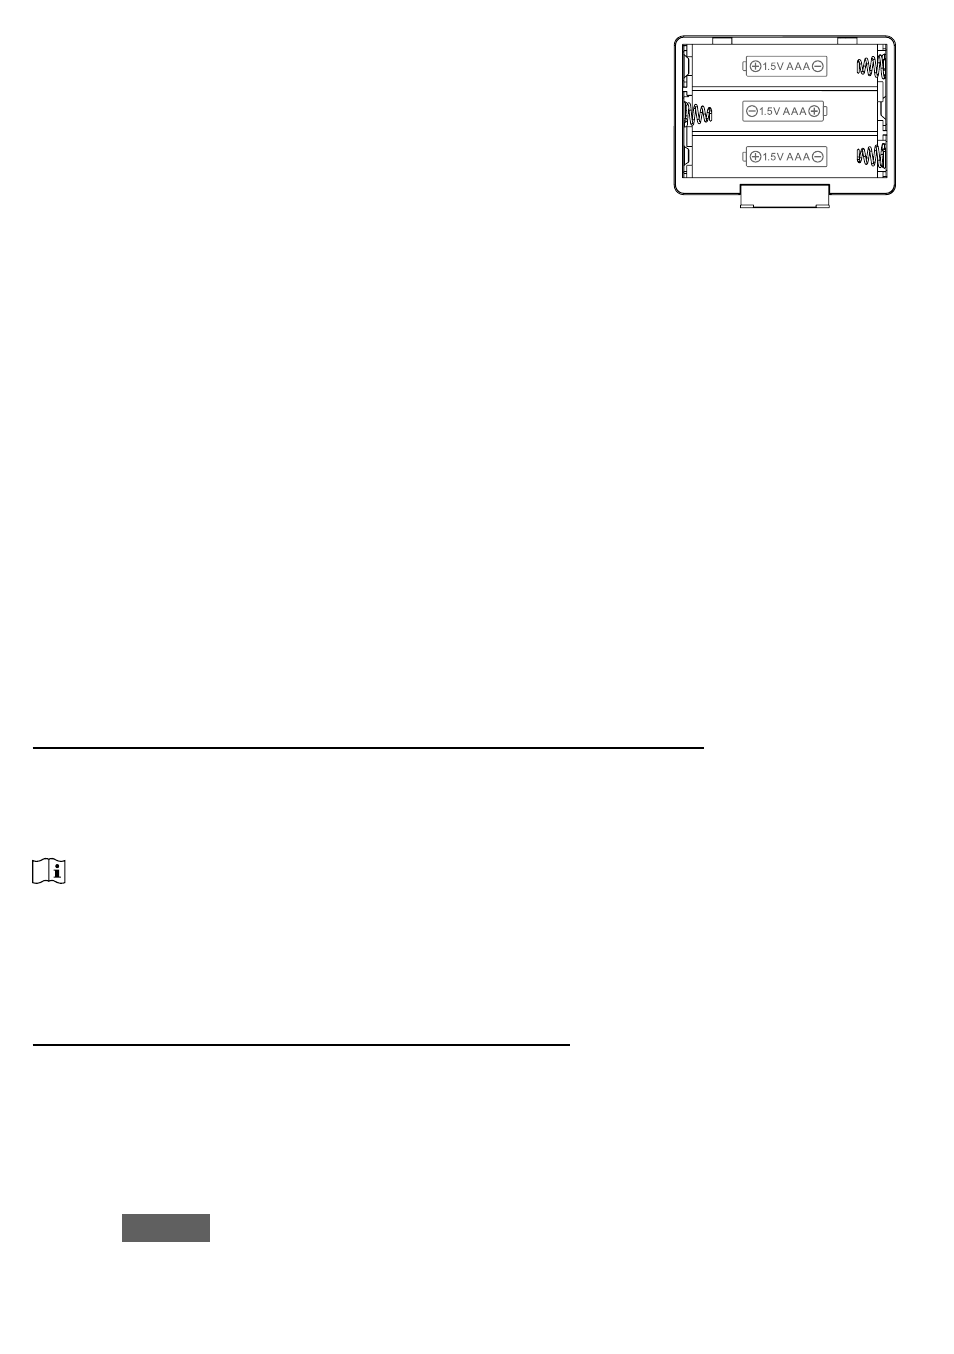
1. Remove the battery door of the console.
2. Insert 3 new AAA batteries as per the polarity indicated,
3. Replace the battery door.
BUILT-IN MEMORY
The console has built-in FLASH memory that holds the vital settings. These include:
-
Time Zone, DST status, Time SYNC status, WI-FI and Weather server setting, Latitude /
Longitude, Hemisphere setting, Calibration values, and Sensor ID of paired sensor(s)
RESET AND FACTORY HARD RESET
To reset the console and start again, press the
[ RESET ]
key once
To hard reset the console and resume factory settings, press and hold the
[ RESET ]
key for 6
seconds
RESYNCHRONIZE SENSORS
Press the
[ SENSOR / WI-FI ]
key once for the console to enter sensor Synchronization
mode, and the console will re-register all the sensors that have already been registered to the it
before. i.e. the console will not lose the connection of the sensors that you’d paired up before.
CHANGING BATTERIES AND MANUAL PAIRING OF SENSOR
Whenever you changed the batteries of the wireless indoor or 7-in-1 weather sensor, re-
synchronization must be done manually.
1. Change all the batteries to new ones in the sensor.
2. Press
[ SENSOR / WI-FI ]
key on the console to enter sensor synchronization mode.
3. Press
[ RESET ]
key on the wireless indoor or 7-in-1 weather sensor.
SYNCHRONIZING ADDITIONAL WIRELESS SENSOR(S) (OPTIONAL)
The console can support up to 7 additional wireless sensors.
1. Press the
[ SENSOR / WI-FI ]
key once on the console to enter synchronization mode.
2. Press the
[ RESET ]
key on the new sensor, and wait for a few minutes for the new sensor
to paired to the console.
NOTE:
-Channel number of the indoor sensor must not be duplicated among the sensors. Please refer
to “
INSTALL WIRELESS INDOOR SENSOR
” for details
-
This console can support different type of additional wireless sensor, e.g. soil moisture and
pool sensor. If you would like to pair up additional sensors, please check with your retailer for
more detail.
POINTING THE WIRELESS 7-IN-1 SENSOR TO SOUTH
The outdoor 7-IN-1 sensor is calibrated to point to North for the maximum accuracy. However,
for the user's convenience (e.g. users in the Southern hemisphere), it is possible to use the
sensor with the wind vane pointing to South.
1. Install the 7-IN-1 wireless sensor with its wind meter end pointing to South. (Please refer to
INSTALLATION OF THE WIRELESS SENSOR
section for mounting details)
2. Select "S' in hemisphere section of the setup UI setup page. (Please refer to
SETUP THE
WEATHER SERVER CONNECTION
section for setup details)
3. Press
Apply
icon to confirm and exit.