Upper margin, Front & back margin, Functions – TA Triumph-Adler DC 2023 User Manual
Page 26
●
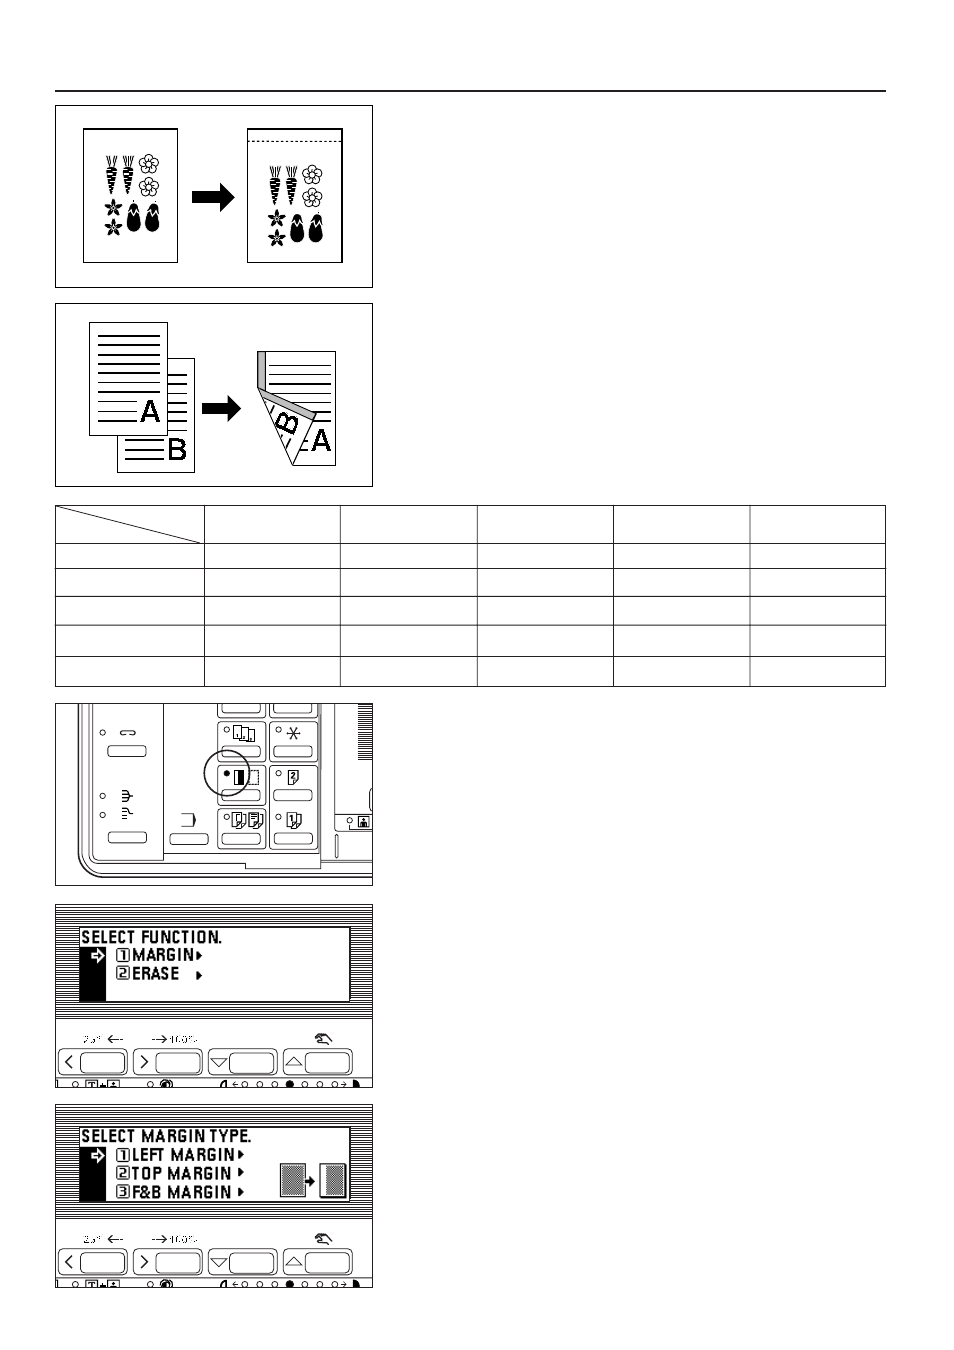
Upper margin
The image of the original is shifted downward to make a margin for binding on the
top side of the paper between 6 mm and 18 mm in 1 mm increments.
* The initial value of margin width can be selected from above. (See "
@
MARGIN
●
Front & Back margin
When duplex copies are made, margin positions and margin width can be selected
separately for the front and back sides. A binding margin space is made on each
copy between 1 mm and 18 mm in 1 mm increments.
* The margin position set on the back side will be changed depending on the
margin position set on the front side. A circle (
❍
) in the following table indicates
that the setting is possible.
1. Set the original(s).
* Set the originals so that the top (left) side of the original is at the rear side.
Setting them in the wrong direction may cause the failure of making margin in
the correct position.
2. Press the Margin/Border Erase key to light the indicator.
The function selection screen will appear.
3. Make sure that "MARGIN" has been selected, and press the enter key.
The margin copy setting screen will appear.
4. Press the cursor down key to select the margin mode.
5. Press the enter key.
* When selecting "LEFT MARGIN" or "TOP MARGIN", go to the next step.
If "F&B MARGIN" was selected, go to step 8.
23
FUNCTIONS
"LEFT MARGIN"
❍
❍
❍
back side
front side
"LEFT MARGIN"
"RIGHT MARGIN"
"TOP MARGIN"
"BOTTOM MARGIN"
"NO MARGIN"
"RIGHT MARGIN"
❍
❍
❍
"TOP MARGIN"
❍
❍
❍
"BOTTOM MARGIN"
❍
❍
❍
❍
"NO MARGIN"
❍
❍
❍
❍