Retrotec FanTestic Integrity (ISO) User Manual
Page 20
rev-2014-10-27
Page 20 of 50
©Retrotec Inc. 2012
button to delete a fan/gauge pair, or you can use the
button to make that fan/gauge pair
the primary (placing it as “#1” Fan).
“Gauge”
Select the gauge type (DM32, DM-2, DG-700) from the drop down list. You must select the gauge
model for FanTestic Integrity to compute results.
“S/N“ to enter the serial number of each of the fan and the gauge
The first S/N input is to the right side of the “Gauge” input and is to record the serial number of
the gauge.
The serial number of a Retrotec DM-2 gauge can be found on a gray label at the base (on the
bottom end) of the gauge, as well as in the gauge splash screen in the top left corner
immediately after turning it on
The serial number for a Retrotec DM32 gauge can be found on a black and white label on the
back of the gauge, and on the top of the splash screen when the gauge powers on. In the DM32
settings menu, the serial number can also be found in the “Update
The second S/N input is to the right side of the “Fan” input and is to record the serial number of
the fan.
The serial number of Retrotec Door Fans can be found on a gray label on the Fan Top of the
device.
“Fans last calibrated” and ”Gauges last calibrated”
Enter the calibration dates of the fan and gauge
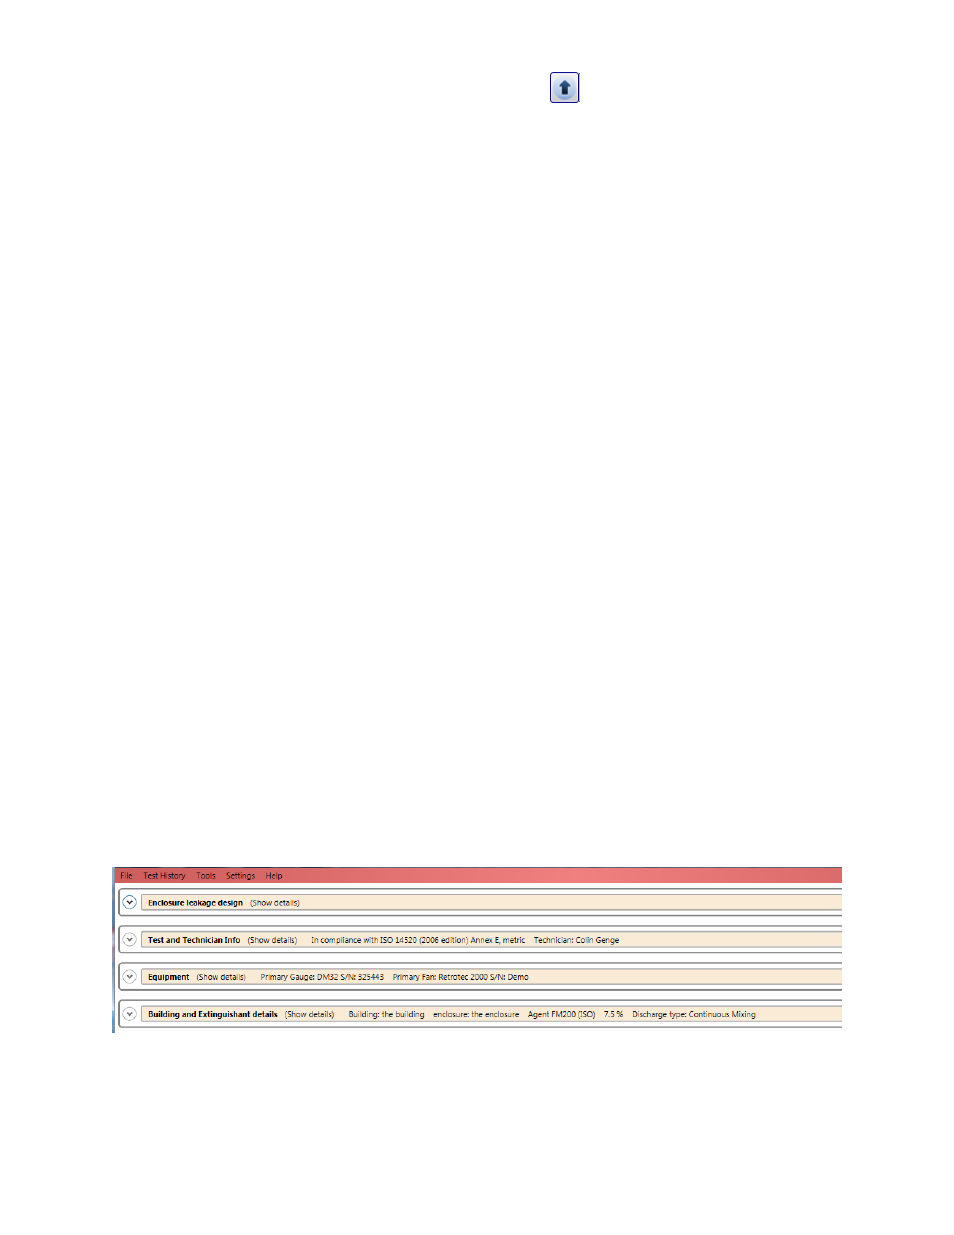
3.3.3 Enter building, enclosure and extinguishing agent details
The fourth expanding tab in the user interface provides places to enter details about the enclosure being
tested, the agent and amount of agent being used, calculation method for hold time, and conditions
during hold time:
If you open the expander titled “Building and Extinguishant details” by clicking on the down arrow to the
left, for all variants of ISO14520 except the Australian you will see: