Settings to carry out before first lighting, Setting current day and time – MCZ Athos MULTIAIR User Manual
Page 29
PELLET STOVES
Chapter 4
INSTALLATION AND USE MANUAL
page
29
Operation
Technical service - Rights reserved MCZ S.p.A. - Reproduction prohibited
KEY
A. Three figure display which indicates a series of information
about the stove, as well as the identification code for any
operating anomaly.
B. GREEN
LED to indicate:
•
OFF = Stove off
•
FLASHING = Stove in lighting phase
•
ON STEADY = Stove on
C. RED
LED to indicate:
•
OFF = Stove on
•
FLASHING SLOWLY = Stove shutting down
•
FLASHING RAPIDLY = Stove in alarm status
(accompanied for 10 minutes by a beep)
•
ON STEADY = Stove off
D. Three-position selector for function
•
OFF = Stove shut off manually in absence of remote
control
•
REMOTE = Stove can be controlled only by remote
control
•
ON = Stove turned on manually in absence of remote
control
E. Three-position selector for selection of power
•
MIN = Selector to run the stove at minimum power with
no remote control and with selector 4 in ON position
•
MED = Selector to run the stove at medium power with
no remote control and with selector
in ON position
•
MAX = Selector to run the stove at maximum power with
no remote control and with selector
in ON position
F. Push button for diagnostics of stove operating status
G. button to connect the stove to a new remote control (by means
of a procedure explained below)
TO OPERATE THE STOVE WITH THE REMOTE
CONTROL, SELECTOR "D" MUST BE PLACED
ON “REMOTE”
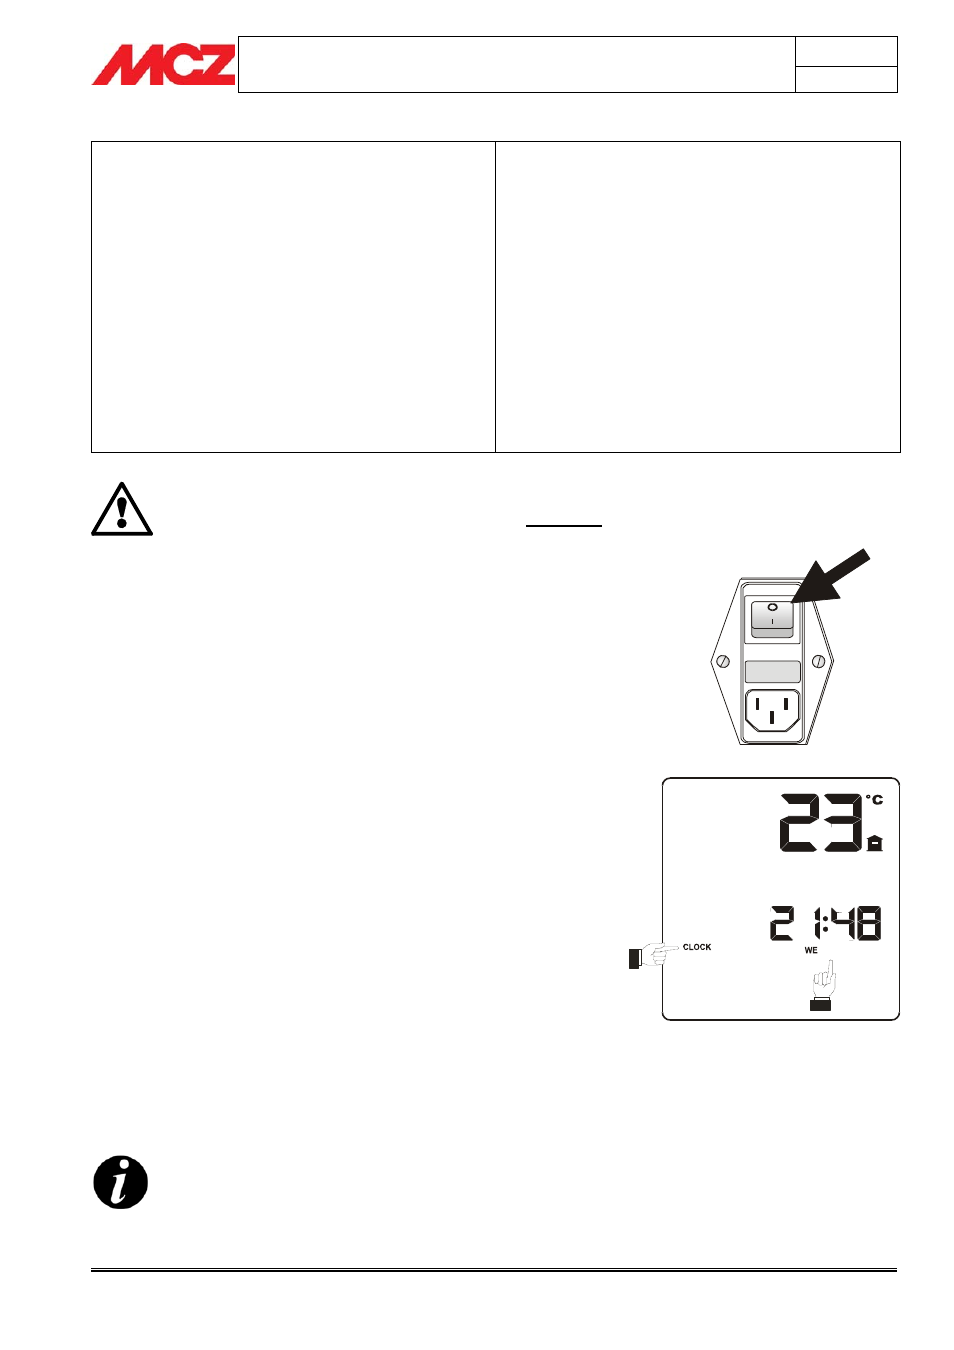
4.6. SETTINGS TO CARRY OUT BEFORE FIRST
LIGHTING
Once the power cord is connected to the rear part of the stove, place
the switch, also on the rear, to position (I).
The lighted button will come on and also LED C of the emergency panel
will come on steady red.
4.6.1. Setting current day and time
Simultaneously press buttons 4 and 6 of the remote control for 5
seconds with the stove on to access the menu for setting current day
and time.
When the message “CLOCK” appears it is possible to use button 5 to
select the current hour and confirm it with button 6, then the minutes
and confirm them with button 6 and then the day. Upon completion,
pres key 6 to confirm and exit the menu.
The following abbreviations are used for the days of the week:
MO = Monday Î
TU = Tuesday Î
WE = Wednesday Î
TH = Thursday Î
FR = Friday Î
SA = Saturday Î
SU = Sunday Î
If the keypad is not touched for 7 seconds, the
remote control will automatically exit time setting
mode and will confirm the last data inserted.