Printing photo greeting cards, Ok: not ok – Epson Stylus Photo RX580 User Manual
Page 39
Printing Photo Greeting Cards
39
8. After the template prints, use a dark pen or pencil to fill in the circle for each
of the following:
■
The type of paper you will be printing
your cards on
■
The layout (whether your cards will have
white borders or cutting lines)
■
The number of copies
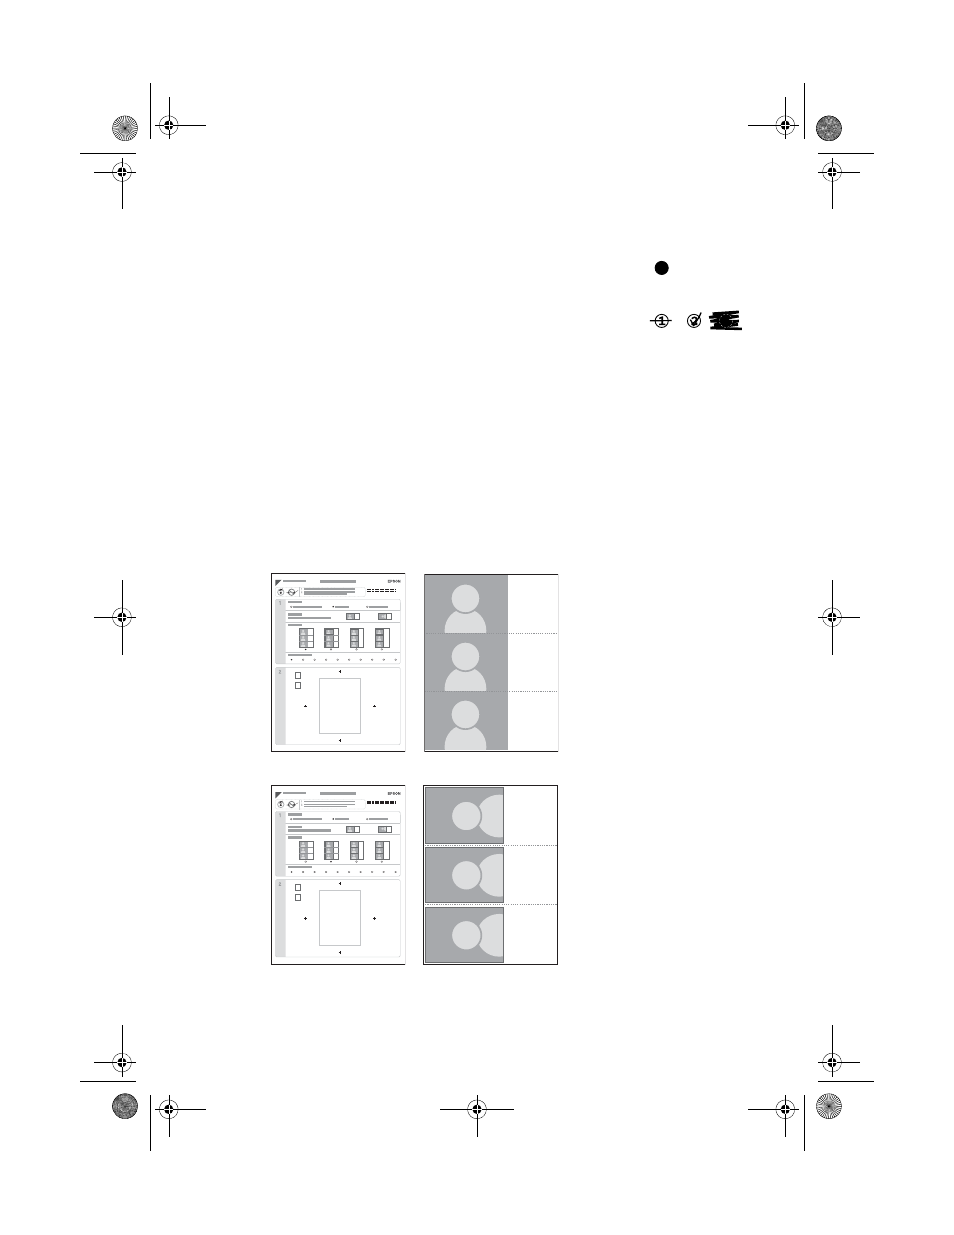
9. Add your greeting card message to the box on the template sheet. Make sure
you write in the direction that works best for your photo: horizontally or
vertically. To add your greeting, do one of the following:
■
Write a message or draw a picture directly in the box
■
Print a message, cut it to fit the box, then paste it into the box
Your completed template (and the resulting cards) might look like one of the
following:
10. Place the greeting card template face-down on the glass, in the upper left
corner, so that the top of the sheet is against the left edge of the glass.
OK:
Not OK:
A
ABC
ABC
or
ABC
B
A
B
Thank You!
ABC
ABC
ABC
ABC
ABC
ABC
1
2
3
4
5
6
7
8
9
10
ABC
ABC
ABC
ABC
ABC
ABC
ABC
A
ABC
ABC
or
ABC
B
A
B
Thank You!
ABC
ABC
ABC
ABC
ABC
ABC
1
2
3
4
5
6
7
8
9
10
ABC
ABC
ABC
ABC
ABC
ABC
ABC
Thank You!
Thank You!
Thank You!
Thank You!
Thank You!
Thank You!
Template and sample cards
with a horizontal photo
Template and sample cards
with a vertical photo
RX580.book Page 39 Thursday, July 27, 2006 4:04 PM