Copying photos – Epson Stylus Photo RX580 User Manual
Page 15
Copying Photos
15
Copying Photos
You can copy a photograph on 4 Ч 6, 5 Ч 7, 8 Ч 10, or 8.5 × 11-inch paper. You
can easily resize your photo to fit on any size paper you want to use. The easiest
way to copy photos (using default settings) is using 4 × 6 Epson Premium Photo
Paper Glossy.
See page 10 for a list of special Epson papers for photos, scrapbook pages, and
creative projects.
1. Place your document or photo on the glass as described on page 12. Be sure to
close the document cover.
2. Load your photo paper, as described on page 7.
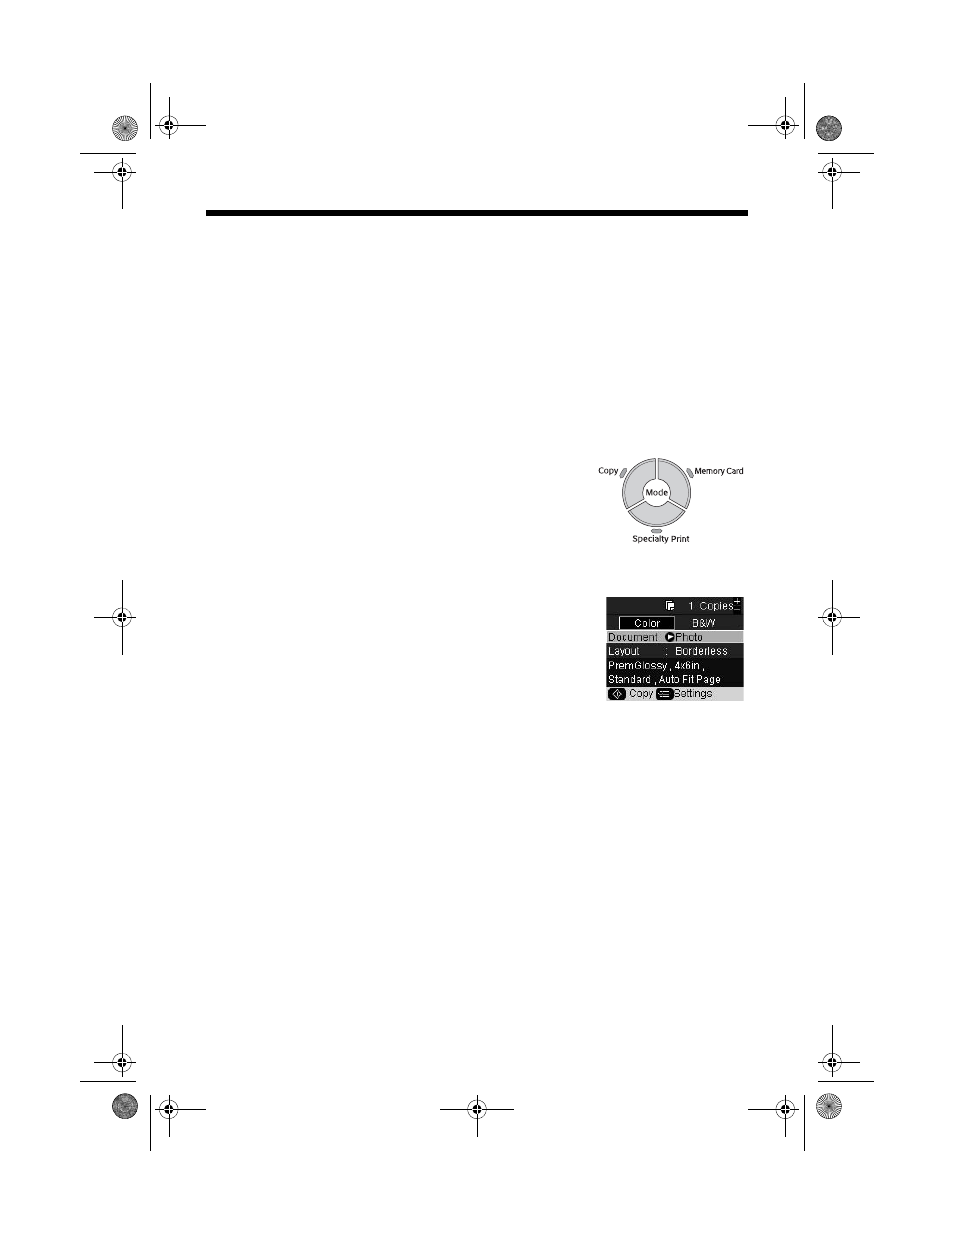
3. Press the
Copy
mode button.
4. Press l or r to choose
Color
or
B&W
.
5. If you want more than one copy, press the
Copies +
button to select the number you want.
6. Press d, then press r, select
Photo
, and press
OK
.
■
These settings are automatically selected when you
copy photos: Borderless prints, automatically sized
to fit on 4 × 6-inch Premium Photo Paper Glossy.
■
If you want to copy using a special layout, such as
white borders or multiple photos on one sheet, press d, then press r
and select your layout. See page 16 for more information.
■
If you want to copy on a different size or type of paper, or select other
special settings, press the x
Print Settings
button. See page 17 for more
information.
■
The RX580 remembers your settings, even after you turn it off.
7. Adjust any settings as necessary, then press
OK
.
8. Press the x
Start
button to start copying.
If you need to cancel copying, press the y
Stop/Clear Settings
button. Do not
pull out paper that is being printed; it will be ejected automatically to the front
tray.
Note:
If you want to restore the color in faded photos, see page 18.
RX580.book Page 15 Thursday, July 27, 2006 4:04 PM