Ion Science Hydrosteel 6000 User Manual
Page 17

Hydrosteel 6000 MANUAL
Ion Science Ltd
Page 17 of 39
Unrivalled Detection. www.ionscience.com
Guide to field measurements
Step 5: Deployment procedure.
With the LT-R (6 inch diameter low temperature) probe:
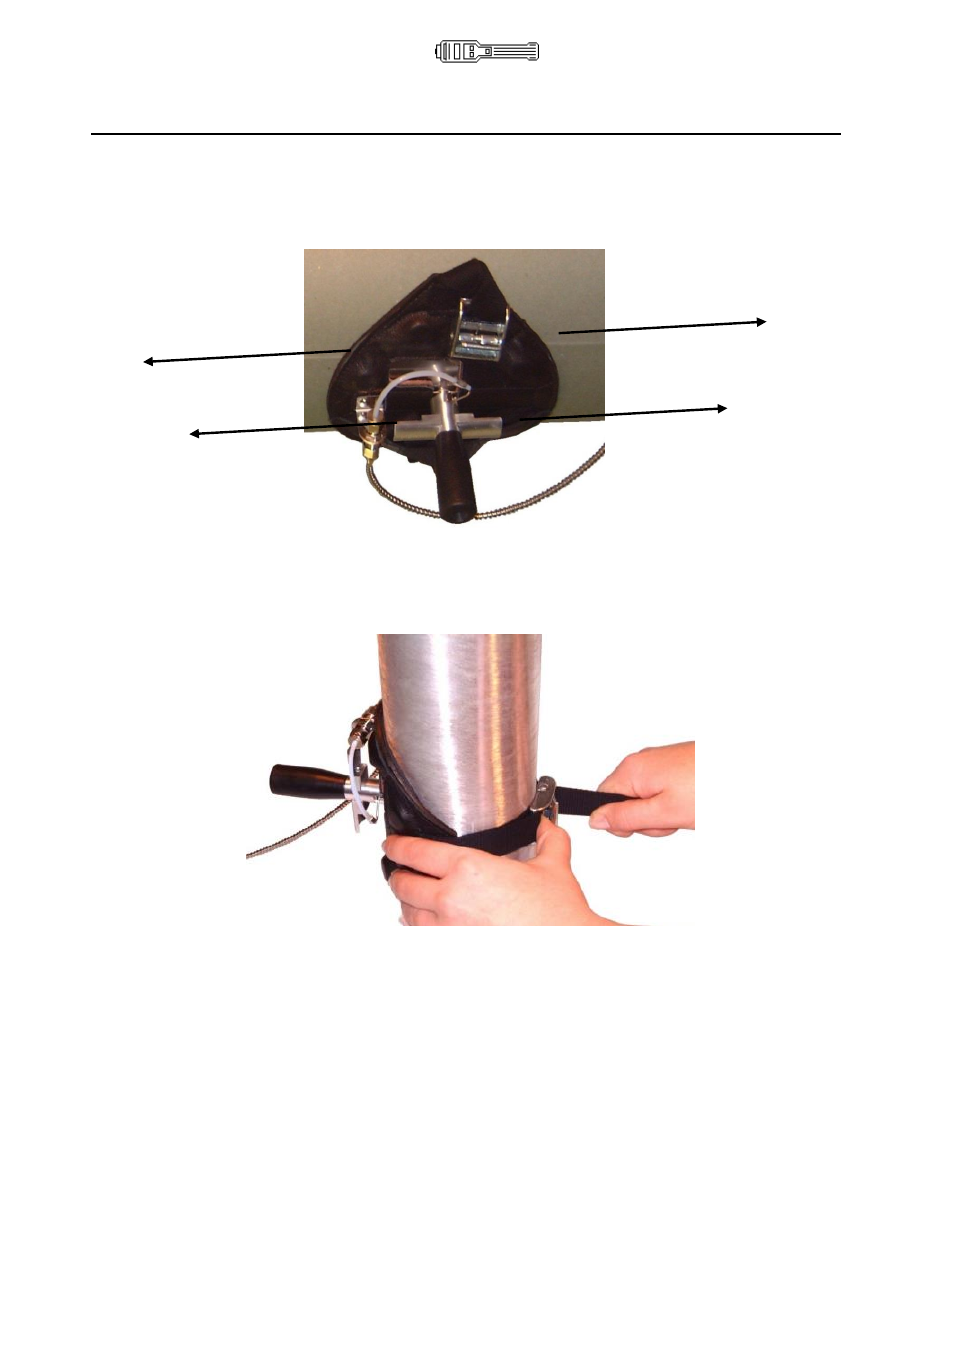
Ensure the probe plate underside is not damaged and is free from dust or magnetic detritus. Manipulate the
probe by using the probe handle or extension arms. Introduce it directly to the test site, ensuring that the
probe ‘ALIGNMENT’ indicator runs in the same direction as the pipe or axis of the vessel, as illustrated.
Confirm the probe’s flexible plate conforms snugly to the steel surface. On piping of less than 8 inches
diameter, use the strap provided. The strap should be drawn tight as shown below, so as to ensure the
probe plate is tight against the steel, when the hands are released.
With the HT-R (2.3 inch diameter high temperature) probe:
Introduce the probe directly to the steel surface. Any orientation of the probe is acceptable, but take
particular care with piping of less than 12 inches diameter to ensure the probe’s flexible plate is attached
snugly to the metal surface. Note: the high temperature magnets are attracted to steel less strongly than
conventional magnets: be particularly careful during measurements not to pull away the probe from the steel.
Step 6: During measurement and monitoring. The analyser - in its jacket - can also be secured
magnetically to any steel nearby at ambient temperature. A significant response should be evident within 20-
25 s of probe engagement, and flux measurement obtained within one minute. For spot measurements,
allow ‘remove probe’ to appear on the display before removing the probe. Extended monitoring is terminated
automatically on loss of sufficient battery power, or by operator intervention (RECORD key). Demarcate the
site as required during the test measurement.
