8 calibrating a 3-d touch trigger probe, Introduction, Calibrating a 3-d touch trigger probe – HEIDENHAIN TNC 640 (34059x-05) User Manual
Page 553: Calibrating a 3-d touch trigger probe 15.8
Calibrating a 3-D touch trigger probe
15.8
15
TNC 640 | User's Manual
HEIDENHAIN Conversational Programming | 1/2015
553
15.8
Calibrating a 3-D touch trigger probe
Introduction
In order to precisely specify the actual trigger point of a 3-D touch
probe, you must calibrate the touch probe, otherwise the TNC
cannot provide precise measuring results.
Always calibrate a touch probe in the following cases:
Commissioning
Stylus breakage
Stylus exchange
Change in the probe feed rate
Irregularities caused, for example, when the
machine heats up
Change of active tool axis
When you press the
OK soft key after calibration,
the calibration values are applied to the active touch
probe. The updated tool data become effective
immediately, and a new tool call is not necessary.
During calibration, the TNC finds the effective length of the stylus
and the effective radius of the ball tip. To calibrate the 3-D touch
probe, clamp a ring gauge or a stud of known height and known
radius to the machine table.
The TNC provides calibration cycles for calibrating the length and
the radius:
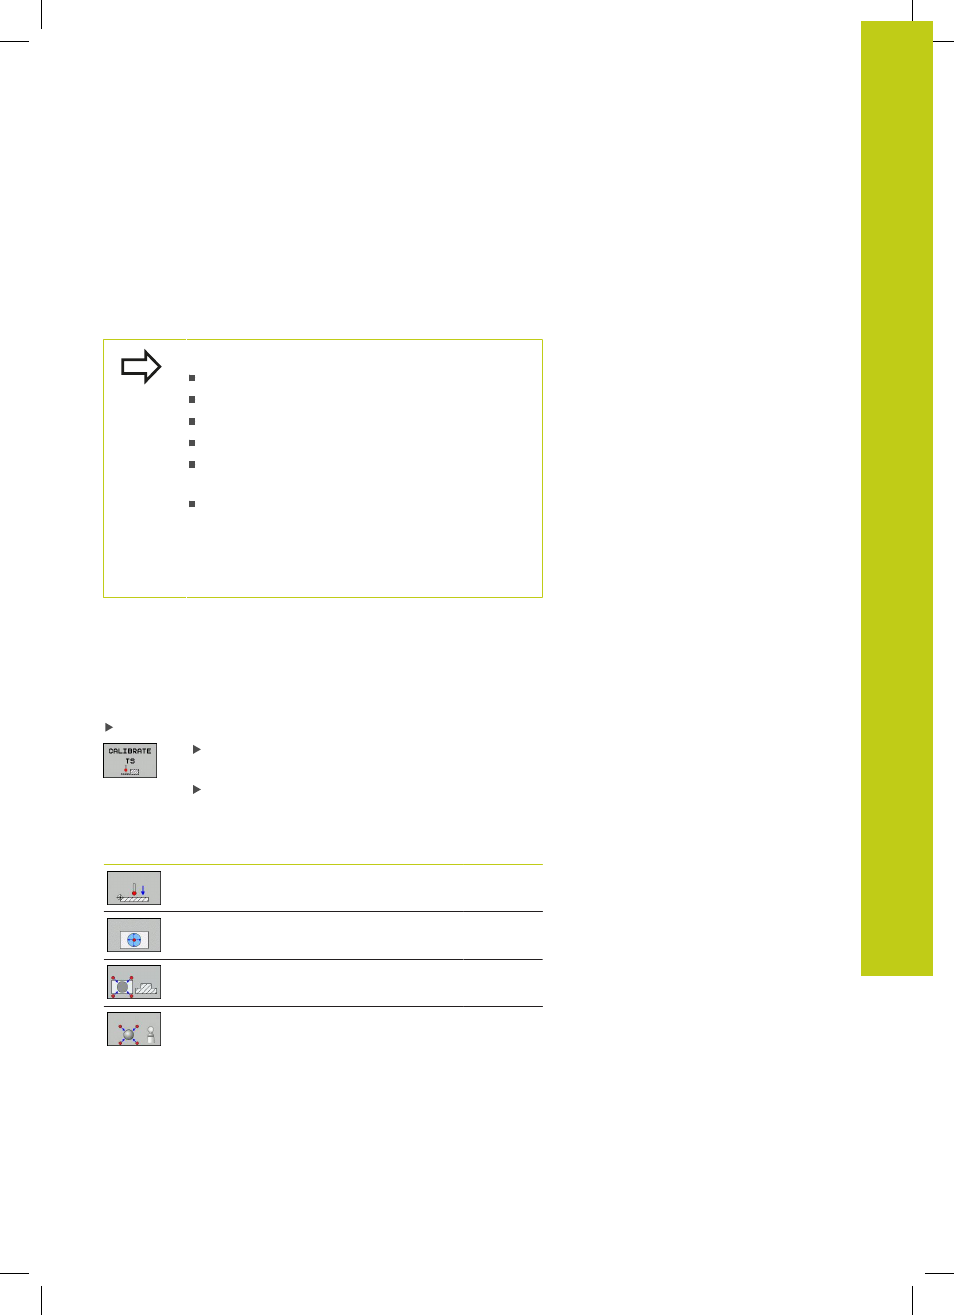
Press the
TOUCH PROBE soft key
Display the calibration cycles: Press
CALIBRATE
TS.
Select the calibration cycle
Calibration cycles of the TNC
Soft key
Function
Page
Calibrating the length
Measure the radius and the center
offset using a calibration ring
Measure the radius and the center
offset using a stud or a calibration pin
Measure the radius and the center
offset using a calibration sphere