Nd 1200 quadra-chek setup – HEIDENHAIN ND 1200 Quick Start User Manual
Page 4
2
ND 1200 QUADRA-CHEK
Setup
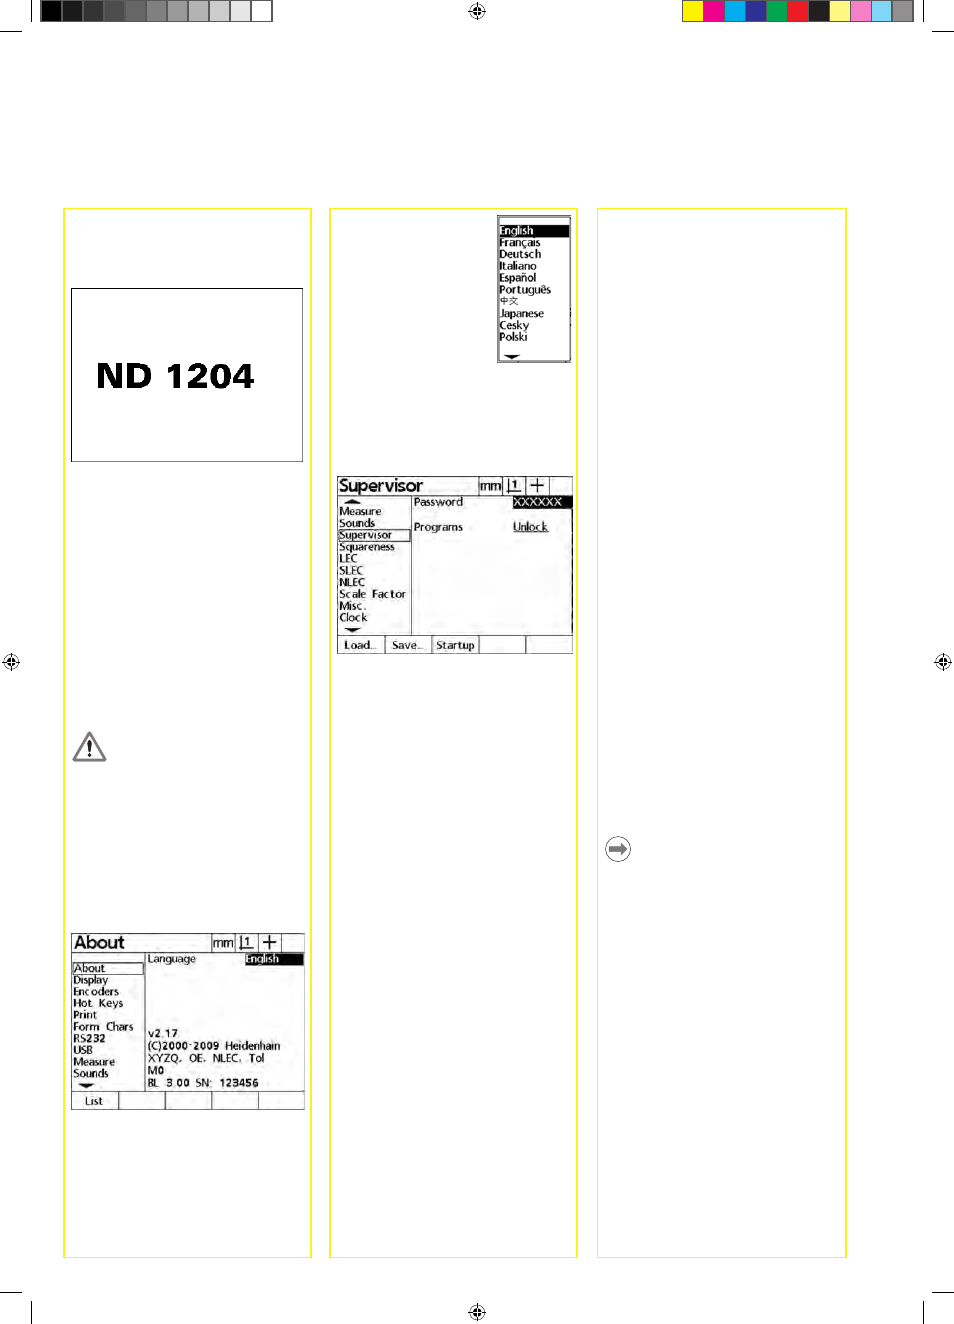
2. Select the language
Highlight the LANGUAGE
field and press the
LIST soft key. A list of
languages is displayed.
Highlight the desired
language and press the
ENTER key.
3. Enter Password
• Use the ARROw CURSOR keys to
navigate to the SUPERVISOR setup
screen.
• Highlight the PASSwORD field and
enter the password.
4. Encoder setup
• Use the ARROw CURSOR keys to
navigate to the ENCODERS setup
screen.
• Select an axis and enter the required
encoder parameters
• Enable STARTUP ZERO if a machine
zero will be used for error correction.
• Repeat setup for all axes.
5. Calibrate edge detector (optional)
• Press the MENU key, press the EDGE
soft key and then press the INSTALL
soft key. The LIGHT LEVELS screen is
displayed.
• Adjust the position of the sensor
and reference cable ends to achieve
approximately:
REF = 255
SCR = 128
6. Calibrate stage squareness
• Align the squareness calibration
artifact to the reference axis.
• Press the MENU key, press the
SETUP soft key and then navigate to
the Squareness screen.
• Enter the calibration artifact ANGLE,
choose a MASTER AXIS and press
the TEACH soft key.
• Follow instructions on the screen.
7. Error correction
Linear, segmented linear and nonlinear
error correction methods can be used to
compensate for encoder and machine
measurement errors. Refer to the
ND 1200 User Guide for instructions.
8. Measurement scaling
Linear measurement scaling can be
applied when measuring parts that
expand or shrink.
• Press the MENU key, press the Setup
soft key and then navigate to the
SCALE FACTOR screen.
• Enter the desired MULTIPLIER,
highlight the ACTIVE field and press
the YES soft key to enable scaling.
9. Measurement annotation setup
• Press the MENU key, press the
SETUP soft key and then navigate to
the MEASURE screen.
• Highlight the ANNOTATION field and
press the BACk or FORw soft key
to determine the number of points
probed during a measurement.
BACk: Probe desired points
FORw: Probe pre-defined points
The pre-determined number can
be entered for point, line and circle
measurements.
10. Display formatting
• Press the MENU key, press the
SETUP soft key and then navigate to
the DISPLAY SCREEN.
• Enter the desired display resolutions
and other parameters.
Note:
Many more setup functions are available
beyond the minimum parameters
discussed here. Refer to the ND 1200
User Guide for detailed instructions.
Initial power up
• Press the POwER SwITCH to power
the ND 1200. The startup screen is
displayed (e. g. version ND 1204).
• Press the FINISH key to display the
current axis positions on the DRO
screen.
Software setup
The operating parameters of the
ND 1200 must be configured prior
to using it for the first time, and any
time part measurement, reporting or
communication requirements change.
Settings will be retained until:
• The data-backup battery is changed
• The data and settings are cleared
• Software upgrades are performed
Caution
Setup parameters control the operation
of the ND 1200 and are password-
protected. Only qualified personnel
should be given password access to
setup screens.
1. Access setup menu
Press the MENU key and then press
the SETUP soft key. The setup menu is
displayed.