Epson LVP-X200A User Manual
Page 33
33
ENGLISH
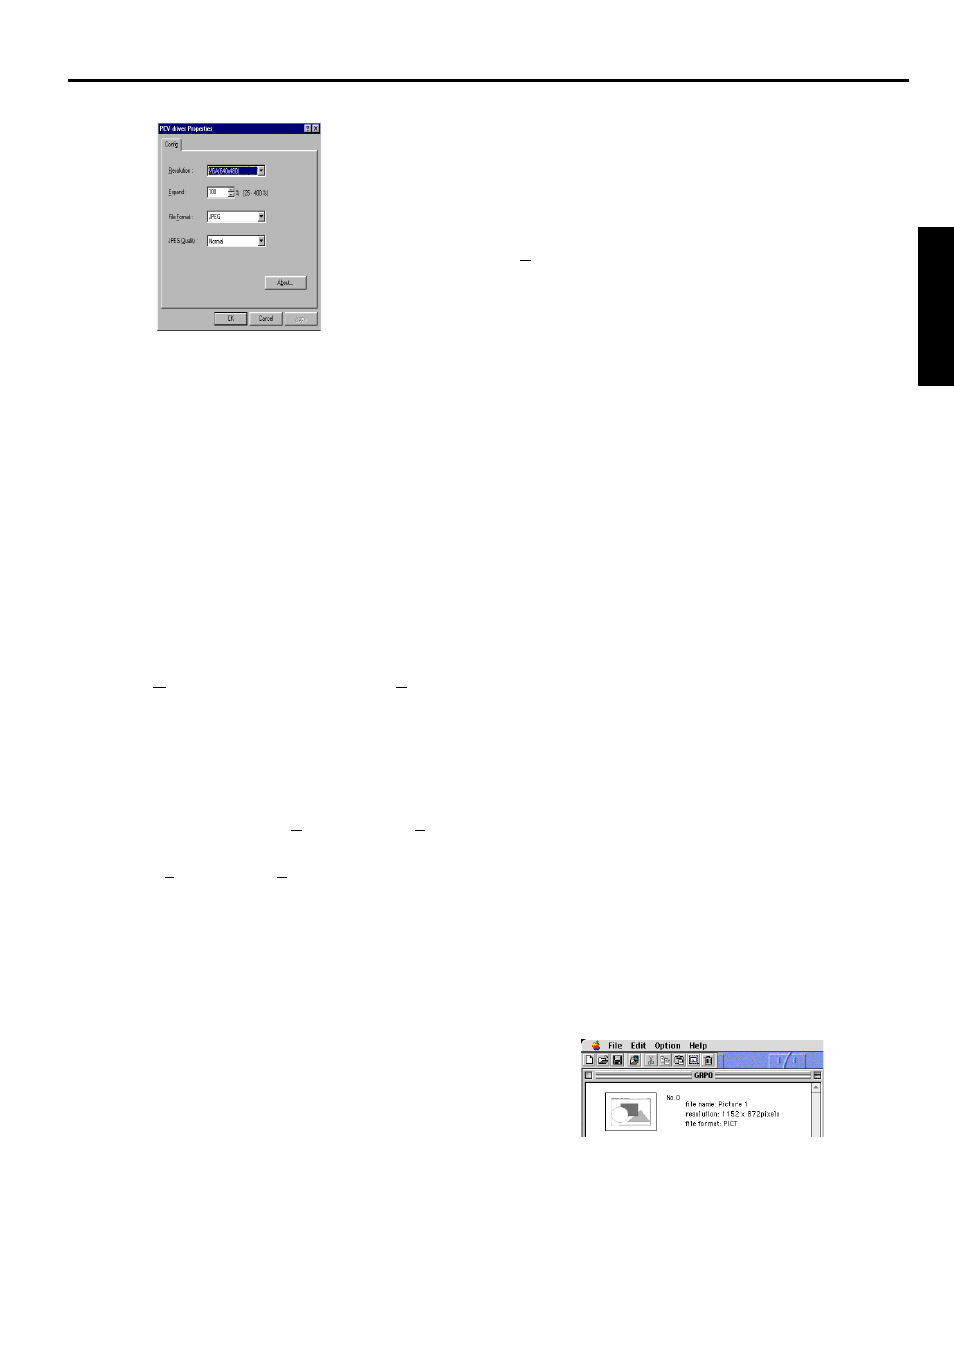
4. Click the properties button.
Starting up PCV (For Macintosh)
1. Start up Macintosh.
2. Insert the PC card to the PC Card slot on the per-
sonal computer.
3. Double click the [PCV for Mac] icon.
Command reference
The command references are as shown below:
File
Create New presentation . Create a new presentation.
Open presentation... Opens an existing presenta-
tion.
Close presentation ... Closes an opened presenta-
tion.
Save presentation .... Saves an opened presentation
using the same name.
Delete presentation . Delete an opened presenta-
tion.
Open image file... ..... Import an image from a file.
Done ......................... Exits PCV.
Edit
Cut ............................ Deletes selected image from
the presentation and moves it
to the clipboard.
Copy .......................... Copies selected image data
from the presentation to the
clipboard.
Paste ......................... Pastesimage data from the
clipboard into the presenta-
tion.
Clear... ...................... Deletes the selected image
from an opened presentation.
Option
Preference... ............. Select the format BMP or
JPEG.
Get Screen Shot Image .... Captures screen and inserts it
to a presentation.
Recording the image (For Macintosh)
When you wish to record the image of the display to a
PC-CARD.
1. Display the image you wish to record on the screen.
2. Press the shift button, command button and
number 3 button simultaneously.
3. Repeat steps 1 and 2 for other images.
4. Choose [GetScreen Shot Image] under the [Op-
tion] menu.
The presentation window will open. The recorded
image appears on the presentation window.
• The file type to be recorded are BMP or JPEG. To
change file type, select [Preference] under the
[Option] menu then change setting. Reboot PCV.
5. Choose [Save presentation...] under the [File] menu.
6. Choose [Done] under the [File] menu to quit from
PCV.
5. If necessary, set the Resolution, Expand, File
Format or JPEG Quality.
6. Click OK button on the PCV driver Properties
dialog box.
7. Click OK button.
8. Cooose the PC-CARD drive.
9. Click OK button.
• The presentation data will be saved as PCVdrv
on PC card.
• PCVdrv is a temporaly file. If you record
presentation continuously ,The previous data
will be erased. Please follow as below to re-
name the file.
10. Boot up PCV’s programme.
11. Choose [Open presentation...] under the [File]
menu.
12. Select PCVdrv file
The presentation window will openand. The
recorded image appears on the presentation
window.
13. Choose [Save presentation As...] under the [File]
menu.
14. Choose [Exit] under the [File] menu to quit from
PCV.