3calibration, 1 absolute calibration, 2 relative calibration – Guralp Systems CMG-5T Compact User Manual
Page 13

Operator's Guide
3
Calibration
The 5T Compact is supplied with a comprehensive calibration document
and it should not normally be necessary to calibrate it yourself.
However, you may want to check that the response and output signal
levels of the sensor are consistent with the values given in the
calibration document.
3.1
Absolute calibration
The sensor's response (in V/ms
-2
) is measured at the production stage by
tilting the sensor through 90 ° and measuring the acceleration due to
gravity. In addition, sensors are subjected to the “wagon wheel” test,
where they are slowly rotated about a vertical axis.
The response of the sensor traces out a sinusoid over time, which is
calibrated at the factory to range smoothly from 1g to –1g without
clipping.
3.2
Relative calibration
The response of the sensor, together with several other variables, is
measured at the factory. The values obtained are documented on the
sensor's calibration sheet. Using these, you can convert directly from
voltage (or counts, as measured in Scream!) to acceleration values and
back. You can check any of these values by performing calibration
experiments.
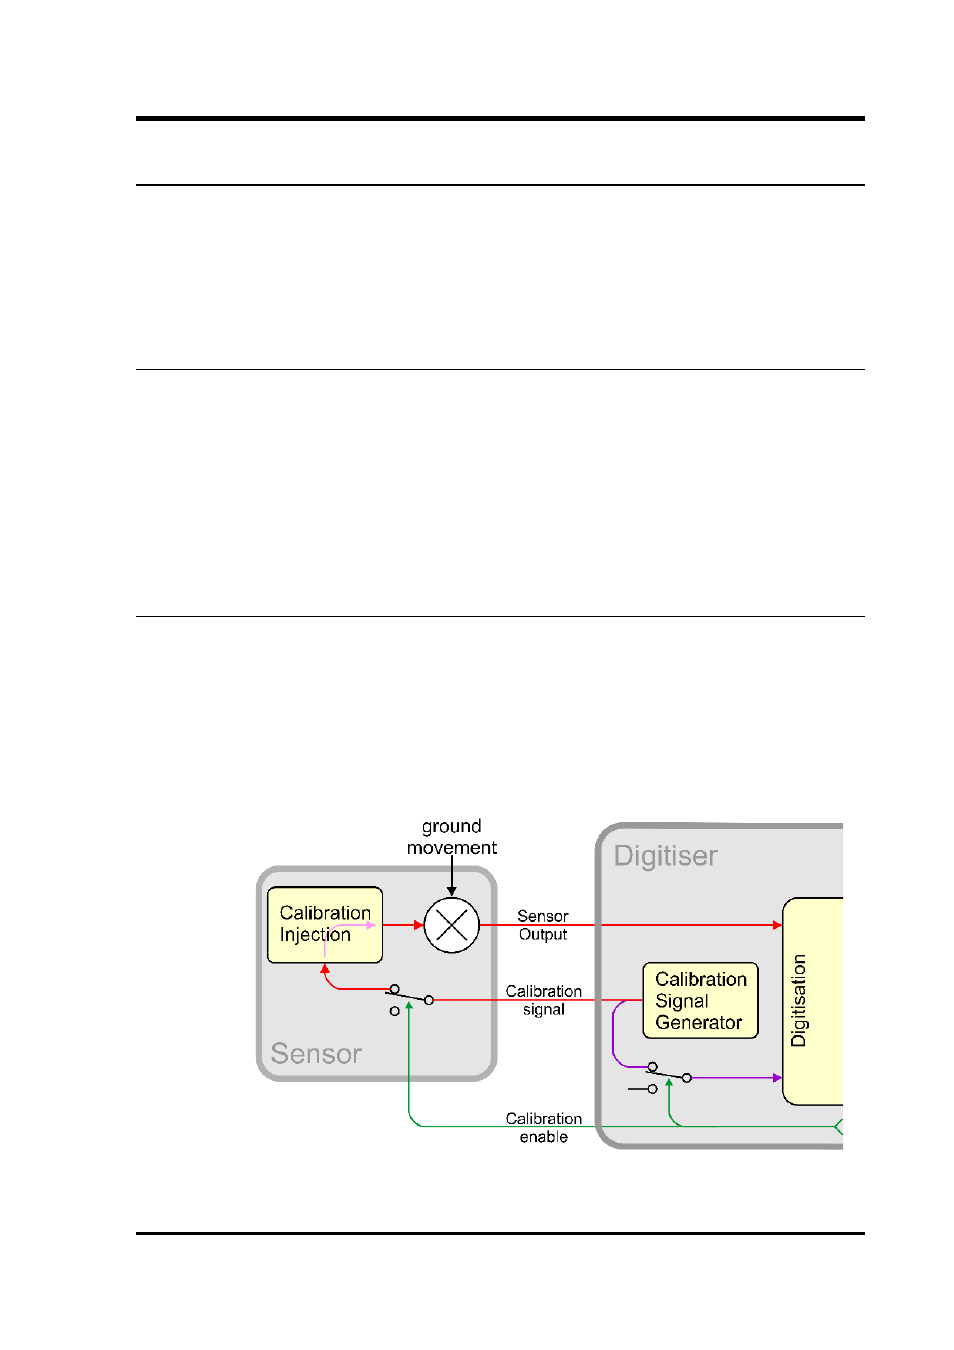
Güralp sensors and digitizers are calibrated in the following way:
In this diagram, a Güralp digitizer is being used to inject a calibration
May 2011
13
