Libraries & sign types -2, Schedules -2 – Daktronics Venus 1500 Ver 1.x User Manual
Page 45
Schedule
6-2
6.1
Libraries & Sign Types
Refer to Section 5.1 for instructions on how to create a library and Section 5.2 for information
on sign types.
6.2
Schedules
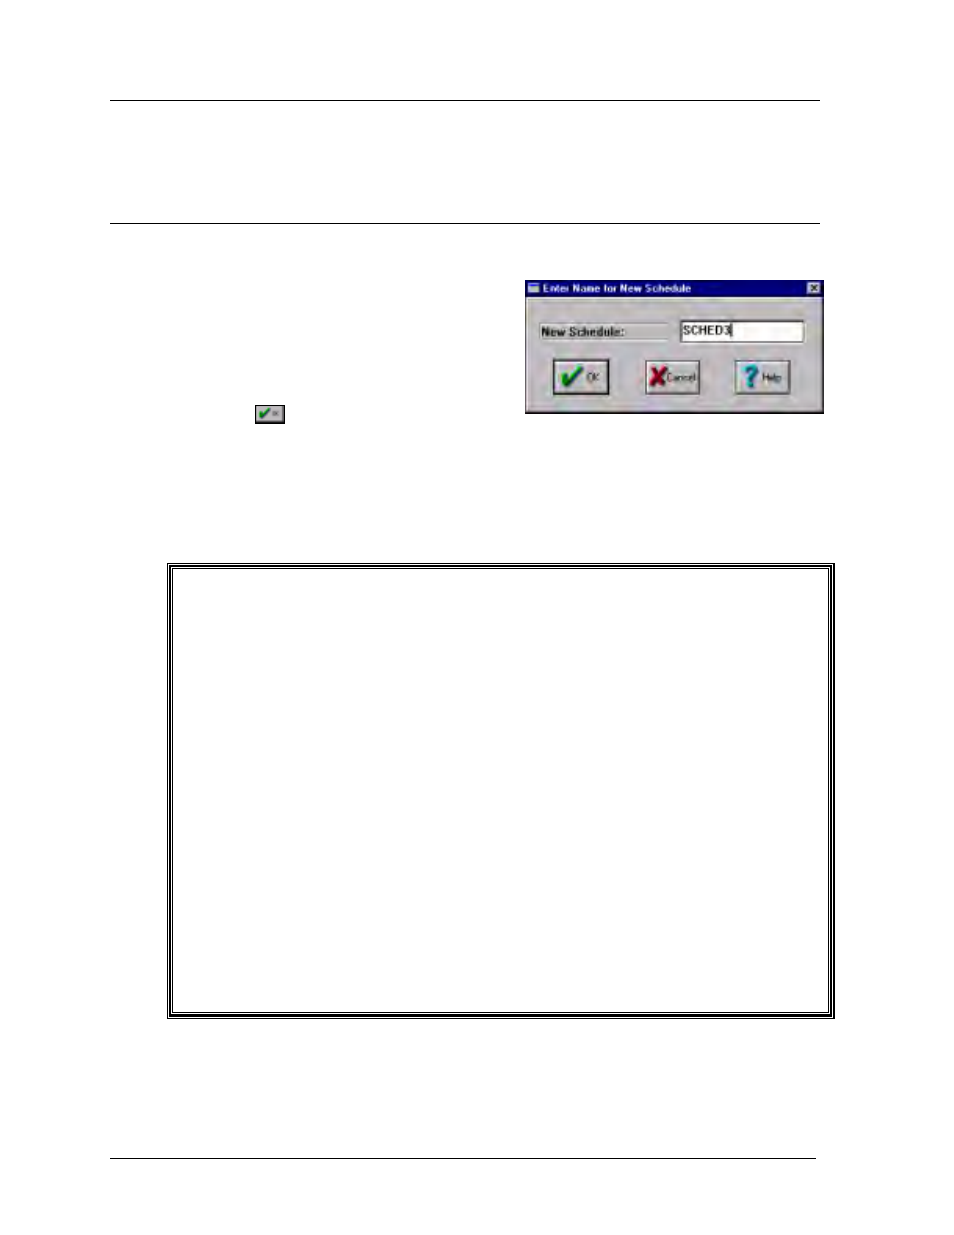
New Schedule
To create a schedule, the correct sign type
must first be created and selected. Refer to
Section 5.2 on sign types. Once a sign type
has been selected, click on [
CREATE
SCHEDULE
] or press <
ALT
><
C
>. A prompt
will appear asking for a name for the
schedule. Enter a name up to 8 characters and
click on
. The Schedule Editor will now
appear.
m
Note: The 8 character name entered is a filename under which the schedule will be saved.
Because the names entered are filenames, spaces cannot be used in naming or problems will
occur when deleting the file. A description option is available to enter a more specific title for
the schedule (refer to Section 6.4.5).
Existing Schedule
If a schedule already exists, click on [
EDIT SCHEDULE
] or press <
ALT
><
E
> to edit the
highlighted schedule. The Schedule Editor will now appear.
i
Special Note: Due to the method the sign controller uses to process message and
scheduling information, messages and schedules within the same library must have different
names. The following example will not work:
Library Name
Message Name
Schedule Name
Default
Specials
Specials
A solution to this problem is to either use different names for messages and schedules located
in the same library, or create schedules and messages in different libraries. For example:
Library Name
Message Name
Schedule Name
Default
Specials
Schedule
Or
Library Name
Message Name
Schedule Name
Schedule
Specials
Default
Specials
*A common naming scheme for schedules uses the date the schedule was created. For
example, “May2” or “5-2-98.” Be aware that illegal characters cannot be used. If you decide to
use this method for naming schedules, be sure to update the name as the schedule is updated.